Easy Tech Tuts
How to Enable Apple Pay in Stripe, Add & Setup Easily 2026
By Impran M N
Apple Pay is the single cheapest conversion win on most checkouts: the customer authenticates with Face ID instead of typing a card number, and the drop-off between "add to cart" and "paid" shrinks. Stripe supports it natively, so there is nothing to install — but the switch is buried in the payment methods list, and it will not actually render on your site until Stripe has verified the domain you serve checkout from.
This guide follows the real order the dashboard imposes: sign in, find Apple Pay in the payment methods table, turn it on, register your domain, and only then test. It also covers the separate iOS certificate flow, which is what you need if you're taking Apple Pay inside a native app rather than a website — the two are easy to confuse and only one of them involves Apple's developer site.
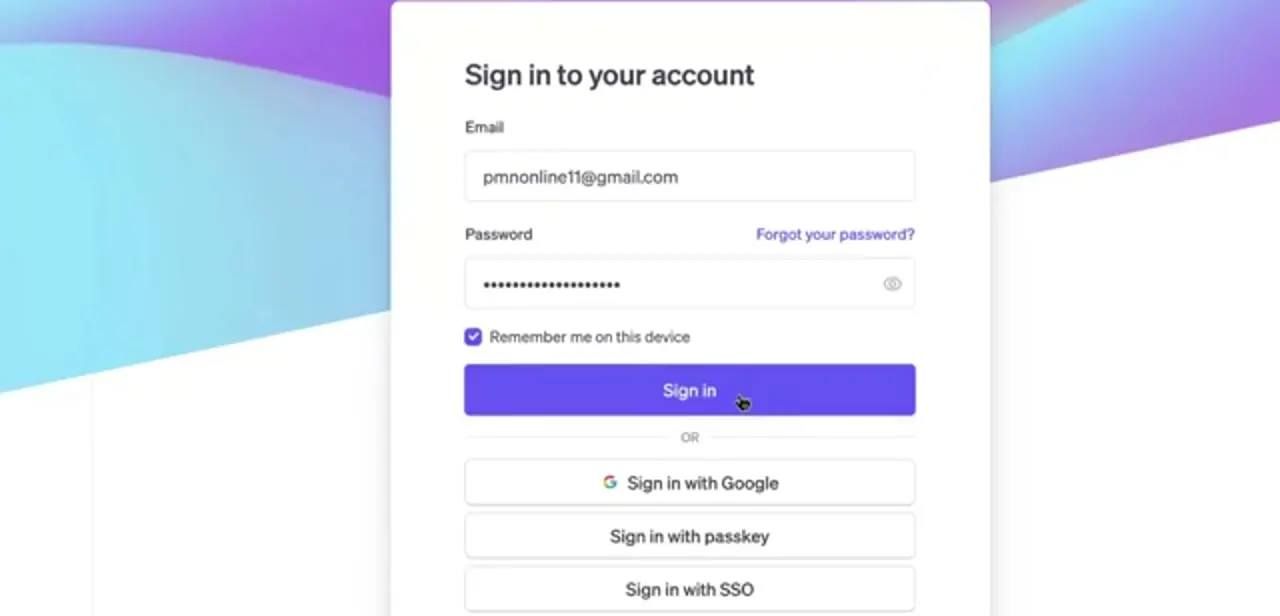
01Sign in to the Stripe account that owns your checkout
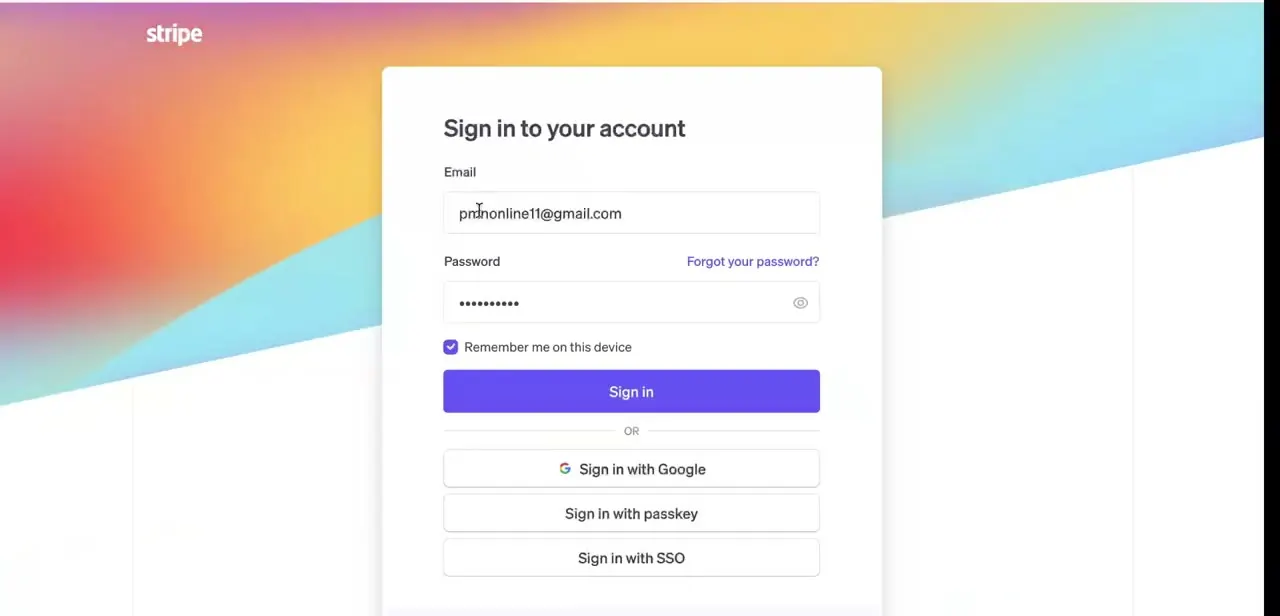
Start at the Stripe sign-in page and log in with the account that actually processes your live payments — not a personal test account you spun up to try something. If your organisation uses Google or SSO, use those buttons rather than a password, because Apple Pay settings sit behind account-level permissions and a second, disconnected account will send you round in circles later when the domain won't verify.
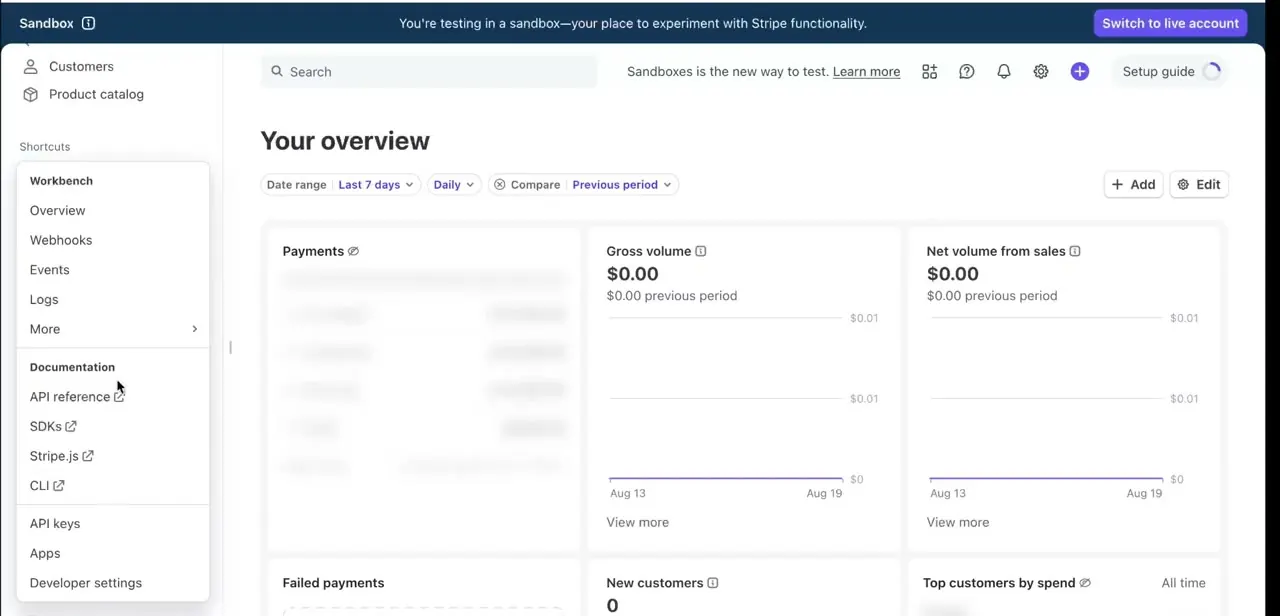
Once you're in, check the account switcher at the top-left of the dashboard: Stripe keeps a sandbox and a live account side by side, and Apple Pay has to be configured separately in each. Enabling it in the sandbox is the sensible place to start, but remember to repeat the domain step on the live account before you announce anything.
02Open Settings and find the payment methods table
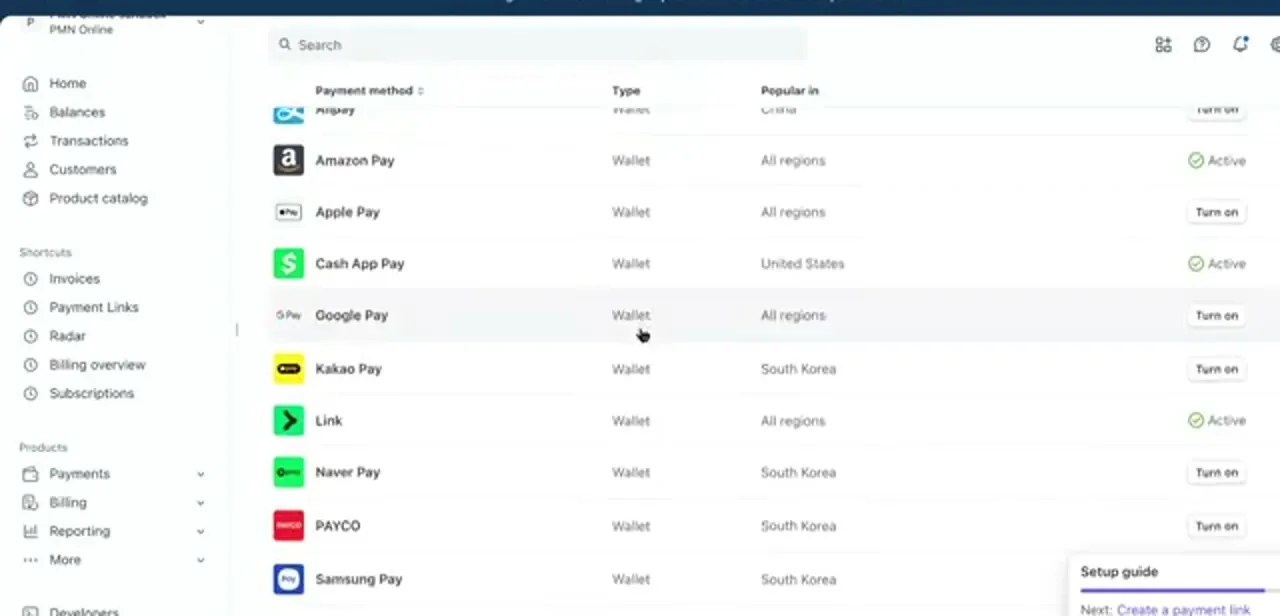
Apple Pay isn't a top-level menu item. It lives in Settings under Payment methods, which opens a long table of every method Stripe can offer you: card networks, bank debits, buy-now-pay-later options, and a Wallet group that includes Apple Pay, Google Pay, Cash App Pay, Link, and several region-specific wallets.
Each row shows the method's type, the regions it's popular in, and a status on the right — either a green Active tick or a Turn on button. Scroll to the Wallet rows and look at Apple Pay's status honestly: if it already says Active, your remaining problem is almost certainly domain registration, not the toggle.
03Turn Apple Pay on
Click Turn on in the Apple Pay row. Stripe enables it at the account level immediately — there's no application or approval queue for the web version, and no extra fee, since Apple Pay transactions settle at your normal card processing rate.
What the toggle does not do is make the button appear on your site. Stripe will only serve the Apple Pay button to a domain it has verified, so a freshly toggled account still shows nothing on the storefront. While you're in this table, it's worth turning on Google Pay in the same pass: it's the Android-side equivalent, the setup cost is the same click, and offering only one wallet leaves half your mobile traffic typing card numbers.
04Register and verify the domain your checkout runs on
This is the step that catches everyone. From the Apple Pay settings page, open the web domains area and add the exact domain your checkout is served from — including the subdomain, so `shop.example.com` and `example.com` are two separate registrations.
Stripe then needs to prove you control it, which means downloading the association file it gives you and hosting it at `/.well-known/apple-developer-merchantid-domain-association` on that domain, reachable over HTTPS with no redirect. If you use Stripe Checkout or Payment Links, Stripe hosts the page itself and this is handled for you; the manual file only applies when you're embedding Elements or the Payment Request button on your own pages. Verify, and the domain flips to a verified state in the list.
05Add an iOS certificate only if you have a native app
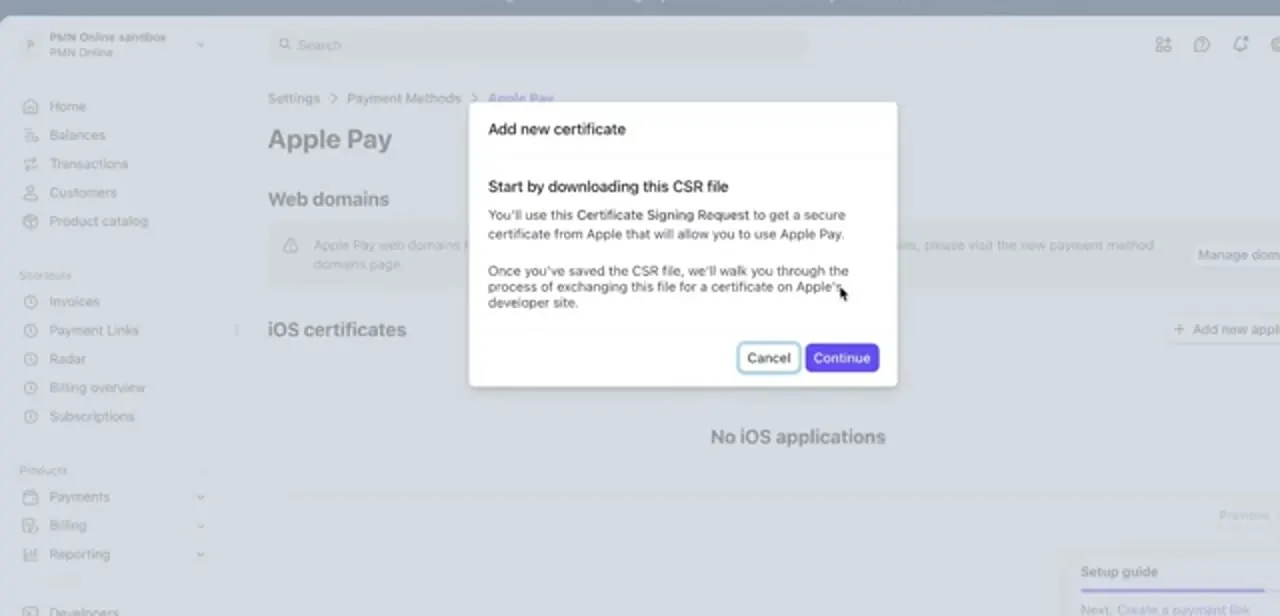
The Apple Pay settings page has a second section, iOS certificates, and it exists for a completely different purpose than the domain list above it. Adding one starts with downloading a Certificate Signing Request from Stripe, which you exchange for a certificate on Apple's developer site and upload back — that's the flow that genuinely requires an Apple Developer account.
You only need this if you're taking Apple Pay inside an iOS app you publish. If your store is a website, the section will simply say there are no iOS applications, and that's the correct end state — leave it alone rather than working through a certificate you don't need.
06Test on a real Apple device before you announce it
Apple Pay will not appear in Chrome on Windows, in a desktop browser without a card in Wallet, or in most emulators — so a test that shows nothing tells you very little. Open your checkout on an iPhone in Safari, signed into an Apple ID with at least one card added to Wallet, and confirm the black Pay button renders above the card fields.
Run the transaction in your sandbox first, then repeat the whole check on the live account, because the domain registration doesn't carry over between them. Finally, look at the payment in the Transactions list and confirm it's recorded as a wallet payment — that's how you'll later tell how much of your revenue the button is actually earning.
Frequently asked questions
Do I need an Apple Developer account to enable Apple Pay in Stripe?
Not for a website. Stripe handles the Apple merchant registration for web domains, so a normal Stripe account is enough. You only need an Apple Developer account for the iOS certificate flow, which applies when you're accepting Apple Pay inside a native iPhone app.
Why isn't the Apple Pay button showing on my site after I turned it on?
Almost always an unverified domain. Stripe only serves the button to domains registered and verified under Apple Pay settings, and subdomains count separately. Check that the exact host serving your checkout is in that list and verified on the same account — sandbox and live are configured independently.
Is domain verification required for Apple Pay?
Yes for a website. If you use Stripe Checkout or Payment Links, Stripe hosts the page and verifies for you; if you embed Elements on your own pages, you host the association file Stripe supplies at the /.well-known path over HTTPS.
Can customers use Apple Pay on Android devices?
No — it appears only on Apple hardware with a card in Wallet, and only in supported browsers such as Safari. Turn on Google Pay in the same payment methods table to cover Android shoppers with an equivalent one-tap flow.
Does enabling Apple Pay cost extra on Stripe?
No. Apple Pay transactions are charged at your standard Stripe processing rate, with no separate enablement fee or monthly cost for the wallet itself.
About the author

Impran M N
I've been hooked on technology for as long as I can remember — especially the new tools and AI apps that seem to land every other week. Easy Tech Tuts is where I write up whatever I've just worked out: I do the task in the real product, record the screen, and turn it into the guide I wish I'd found first.