Easy Tech Tuts
How to Create Stripe Checkout Page Easily 2026
By Impran M N
Stripe's hosted Checkout is the fastest way to start taking payments without building a custom payment form or handling card data yourself. Instead of writing integration code, you create a product, generate a link, and Stripe hosts a secure page that takes care of the rest — Apple Pay, cards, and other payment methods included. This guide follows the actual dashboard screens for creating a payment link end to end, from the product setup to the shareable URL you hand to customers.
01Start from your Stripe dashboard
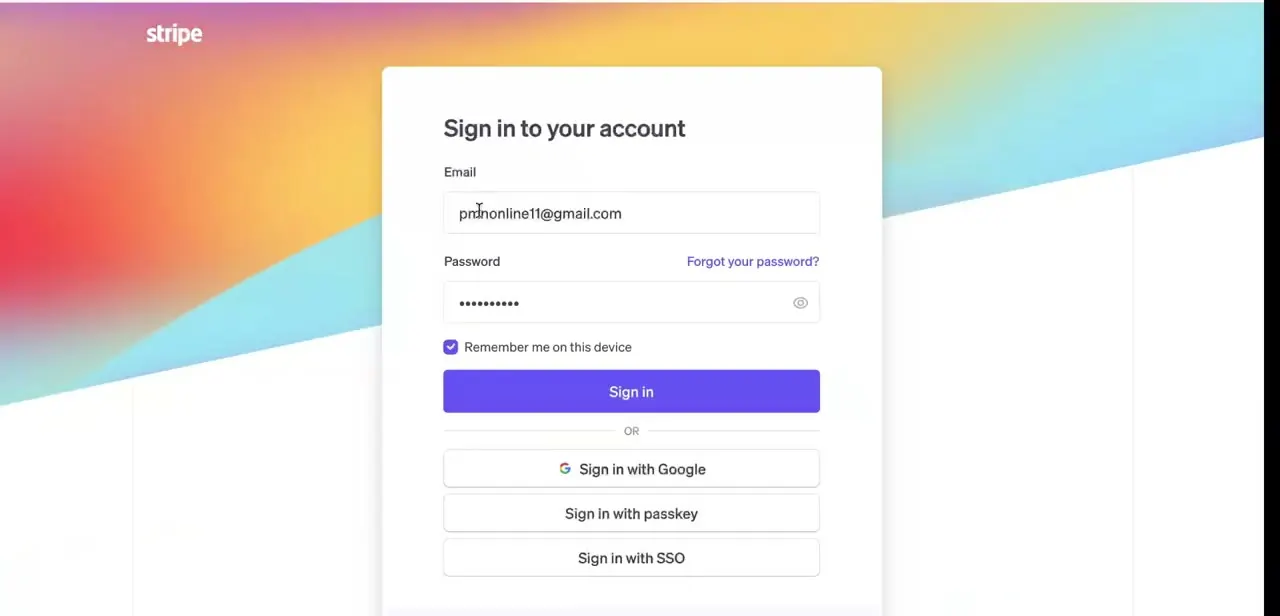
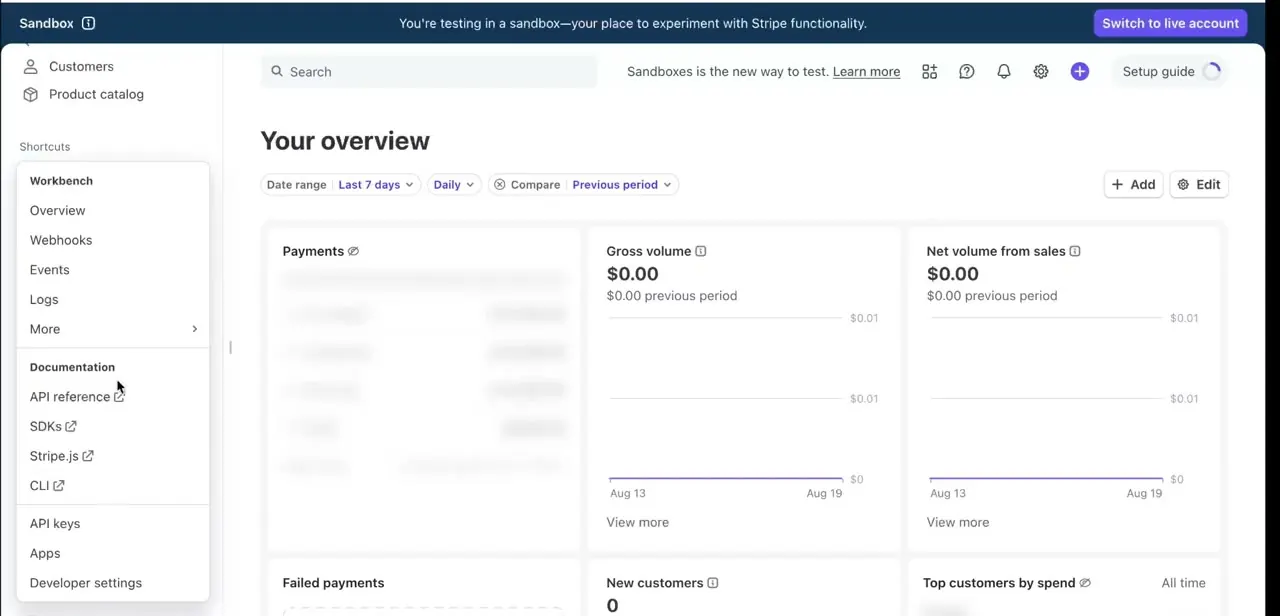
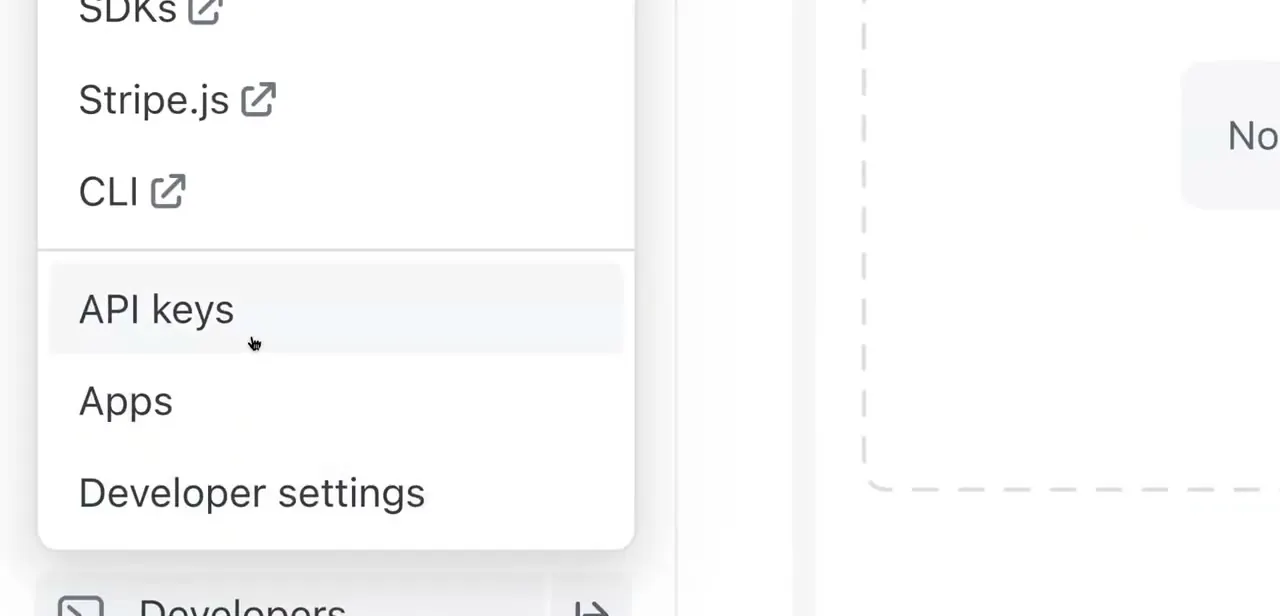
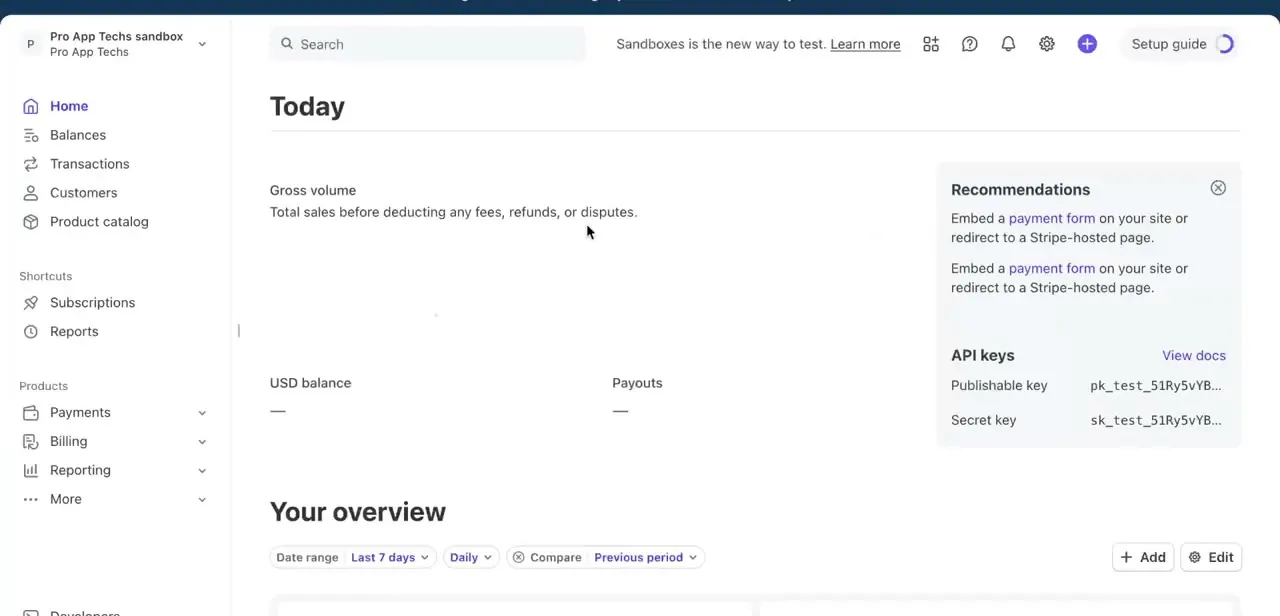
Log into your Stripe dashboard and you'll land on the Today overview, showing gross volume, USD balance, and payouts at a glance. Stripe surfaces setup recommendations directly on this page — including a prompt to "embed a payment form on your site or redirect to a Stripe-hosted page," which is exactly the Checkout flow this guide sets up. Your API keys are also visible here in test mode, useful later if you want to move beyond a simple link into a coded integration.
02Create a payment link and add your product
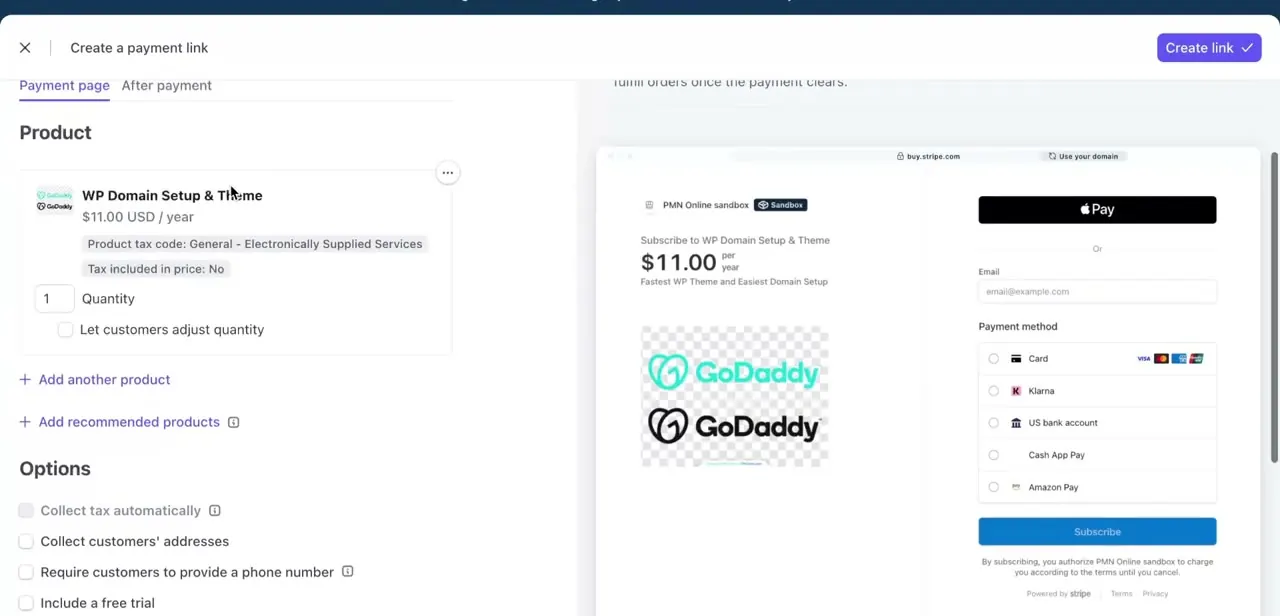
From Payment Links, click Create a payment link. On the Payment page tab, add your product — either an existing one from your catalog or a new one created on the spot with a name and price.
In the example, a $11.00/year subscription product called "WP Domain Setup & Theme" is added with its tax code and quantity settings, and a live preview of the actual checkout page updates on the right as you configure it. This preview is worth watching closely: it shows exactly what the customer will see, including which payment methods (card, Apple Pay, Klarna, bank account) appear as options.
03Configure the payment page options
Below the product, Stripe gives you toggles for collecting tax automatically, collecting customer addresses, requiring a phone number, and offering a free trial. Turn on only what you actually need — every extra required field is one more chance for a customer to abandon checkout. If your product needs tax collected by jurisdiction, enable Collect tax automatically rather than trying to bake tax into the listed price by hand.
04Generate the link
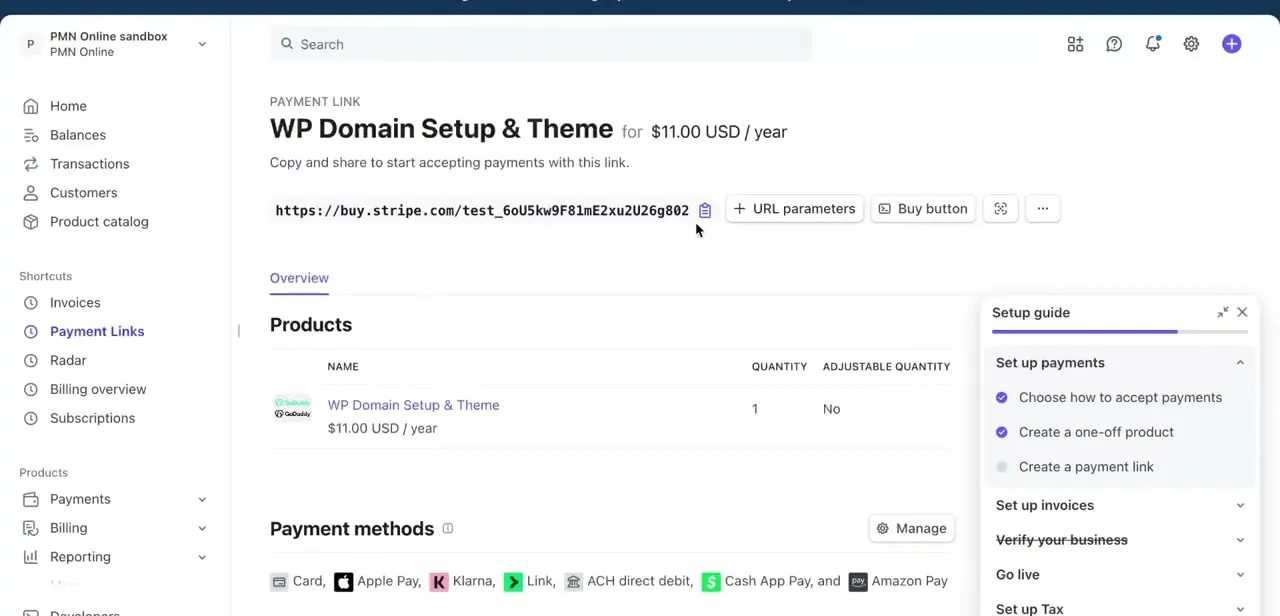
Click Create link and Stripe generates a live URL on the buy.stripe.com domain (or your own connected domain, if you've set one up). This is your finished Checkout page — no separate hosting or embedding required to start using it. The link works immediately: anyone who opens it lands on the same page you previewed, ready to pay.
05Share the link or embed it on your site
The payment link page gives you more than just the URL — options for URL parameters, a Buy button, and a code snippet sit right next to it. Paste the plain link into an email, a social post, or a button on your site, or use the Buy button option if you want an embeddable widget instead of a plain link. Either way, Stripe hosts the actual payment page, so you don't need PCI compliance work on your own server.
06Verify payment methods before going live
Check the Payment methods section under the link for which options are enabled — the example shows Card, Apple Pay, Klarna, Link, ACH direct debit, Cash App Pay, and Amazon Pay all switched on. Some of these need to be enabled separately in your account settings before they'll actually appear at checkout, so it's worth doing a real test payment in test mode before sharing the link publicly.
Frequently asked questions
Do I need coding skills to set up Stripe Checkout?
No. A payment link, as shown in this guide, is created entirely from the Stripe dashboard. Coding is only needed if you want a custom checkout session embedded through the API instead of a hosted link.
Can I customize the look of the checkout page?
Yes, Stripe Checkout allows branding customization such as your logo and color scheme, and you can connect your own domain so the page doesn't show buy.stripe.com.
Does Stripe Checkout support multiple products?
Yes, use Add another product on the payment link builder to include more than one item, and let customers adjust quantity if needed.
Is Stripe Checkout secure for customers?
Yes, Stripe Checkout is a hosted, PCI-compliant page, so card details are entered directly on Stripe's domain and never pass through your own server.
About the author

Impran M N
I've been hooked on technology for as long as I can remember — especially the new tools and AI apps that seem to land every other week. Easy Tech Tuts is where I write up whatever I've just worked out: I do the task in the real product, record the screen, and turn it into the guide I wish I'd found first.