Easy Tech Tuts
How to Add Wise to Stripe 2026 Easily
By Impran M N
Stripe pays out to a bank account in your own country by default, which is a problem the moment you don't have one — a common situation for freelancers, remote agencies, and small international sellers. Wise's multi-currency account solves that by giving you local account details in several currencies, and Stripe will send payouts to it once the account is added and confirmed.
The part that trips people up isn't finding the field to paste your account number; it's getting cleanly through Stripe's account-status and identity checks, which guard any change to where your money lands. This guide walks through what Stripe checks before it'll accept a new payout destination, the verification prompts you'll actually run into, and what changes once Wise is confirmed as your payout account.
01Why route Stripe payouts through Wise
Stripe supports payouts to local bank accounts in a long list of countries, but not every country, and even where it's supported the currency options can be limited. Wise gets around this by issuing you local receiving details — a UK sort code and account number, a US routing number, a Eurozone IBAN, and more — all tied to one account you control.
Freelancers billing international clients and small businesses without a Stripe-supported home bank use this to receive payouts reliably and hold the balance in whichever currency makes sense before converting it. It's a workaround Stripe explicitly allows, not a hack, but you still have to clear Stripe's own verification steps before the new destination goes live.
02Check that your Stripe account can actually pay out
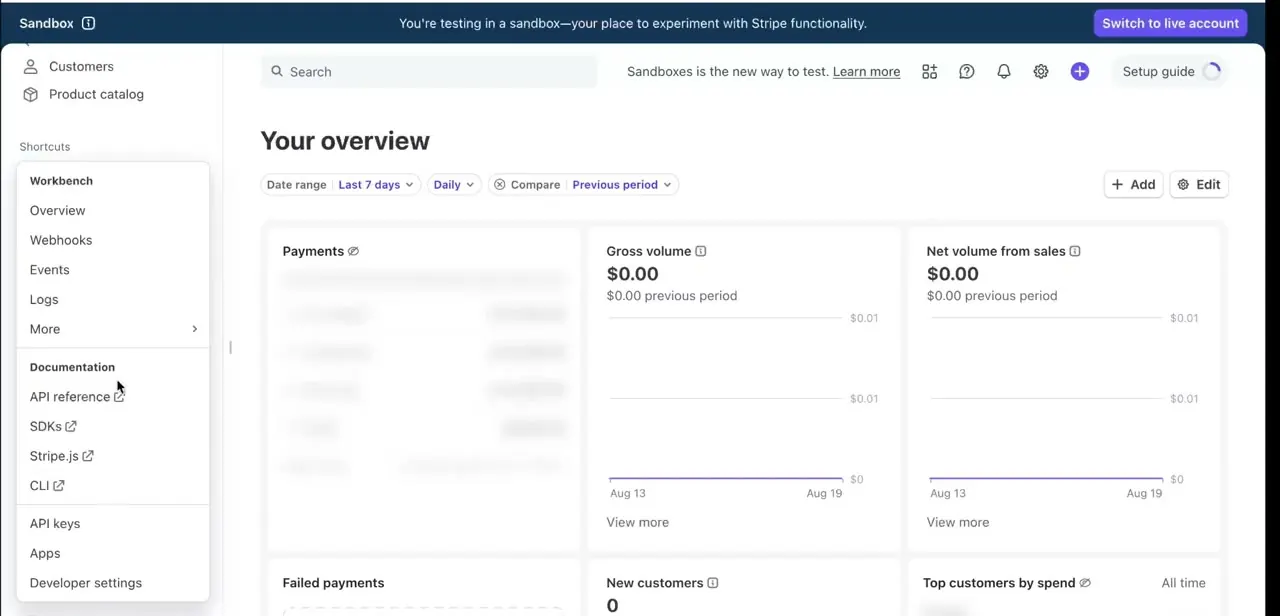
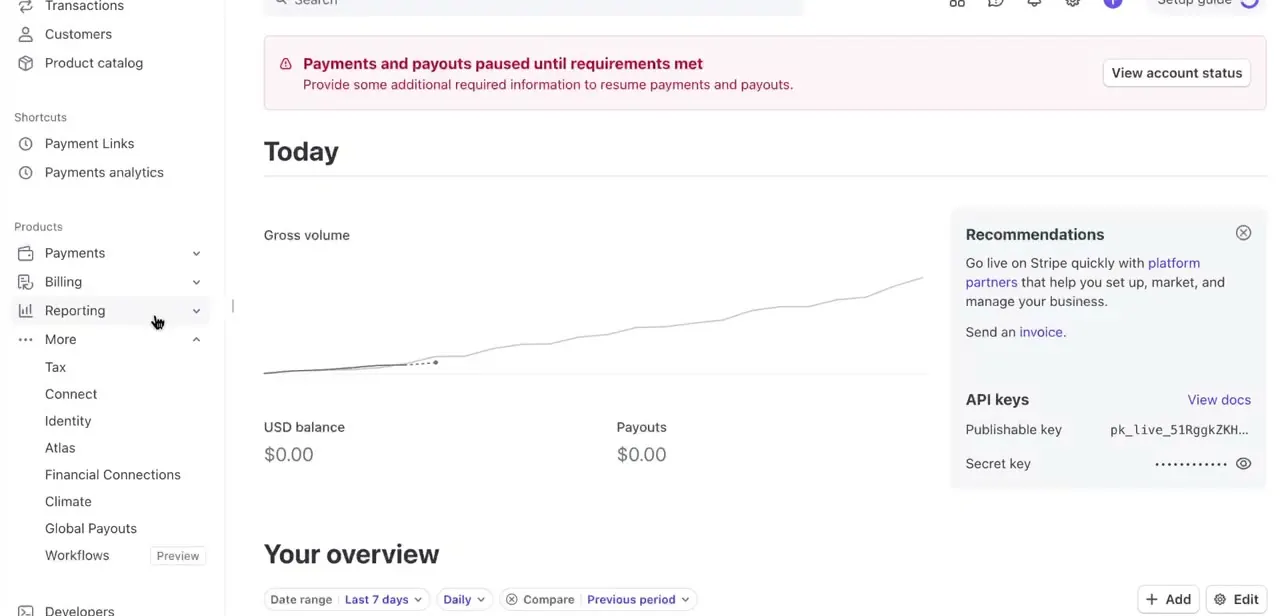
Before you touch payout settings, open your Stripe dashboard and look for any banner about paused payments or payouts — a fresh or partially verified account will often show one at the very top of the Home screen, right above the gross volume chart and your USD balance. Stripe won't send a cent anywhere, Wise included, until whatever it's asking for is resolved, so this is worth clearing first rather than discovering it mid-setup. The same Home screen is also where you'll find your API keys and the broader navigation — Payments, Billing, Reporting, and under "More," things like Connect, Identity, and Global Payouts — so it's a useful first stop to get oriented before you go looking for the payout settings specifically.
03Add your Wise details as a payout bank account
Payout destinations in Stripe live under your account's payout settings, where adding a new bank account asks for the standard set of fields — account holder name, account number or IBAN, routing or sort code, and the account's country and currency. This is exactly the information your Wise account gives you once you've opened a balance in the matching currency, so keep the Wise app or dashboard open in another tab while you fill the form in. Match the currency of the Wise balance to the currency you want Stripe paying out in; mismatching them is the most common reason this step has to be redone.
04Confirm the change from your email
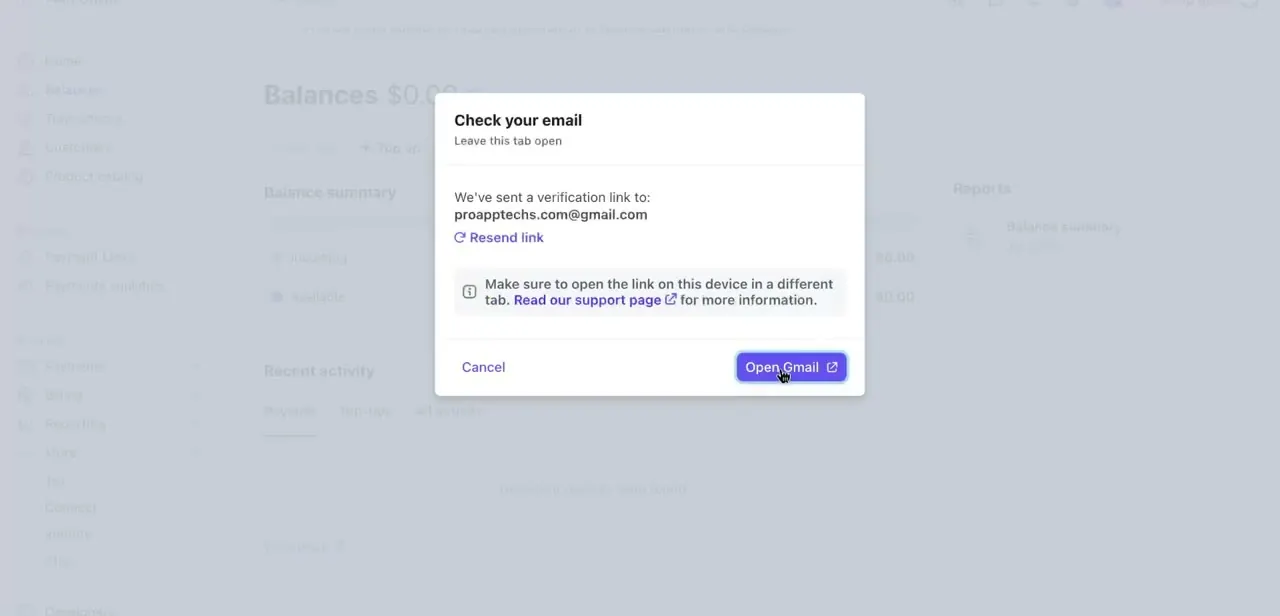
Changing a payout destination is a security-sensitive action, so Stripe doesn't apply it immediately — it sends a confirmation link to the email on your account first and asks you to leave the current tab open while you go click it. The prompt is explicit about opening the link in a different tab or device rather than navigating away entirely, since doing that can drop you out of the flow you were mid-way through. This step alone stops someone who's gained access to your dashboard but not your inbox from quietly redirecting your payouts.
05Clear the two-factor verification prompt
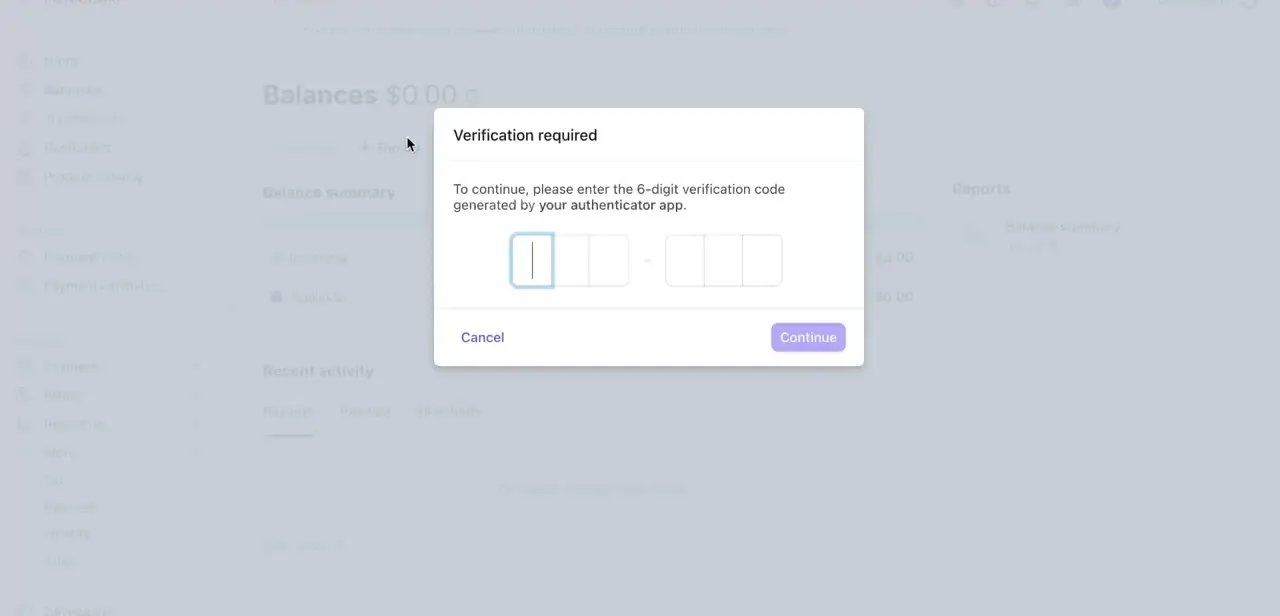
Right after or alongside the email step, Stripe may also ask for a six-digit code from your authenticator app before it'll finalize the change. This is standard two-factor verification, the same kind you'd use logging in from a new device, but Stripe applies it here specifically because a payout destination change is one of the higher-risk actions you can take in the dashboard. Have your authenticator app open before you start this process so you're not scrambling for a code with a short expiry window while the confirmation email sits waiting.
06What changes once Wise is verified
Once the new account clears both checks, it appears in your payout settings as an active destination, and your Stripe balance starts routing there on whatever payout schedule you've set — daily, weekly, or monthly. From that point it behaves like any other connected bank account: Stripe pushes funds automatically, and you pick them up in Wise where you can hold, convert, or spend the balance across currencies instead of it landing straight in a single local account. It's worth sending yourself a small test payout the first time, or watching the next scheduled one closely, to confirm the money actually lands in Wise before you rely on it for real client payments.
Frequently asked questions
Why would I use Wise instead of a normal bank account with Stripe?
Wise is useful when Stripe doesn't support a bank account in your country, or when you want to receive payouts in multiple currencies without extra conversion fees on every transfer.
Is there a delay the first time I connect Wise to Stripe?
Yes — expect an email confirmation step and possibly a two-factor code before the new destination is accepted, and then a short verification period before payouts start flowing normally.
Why does Stripe ask me to verify by email and authenticator app?
Changing where your payouts go is treated as a sensitive account change, so Stripe confirms it through a second channel — your inbox and, often, a six-digit code from your authenticator app — to stop someone else from redirecting your funds.
Can freelancers and international sellers use this setup?
Yes — this approach is aimed specifically at freelancers and international businesses that don't have access to a Stripe-supported local bank account.
Do I need a business Stripe account to add Wise?
The core requirement is a Stripe account with payout settings you can edit and no unresolved requirements banner, plus a verified Wise balance in a matching currency.
About the author

Impran M N
I've been hooked on technology for as long as I can remember — especially the new tools and AI apps that seem to land every other week. Easy Tech Tuts is where I write up whatever I've just worked out: I do the task in the real product, record the screen, and turn it into the guide I wish I'd found first.