Easy Tech Tuts
How to Setup Checkout on Squarespace, Create and Edit Checkout page template 2026 Easily
By Impran M N
A Squarespace checkout page works out of the box, but the settings that make it actually fit your store — a connected payment provider, the right billing fields, a custom form for extra order details — are spread across a few different screens under Selling. This guide walks through where those settings live, what each one controls, and how to leave your checkout collecting exactly the information your store needs without adding friction for the customer.
01Log in and pick the site you're editing
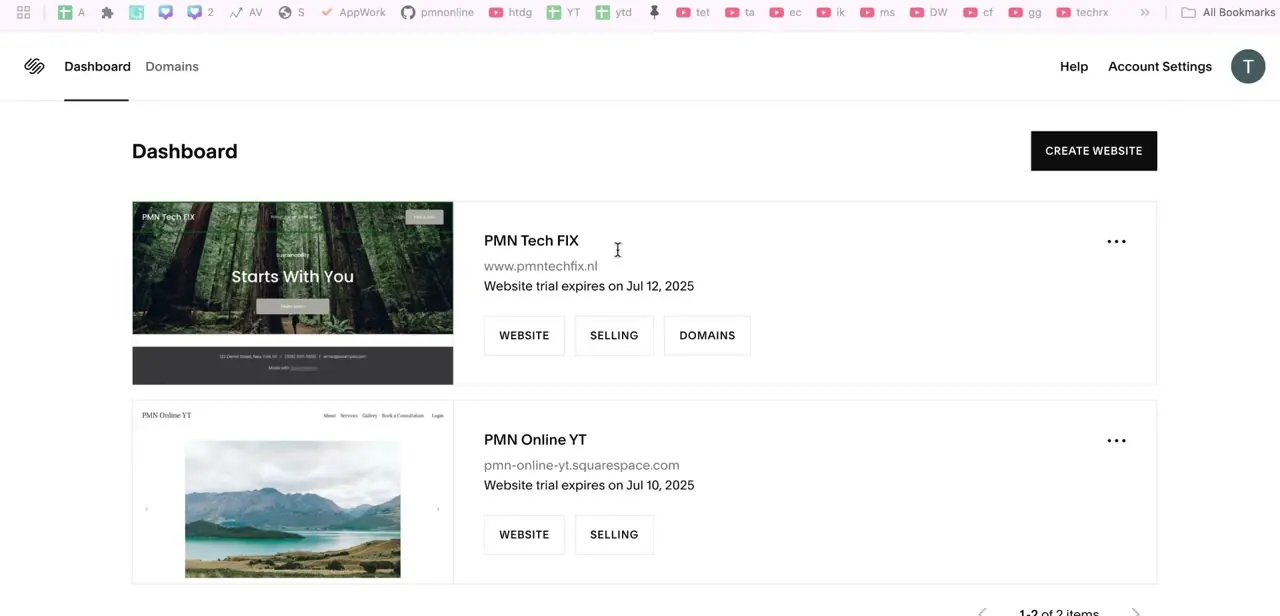
Sign into your Squarespace account and, from the account dashboard, select the specific website you want to configure — this matters if you manage more than one site, since checkout settings are configured per site rather than account-wide. Once you're inside that site's dashboard, everything for this setup happens under Settings.
02Open Settings and find the Selling section
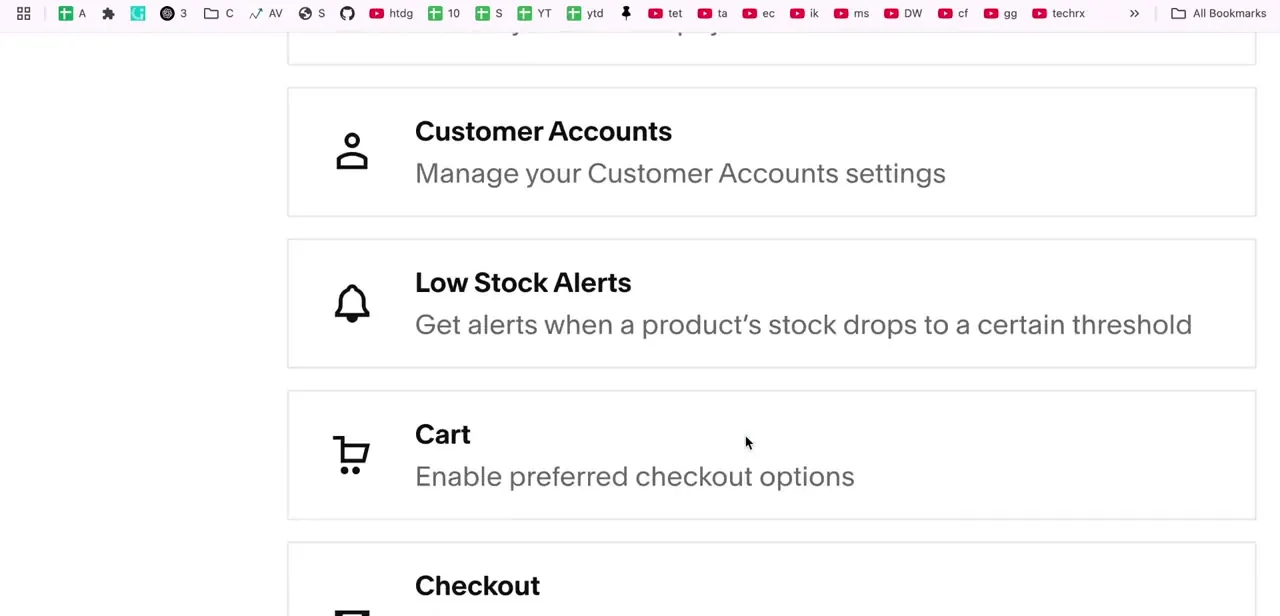
From the left-hand menu inside your site dashboard, open Settings, then look for Selling among the list of setting groups — it sits alongside Website, Domains & Email, Marketing, and Developer Tools. Selling is where every commerce-related control lives: Customer Accounts, Low Stock Alerts, Cart behavior, and the Checkout settings themselves. Scrolling this list is a good way to see everything available before you dive into a single section, since a few of these — like enabling preferred checkout options under Cart — interact with what you'll set up next.
03Connect a payment provider under Payments
Inside Selling, open Payments — this is where you choose how your store actually accepts money. Squarespace lists several providers here, including Square; selecting it prompts you to log in with your Square business credentials, and once authenticated, Squarespace links the two accounts automatically. With Square connected, sales made through your Squarespace checkout flow into Square's reporting and POS tools too, which is the main reason to pick it over a payment processor that only works online.
04Set the checkout page's default behavior
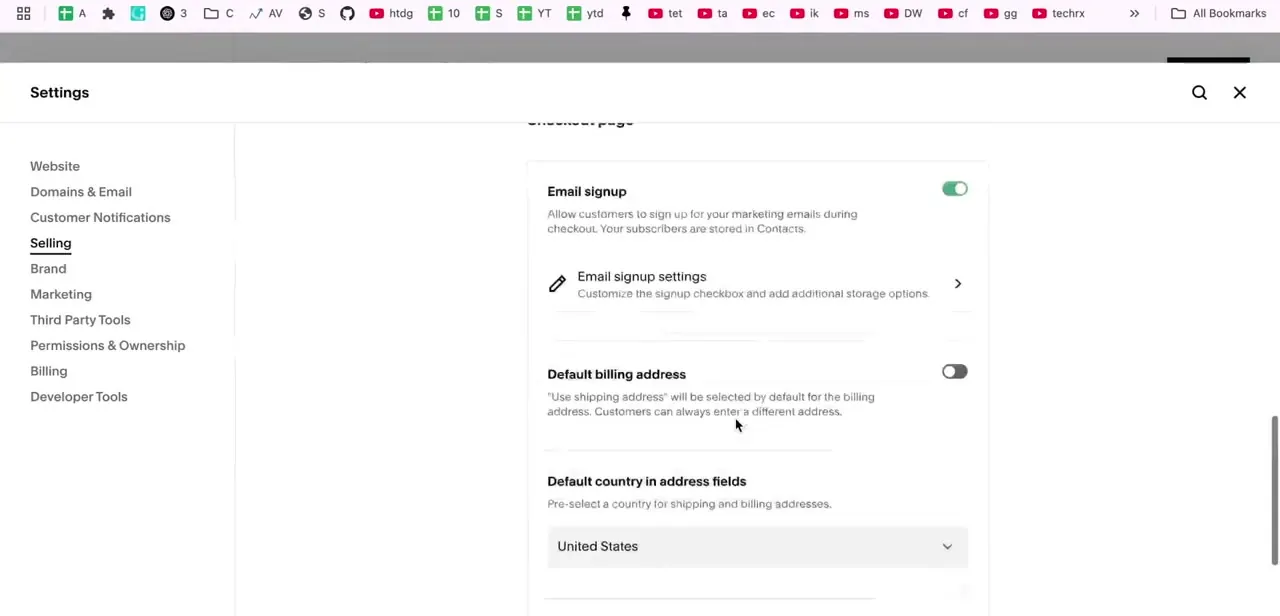
Back in the Checkout section, you'll find toggles that shape what every customer sees. Email signup lets customers opt into your marketing list right at checkout, with subscribers stored automatically in Contacts — worth enabling if you plan to email past customers.
Default billing address controls whether the shipping address is pre-filled as the billing address too, which speeds up checkout for the common case where they match. Default country in address fields pre-selects a country for both address forms, saving a dropdown click for customers concentrated in one region.
05Decide which fields are required
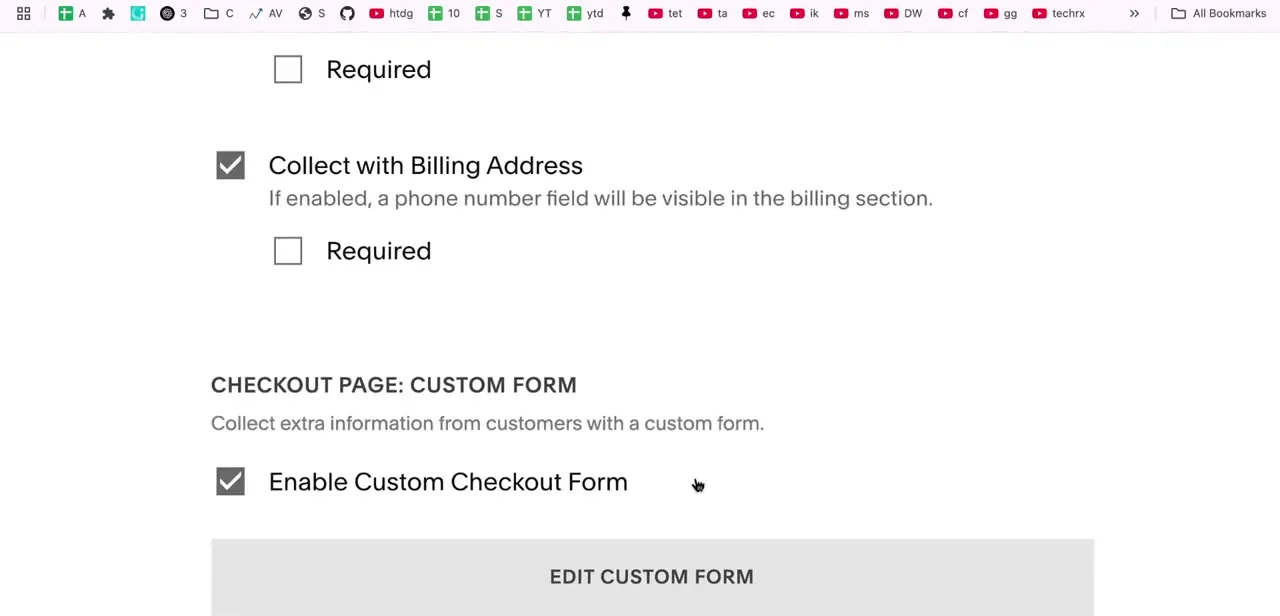
Further down the same settings page, you can require a phone number to be collected with the billing address, and choose separately whether that field is mandatory or optional. Making a field required cuts down on incomplete orders you can't follow up on, but every required field is also a small point of checkout friction — only require what you'll actually use, like a phone number for stores that call about delivery issues.
06Add a custom checkout form for extra information
If your store needs something beyond the standard fields — a gift message, a delivery instruction, a size confirmation — enable Custom Checkout Form under the Checkout Page: Custom Form section, then open Edit Custom Form to build it out. This form appears as an extra step during checkout, and because it's built into Squarespace's own commerce flow, the answers show up directly on the order in your dashboard instead of arriving as a separate email you have to cross-reference.
07Test the full checkout before you launch
Once your payment provider is connected and your checkout settings are saved, place a real or test order on the live site to see the whole flow as a customer would — the email signup checkbox, the billing address behavior, the required phone field, and your custom form questions should all appear in the order you configured them. Catching a misconfigured required field or a confusing custom-form question now is far cheaper than fielding customer confusion about it later.
Frequently asked questions
How do I connect Square to Squarespace?
Go to Settings, then Selling, then Payments, select Square from the provider list, and log in with your Square business credentials to link the accounts.
Can I require a phone number at checkout?
Yes. Under the checkout settings, you can enable phone number collection with the billing address and separately mark it as required.
How do I collect extra information during checkout, like a gift message?
Enable Custom Checkout Form in the Checkout Page: Custom Form section, then use Edit Custom Form to add the fields you need — answers appear directly on the order.
Should I enable Default billing address?
Enable it if most of your customers ship and bill to the same address — it pre-fills the billing address from the shipping address and speeds up checkout, though customers can still change it.
What are the benefits of using Square with Squarespace?
It gives you real-time sales tracking, easy refunds, and a POS system that keeps online and in-person sales in sync, all from the same connected account.
About the author

Impran M N
I've been hooked on technology for as long as I can remember — especially the new tools and AI apps that seem to land every other week. Easy Tech Tuts is where I write up whatever I've just worked out: I do the task in the real product, record the screen, and turn it into the guide I wish I'd found first.