Easy Tech Tuts
How to Link Payment on Squarespace 2026 Easy Guide
By Impran M N
Before a customer can actually check out on a Squarespace store, a payment processor has to be connected — and that setting lives a few clicks deep, inside Settings rather than on the storefront editor itself. This guide follows the real navigation path: opening the correct site from your Squarespace account dashboard, working into Settings, and finding where Payments sits alongside the rest of your site's configuration. From there it covers what actually happens when you connect Stripe or add PayPal, and why testing a transaction before launch matters more than it seems.
01Open the right site from your Dashboard
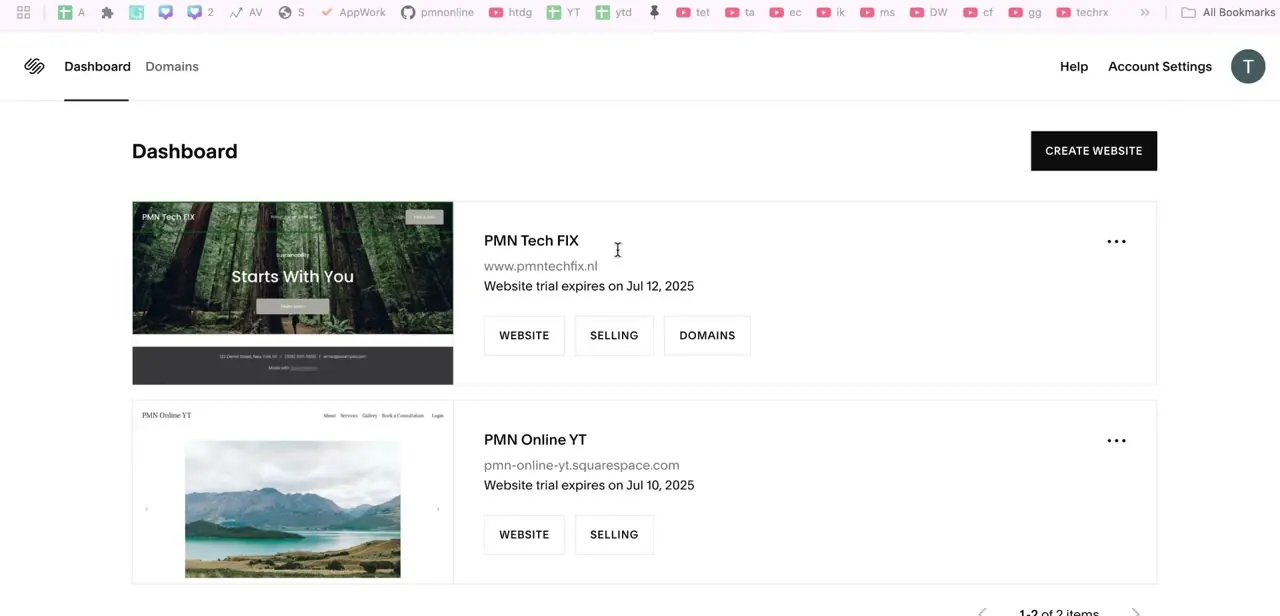
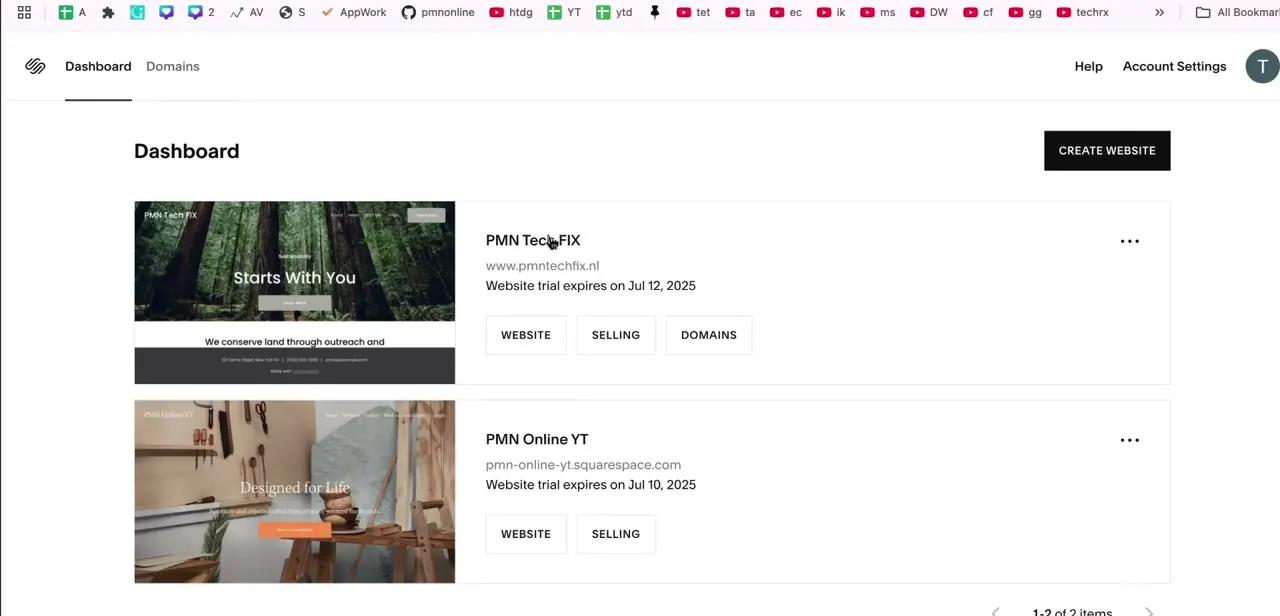
Sign in to Squarespace and land on the account Dashboard, which lists every site tied to your account as its own card — complete with a thumbnail, the live URL, and quick links for Website, Selling, and Domains. If you manage more than one site, as many people do, double-check you're clicking into the correct one before touching payment settings, since a processor connected to the wrong site won't help the store you actually meant to fix.
02Open Settings and find the Selling category
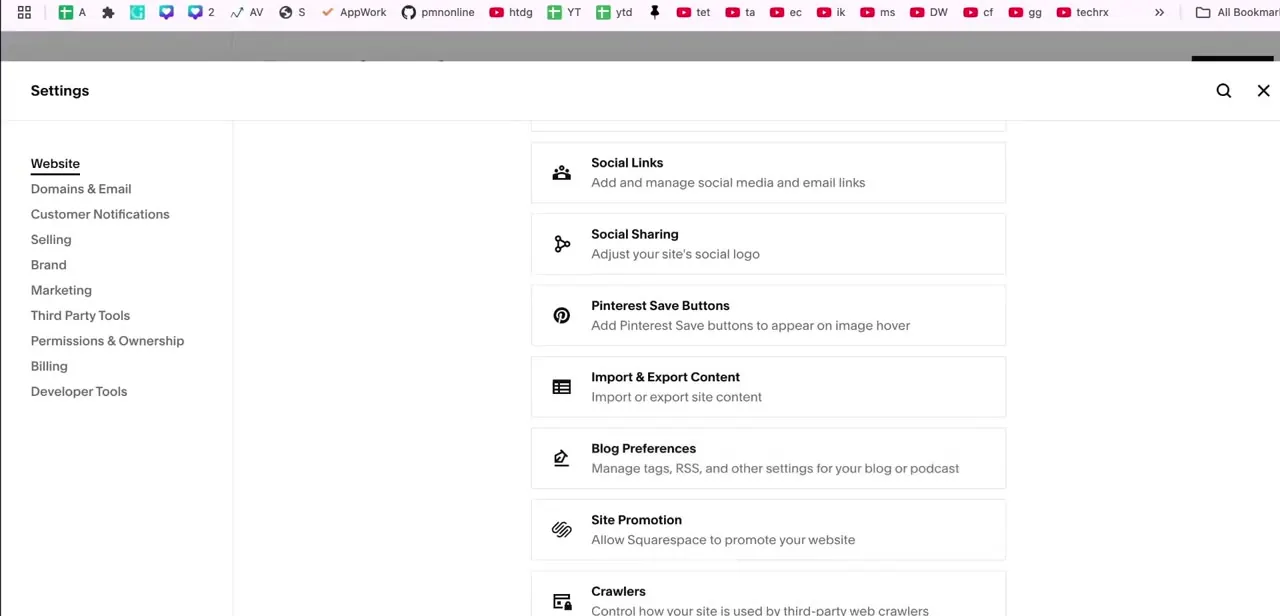
Inside your chosen site, open Settings from the site editor — the panel that opens groups everything into categories: Website, Domains & Email, Customer Notifications, Selling, Brand, Marketing, Third Party Tools, and more further down. Selling is the category that matters here; it's where Squarespace groups payment processors, shipping, taxes, and store policies, separate from the Website category that handles pages and design.
03Locate Payments within the settings structure
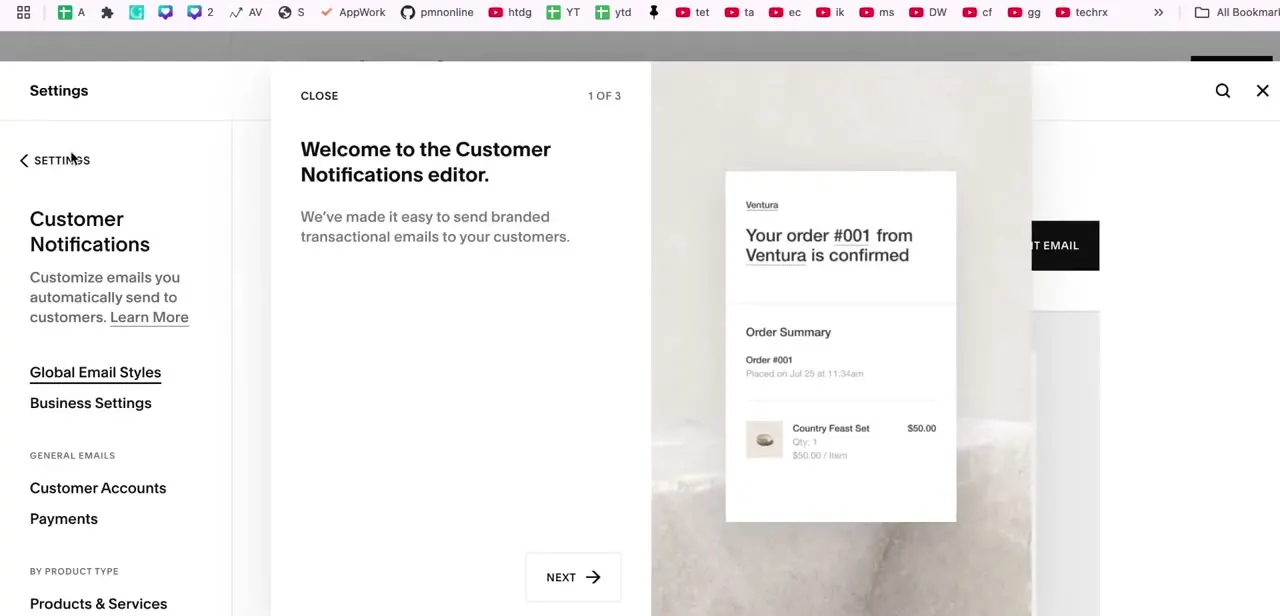
Payments sits as its own entry inside the Settings navigation, grouped near Customer Accounts under general email and account settings, distinct from Customer Notifications, which handles the transactional emails customers receive about their orders. It's easy to open Customer Notifications by mistake since it sits right next to Business Settings in the same panel — if you land there, back out one level and look for Payments specifically rather than trying to connect a processor from inside the notifications editor.
04Choose a payment processor
Once inside Payments, Squarespace lists the processors available for your region — typically Stripe, PayPal, and in some markets Square. Which one to pick depends on where your business operates and what your customers expect to see at checkout; Stripe and PayPal are supported broadly, while Square's availability varies more by country. You're not limited to just one, so most stores end up connecting at least two for flexibility.
05Connect Stripe for card payments
Selecting Stripe walks you through authorizing your existing Stripe account or creating a new one, which becomes the processor handling credit and debit card payments directly at your Squarespace checkout. This is usually the primary processor for most stores since it covers the majority of card transactions without the customer needing an account with anything beyond their own card.
06Add PayPal, then test before launch
Adding PayPal alongside Stripe gives customers who prefer to check out with an existing PayPal balance or linked account another option, rather than forcing everyone through a card form. Once both are connected, enable any additional currencies your customers need and run an actual test transaction — a small real or sandbox purchase — before considering the store live, since a processor that looks connected in settings can still fail silently at the actual checkout step if something in the account setup wasn't finished.
Frequently asked questions
Can I use more than one payment processor at once?
Yes, you can connect Stripe and PayPal together under Settings → Selling → Payments so customers have multiple ways to pay at checkout.
Is Square available for all Squarespace stores?
Square's availability depends on your region, so check what's listed in your Payments settings rather than assuming it will appear.
How do I make sure payments actually work before launch?
Run a real or sandbox test transaction through your checkout after connecting a processor — a processor can appear connected in Settings and still fail during an actual purchase.
Can I accept payments in multiple currencies?
Yes, Squarespace's Selling settings allow you to enable multiple currencies for international customers alongside your connected payment processors.
Where exactly do I find Payments in Squarespace settings?
Open Settings, choose the Selling category, and look for the Payments entry — it sits near Customer Accounts, separate from Customer Notifications, which only handles order emails.
About the author

Impran M N
I've been hooked on technology for as long as I can remember — especially the new tools and AI apps that seem to land every other week. Easy Tech Tuts is where I write up whatever I've just worked out: I do the task in the real product, record the screen, and turn it into the guide I wish I'd found first.