Easy Tech Tuts
How To Transfer Shopify Store Ownership, Change To New Owner's Email Easily 2026
By Impran M N
Selling a Shopify store, bringing on a business partner, or simply handing the account to whoever runs the business day-to-day all come down to the same setting: store ownership, tucked inside Settings → Users. Shopify treats this as a deliberate, security-conscious action rather than a simple field edit, because the store owner is the one role that can't be removed, suspended, or locked out by anyone else. This guide walks through the actual Users screen, the Change store ownership dialog, and what the new owner needs to do on their end before the transfer is final.
01Open your Shopify admin
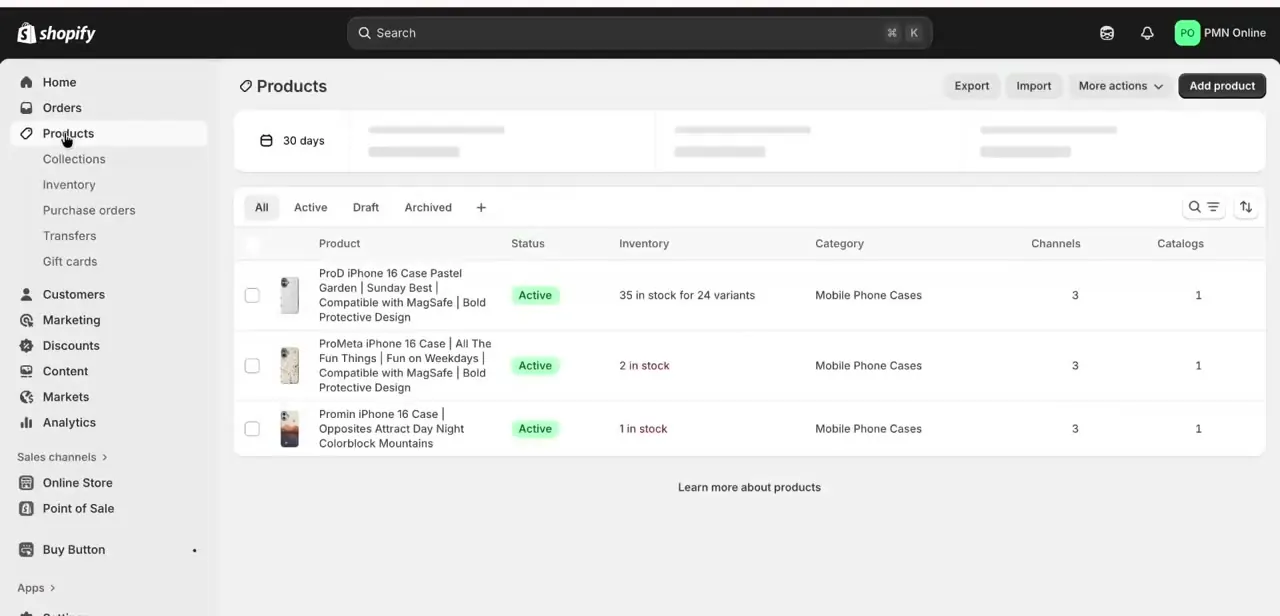
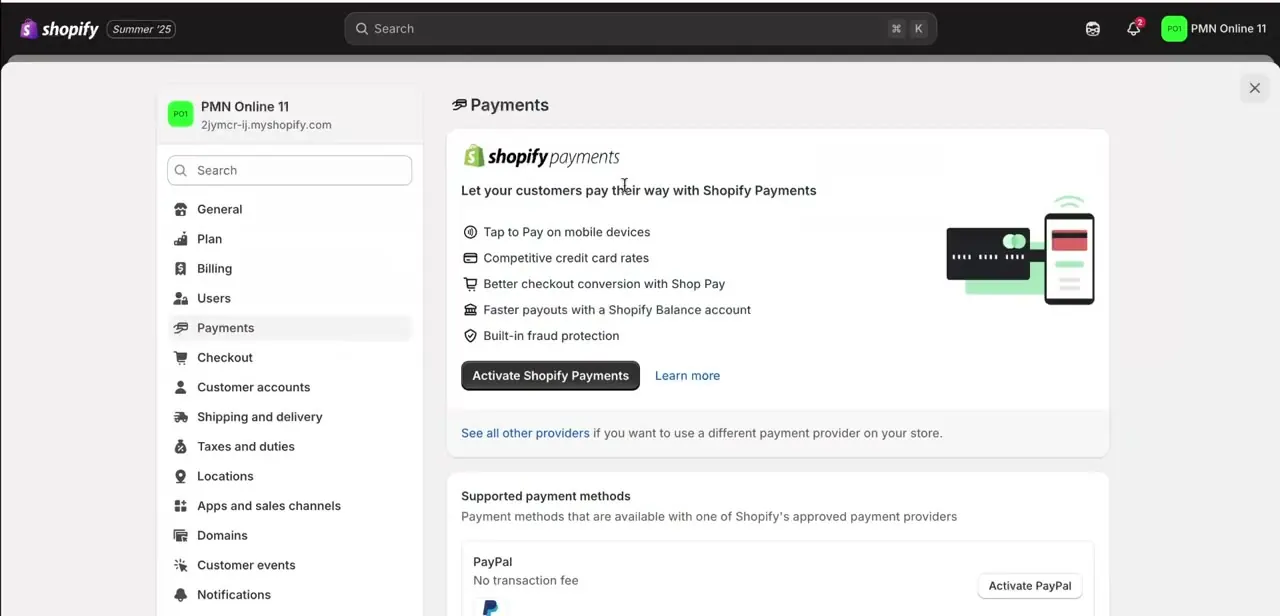
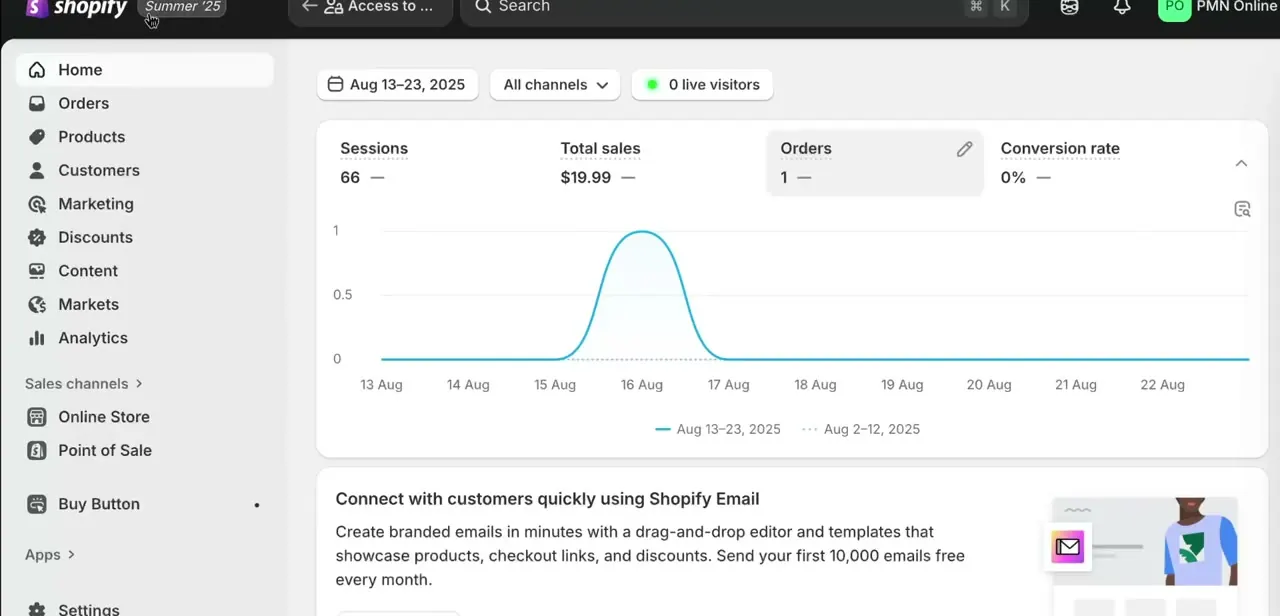
Log into the store's admin and you'll land on the Home dashboard, with the left-hand sidebar showing Orders, Products, Customers, Analytics, and further down, Settings. Ownership isn't managed from any of the storefront-facing sections — it lives specifically under Settings → Users, so don't go looking for it near Billing or Plan even though those are close by in the sidebar.
02Go to Settings and open Users
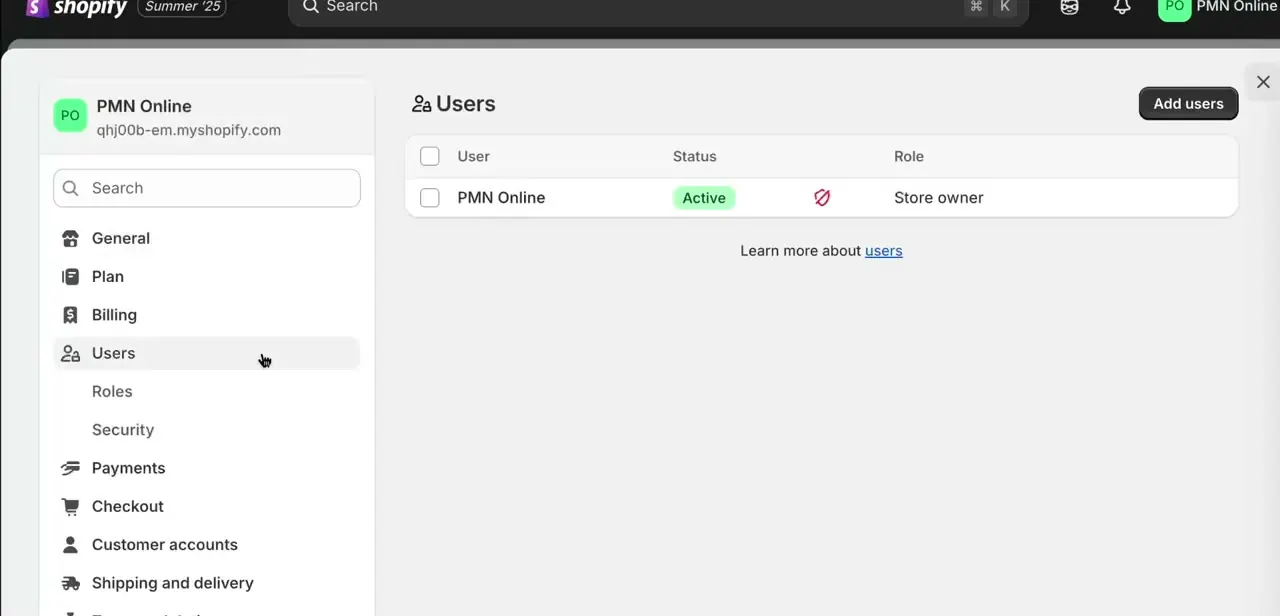
Inside Settings, click Users to see everyone with access to the store. On a single-person store this list shows just one row — you, marked with the Active status and a role of Store owner, along with a small icon showing that the owner row can't be edited or removed the way a regular staff account can. This is the screen that confirms who currently holds ownership before you change anything.
03Add the new owner as a staff account first
Before ownership can move to someone, Shopify needs them to already exist as a user on the store — you can't transfer ownership to an email that's never been invited. Use Add users on the Users screen to send them a staff invitation with their email address, and have them accept it and set up their login before you attempt the transfer. Skipping this step is the most common reason people get stuck later with the transfer not showing up.
04Open Change store ownership and enter the new owner's email
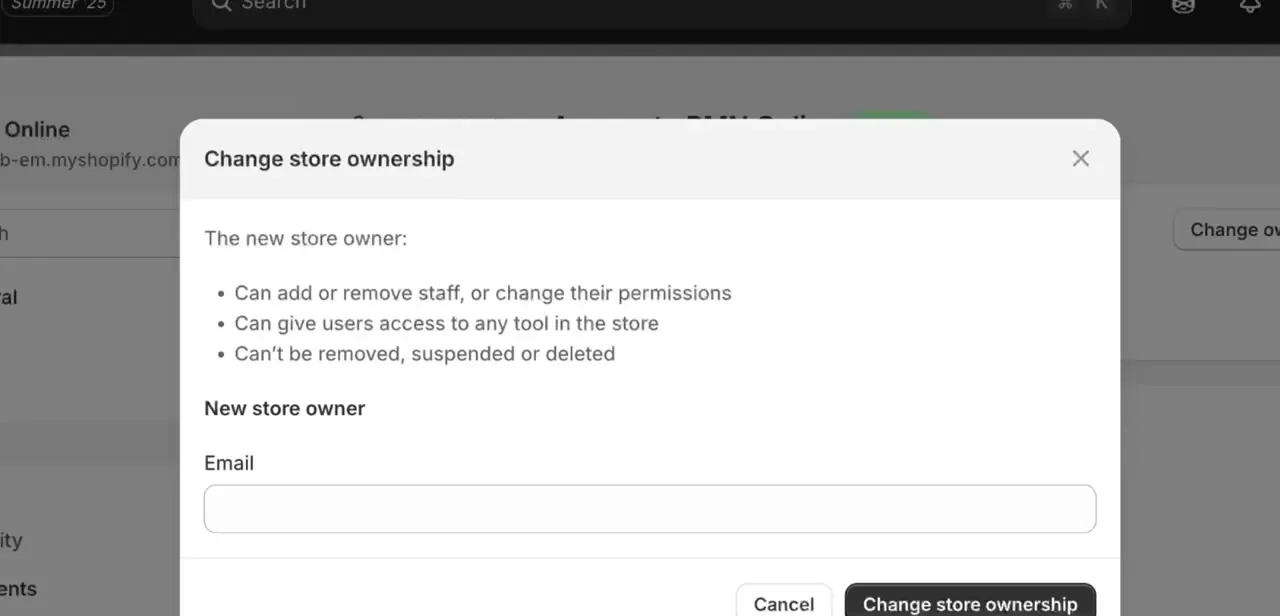
Once the new owner has accepted their staff invite, click Change ownership from their user page or from the Users list to open the Change store ownership dialog. It spells out exactly what the role includes before you commit: the new owner can add or remove staff, change permissions, and give any user access to any tool in the store — and once assigned, that person can't be removed, suspended, or deleted the way a regular staff account can. Type their email into the New store owner field carefully, since this is the address the transfer confirmation gets sent to.
05Confirm the transfer from both accounts
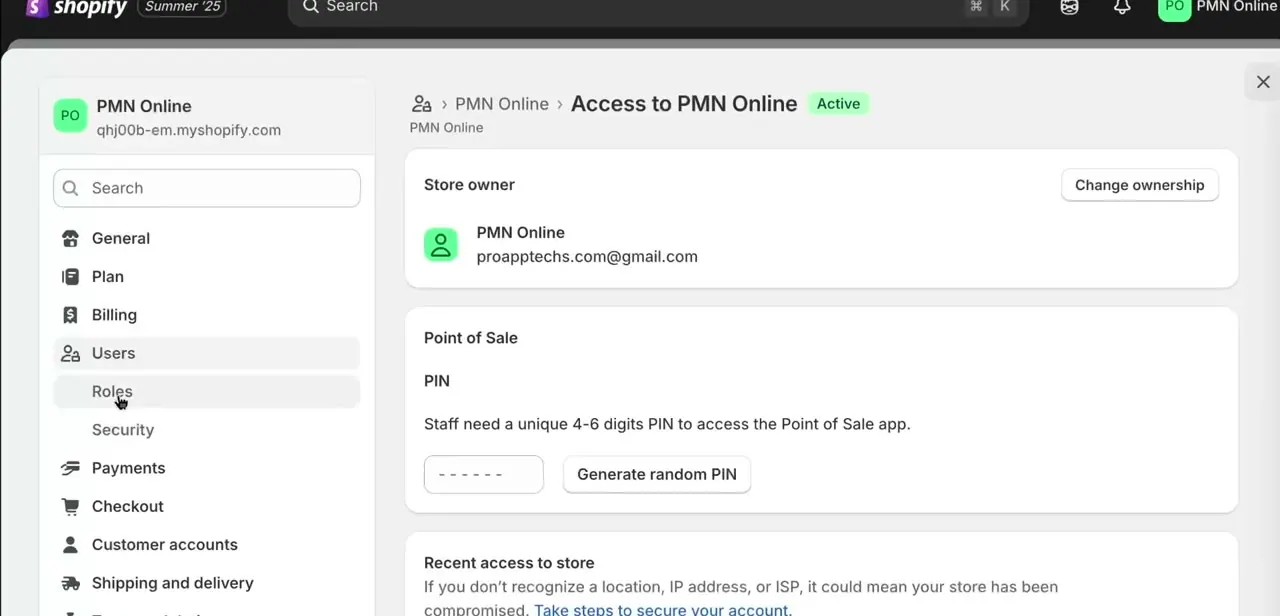
After submitting the new owner's email, Shopify sends a confirmation that the new owner typically has to accept from their own login before the role actually changes hands — a transfer isn't final just because you clicked the button. Check back on the Access page for that user, which shows the current Store owner name and email at the top next to the Change ownership button, to confirm the swap actually completed rather than assuming it went through silently.
06Clean up access once the handover is done
Once the new owner's role is confirmed as Store owner, decide whether you still need a staff account on the store. If you're fully exiting — after selling the business, for instance — ask the new owner to remove your staff access once you've confirmed there's nothing left to hand off, like unresolved orders or pending payouts. If billing was tied to your payment method, flag that explicitly too, since ownership transfer doesn't automatically move payment details to the new owner's card.
Frequently asked questions
Can I undo a store ownership transfer?
Once ownership is transferred, only the new owner can grant access back to you, so confirm the recipient's email and intentions carefully before starting the process.
Why isn't the ownership transfer showing up in settings?
This usually means the new owner hasn't accepted their staff invitation yet, or hasn't confirmed the ownership transfer from their own account — both steps happen outside your admin session.
Do I need the new owner's permission to transfer ownership?
Yes. They need to already be added as a staff user and typically must accept the transfer from their own login before the Store owner role actually changes.
Will billing information transfer automatically?
No. Billing details stay tied to whatever payment method is on file, so the new owner should update payment information separately after the ownership transfer completes.
Can the store owner role be removed or suspended by another user?
No — Shopify explicitly protects the Store owner role from being removed, suspended, or deleted by any other staff account, which is why the transfer dialog warns you about this before you confirm.
About the author

Impran M N
I've been hooked on technology for as long as I can remember — especially the new tools and AI apps that seem to land every other week. Easy Tech Tuts is where I write up whatever I've just worked out: I do the task in the real product, record the screen, and turn it into the guide I wish I'd found first.