Easy Tech Tuts
How to Integrate Shiprocket Checkout with Shopify Easily 2026
By Impran M N
Shiprocket is the shipping layer most Indian Shopify stores end up on, because it aggregates courier partners, handles COD, and pushes tracking back to the customer without you negotiating with each carrier yourself. The integration itself is short — install the app, authorise it with your Shiprocket login, set a pickup address, and let orders flow across — but the order you do things in matters, and a couple of steps are easy to skip in a way that only shows up when a real order fails to sync. This guide covers the full connection from a fresh Shopify admin through to a tested order, and points out where Shiprocket's own help centre answers the questions that come up most often afterwards.
01Get your Shopify store and Shiprocket account ready
Two things need to exist before you install anything: a Shopify store with at least one real product, and a Shiprocket account you can log into. Sign up at Shiprocket separately if you haven't — the integration authorises an existing account rather than creating one, so the app install will stall at the login screen otherwise.
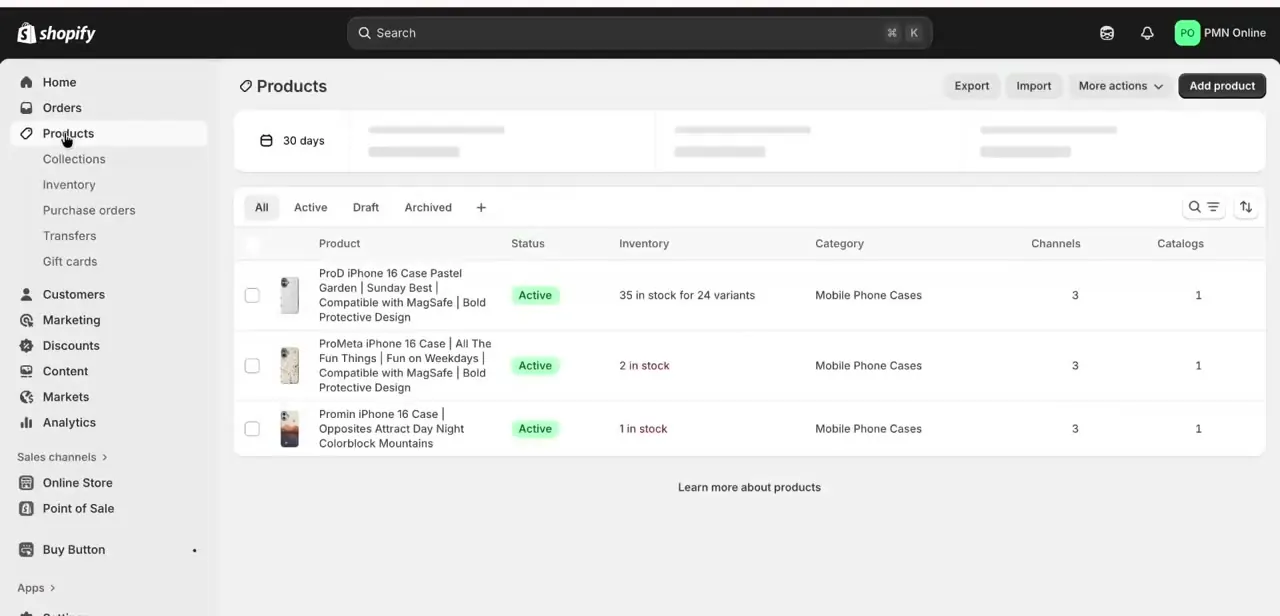
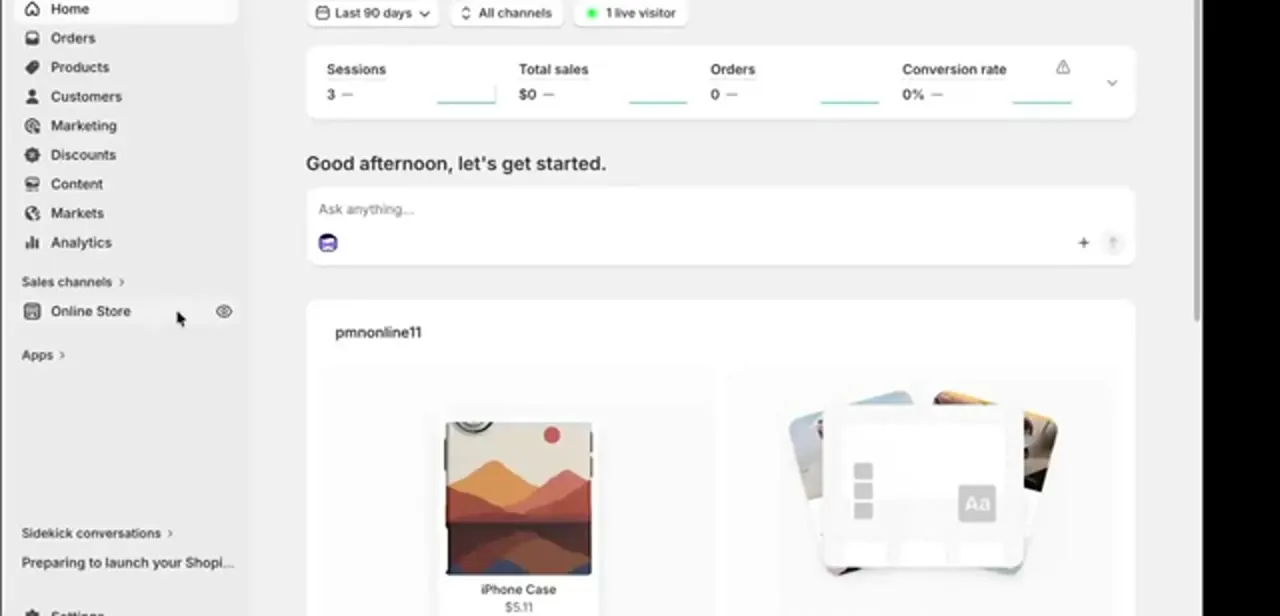
On the Shopify side, open your admin and confirm you can see Orders, Products, and Apps in the left menu; you'll be moving between those three throughout. It's also worth adding one cheap test product now, since you'll need something orderable to prove the sync works at the end.
02Install the Shiprocket app from the Shopify App Store
From your admin, open Apps and follow the link through to the Shopify App Store, then search for Shiprocket. Check the listing before you click Add: the official app is published by Shiprocket itself, and there are similarly-named third-party connectors that behave differently.
Shopify will show you the permissions the app requests — order data, fulfilment, and customer addresses — which it needs in order to create shipments on your behalf. Approve the install and Shopify hands you off to Shiprocket to finish the connection.
03Authorise the connection with your Shiprocket login
The handoff lands you on a Shiprocket login page, and this is the actual link-up: signing in with your Shiprocket credentials is what binds that account to this specific Shopify store. Use the email and password for the account whose wallet and courier settings you want orders billed against — if you manage several Shiprocket accounts, this is the moment to get it right, since re-pointing later means disconnecting and reinstalling.
Once authorised, the Shiprocket dashboard shows your Shopify store listed as a connected channel. From that point, the two systems are talking and new orders can flow across.
04Set your pickup address and serviceable pincodes
Shiprocket calculates rates and assigns couriers from a pickup location, so this has to be accurate before anything useful happens. In the Shiprocket dashboard, add the address your parcels will actually be collected from, including the correct pincode — a wrong pincode here silently produces wrong rates and wrong delivery estimates for every order.
If you ship from more than one place, add each as a separate pickup location and mark a primary. This is also where you set which pincodes you serve and whether you offer COD, both of which directly shape what your customers see.
05Configure shipping rates on the Shopify side
Connecting Shiprocket does not automatically rewrite the rates your Shopify checkout shows. Go to Settings, Shipping and delivery in Shopify and decide how you want to charge: a flat rate per order, free shipping above a threshold, or weight-based bands that roughly track what Shiprocket charges you.
Whatever you pick, make sure your product weights are filled in — Shiprocket bills on weight and dimensions, so a store selling with no weights entered will quote customers one figure and get charged another. Compare a few sample pincodes in Shiprocket's rate calculator against what your checkout quotes, and adjust until the gap is one you're happy to absorb.
06Place a test order and confirm it syncs
Buy something from your own store using a real Indian address and a low-value test product. Within a minute or two the order should appear in the Shiprocket dashboard's orders list, carrying the customer name, address, and item details from Shopify.
From there, assign a courier and generate a label to confirm the full path works — if the order arrives but won't ship, it's usually a missing weight or an unserviceable pincode rather than a broken connection. Check that tracking status flows back to the Shopify order too, since that's what stops customers emailing you for updates.
07Know where to go when something breaks
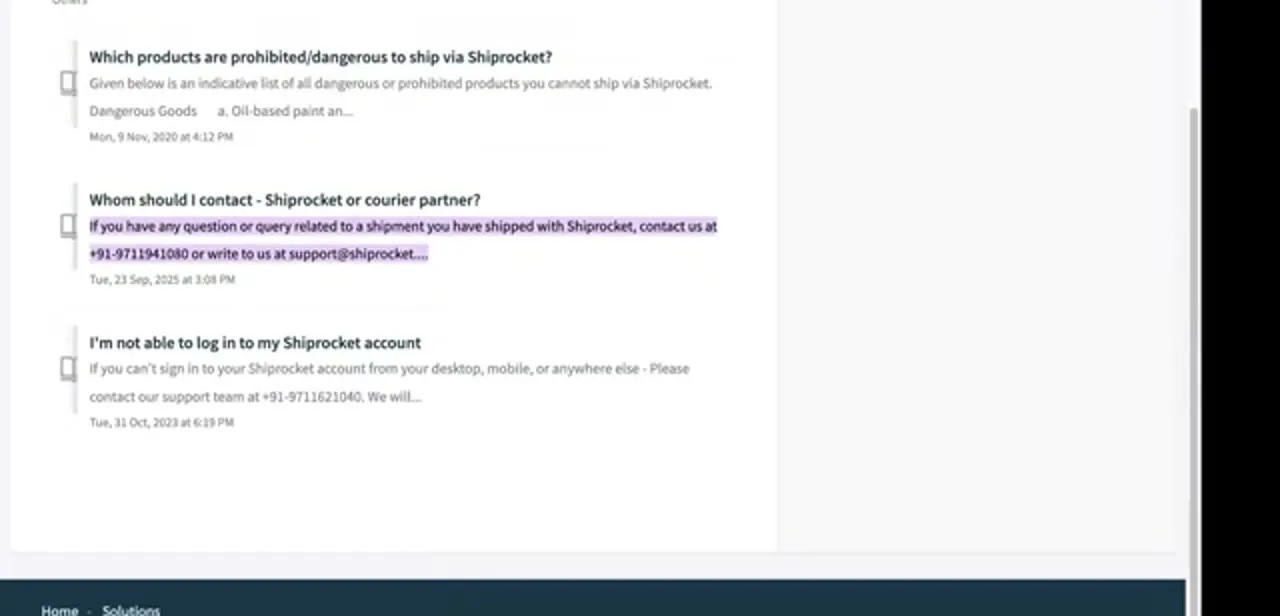
Once you're live, most problems are operational rather than technical: a pincode that isn't serviceable, a product category that couriers won't carry, or a login that stops working. Shiprocket runs a searchable help centre covering exactly these cases — prohibited and dangerous goods lists, whether to contact Shiprocket or the courier partner for a shipment query, and account access issues.
Bookmark it before your first busy week rather than during it. As a rule of thumb: anything about a specific shipment in transit goes to Shiprocket support, while anything about what the customer sees at checkout is a Shopify shipping setting you control.
Frequently asked questions
Do I need a Shiprocket account before installing the Shopify app?
Yes. The install ends on a Shiprocket login screen — it authorises an account that already exists rather than creating one, so sign up at Shiprocket first.
Does connecting Shiprocket change the rates my customers see at checkout?
Not by itself. Your Shopify shipping settings still control what's quoted at checkout, so set flat, free-over-threshold, or weight-based rates there and compare them against Shiprocket's actual charges.
Why is my Shopify order not showing in the Shiprocket dashboard?
Usually the store isn't fully authorised, or the order was placed before the connection completed. Check that your Shopify store is listed as a connected channel in Shiprocket, then place a fresh test order.
Can I ship from more than one location?
Yes. Add each collection point as a separate pickup address in Shiprocket and mark one as primary. Rates and courier assignment are calculated from the pickup address, so keep every pincode accurate.
Who do I contact when a shipment goes missing — Shiprocket or the courier?
Shiprocket. Its help centre states that queries about a shipment you sent through the platform go to Shiprocket support rather than direct to the courier partner.
About the author

Impran M N
I've been hooked on technology for as long as I can remember — especially the new tools and AI apps that seem to land every other week. Easy Tech Tuts is where I write up whatever I've just worked out: I do the task in the real product, record the screen, and turn it into the guide I wish I'd found first.