Easy Tech Tuts
How to Use Namecheap Private Email, its pricing & How to Subscribe for Free
By Impran M N
Namecheap Private Email is the cheapest credible way to get an inbox on your own domain, but the pricing page is doing a lot of work at once — three tiers, a promo code sitting in a box, a first-term price that is nothing like the renewal price, and a trial that quietly makes the first stretch free. Get those pieces straight and a branded address costs less than a coffee a month; miss them and you pay four times more than you needed to at renewal.
This guide walks the real path: finding Private Email inside your Namecheap account, reading the plan table for what actually differs, claiming the free trial, then creating the mailbox and wiring it into the mail app you already use. Along the way it flags the two numbers most people skip — the renewal rate and the mailbox count — because those are what decide whether the plan you pick still fits in a year.
01Find Private Email inside your Namecheap account
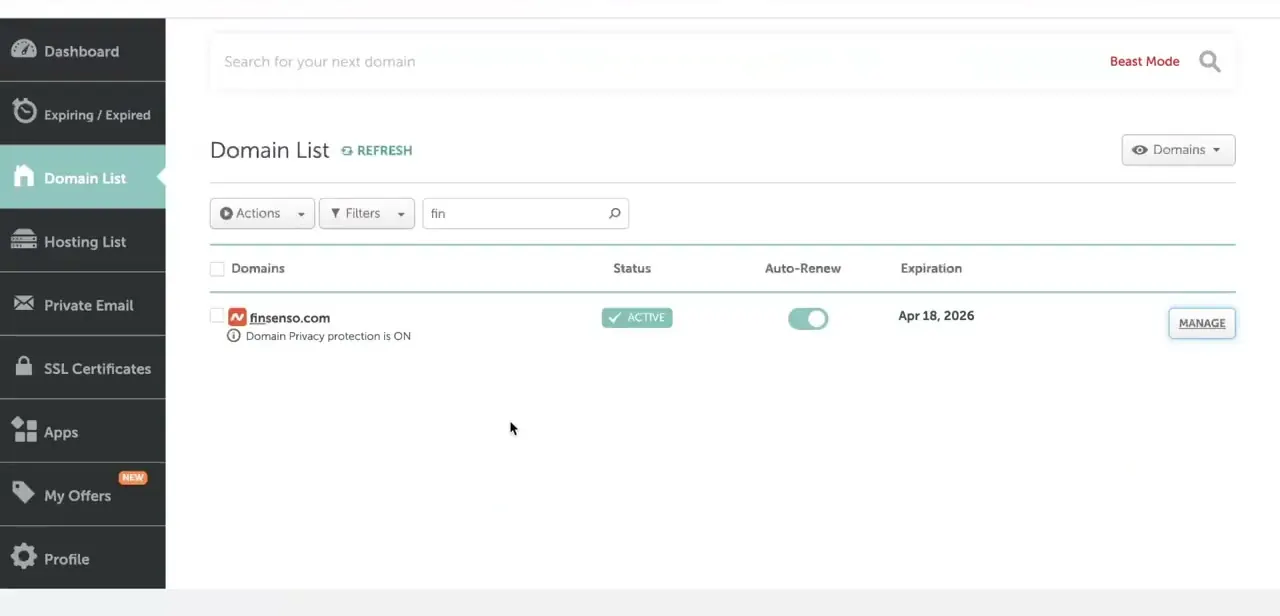
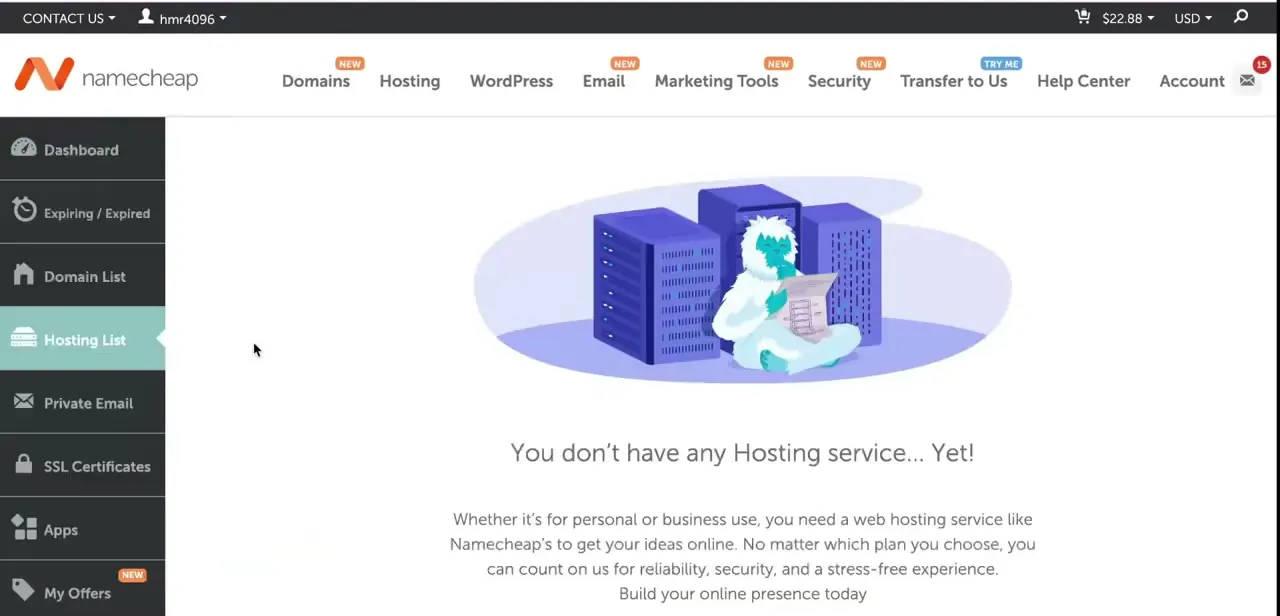
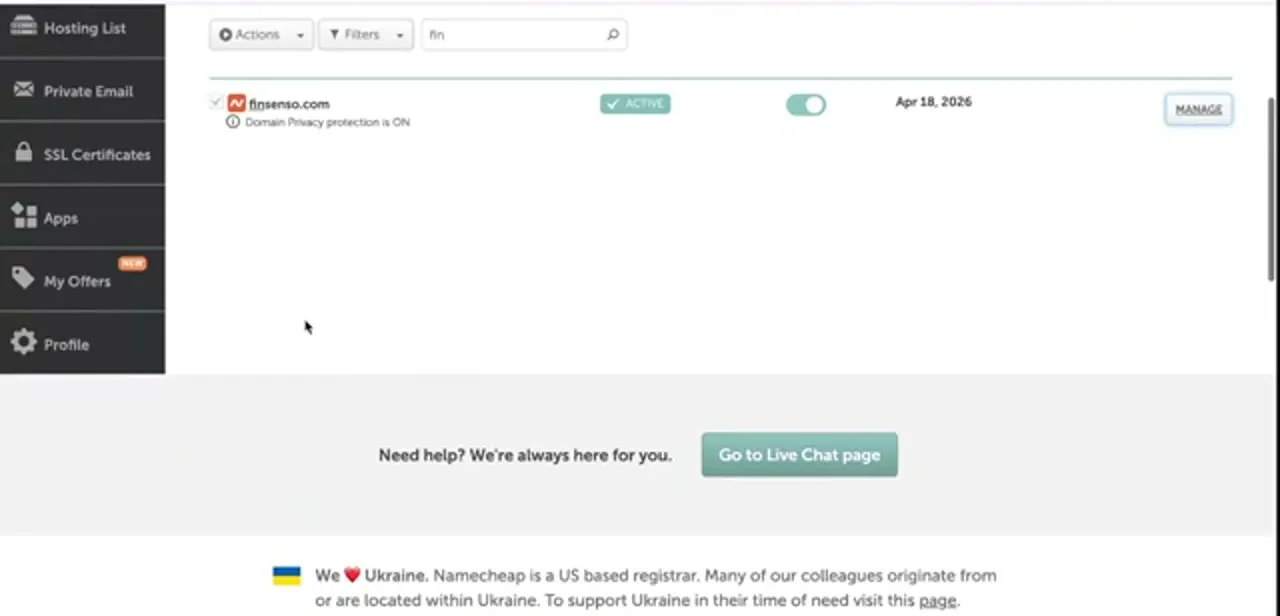
Private Email is a product you manage from your account dashboard, not something buried in a domain's settings. Sign in, and the left-hand rail lists Domain List, Hosting List, Private Email, SSL Certificates, Apps, My Offers and Profile — Private Email sits third, and that one link is the hub for buying, assigning and managing every mailbox on your account.
Your domains are listed to the right with their status and expiry date and a Manage button on each row, which matters here because a Private Email subscription has to be attached to a domain you control before mail will flow. If the domain is registered with Namecheap, as the one shown here is, the connection is close to automatic; if it is registered elsewhere, plan on editing MX records at your current DNS host after you subscribe.
02Read the three plans for what actually differs
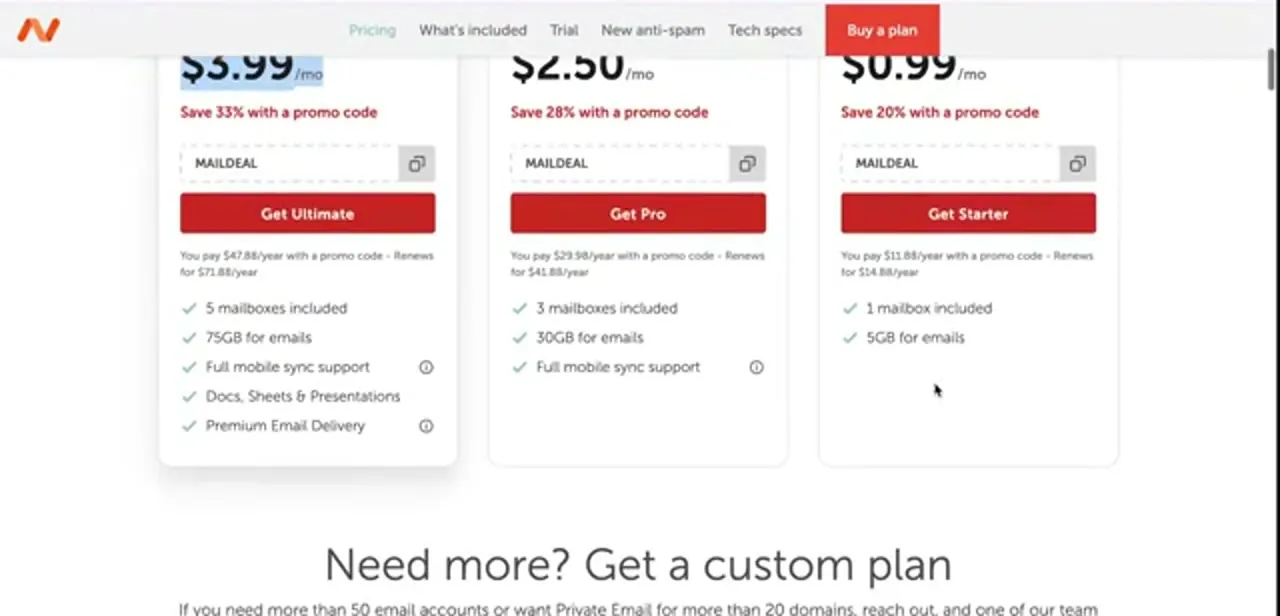
Private Email comes in Starter, Pro and Ultimate, and the difference between them is mailboxes and storage rather than core features. Starter is one mailbox with 5GB, Pro is three mailboxes with 30GB, and Ultimate is five mailboxes with 75GB plus the document tools and premium delivery.
Every tier gets full mobile sync support, so you are not paying more just to read mail on your phone. Pick by how many separate people need their own login: one person running a business needs Starter, because aliases (covered further down) cover the you@, hello@ and support@ addresses without buying extra mailboxes. Buying Pro when a single mailbox with three aliases would have done the same job is the most common overspend on this page.
03Apply the promo code and check the renewal price
Namecheap pre-fills a promo code on the pricing page — MAILDEAL in the run shown here — and each plan shows what it saves: roughly 33 percent off Ultimate, 28 percent off Pro and 20 percent off Starter. Copy it with the button beside the box and make sure it is actually in the cart field at checkout, because the discount does not follow you automatically from every entry point.
Then read the small line under the button, which is the number that matters most: Starter bills at $11.88 for the first year and renews at $14.88, Pro at $29.98 renewing at $41.88, Ultimate at $47.88 renewing at $71.88. Promo codes rotate, so treat the exact code and percentages as a snapshot rather than a fixed price — the structure, a discounted first term and a higher renewal, stays the same.
04Start the free trial before you pay anything
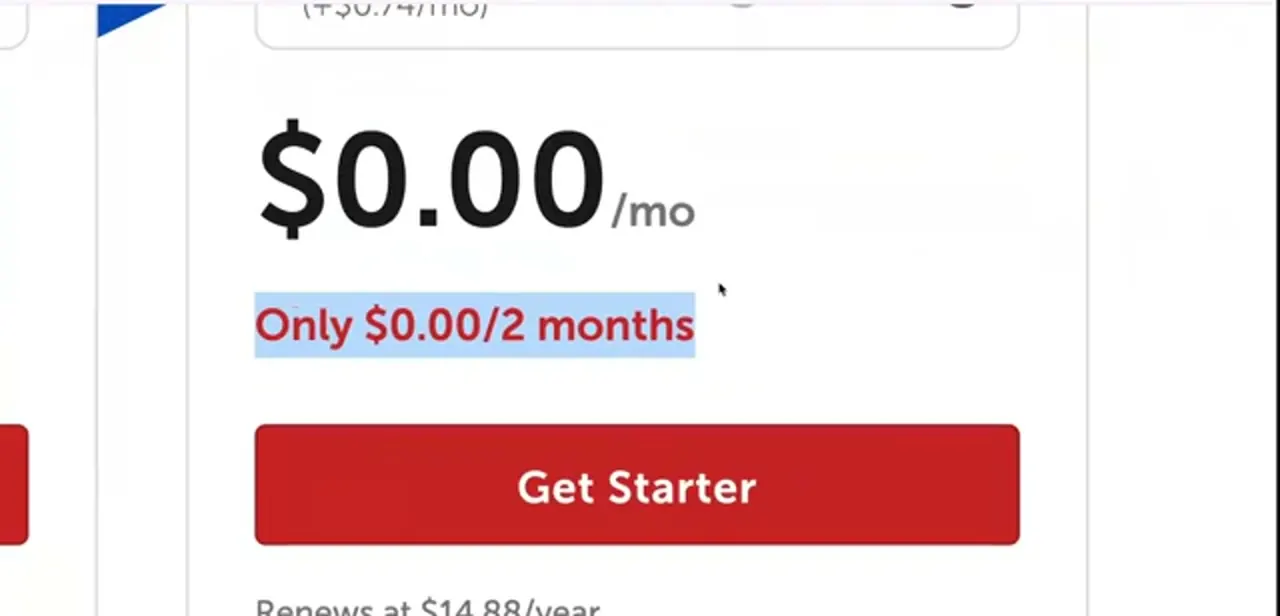
The Trial tab on the pricing page is how you get Private Email for free, and when a trial is running the plan price drops to $0.00 per month for the trial window — two months in the case shown above. You still go through checkout and the card on file is still recorded, so the important habit is to note the date the trial converts and the renewal amount printed under the button.
Use those free weeks for the thing you cannot test from a feature list: send and receive real mail, check that messages to Gmail and Outlook recipients land in the inbox rather than spam, and try the webmail on your phone. If the trial has ended by the time you read this, the paid Starter plan is close enough to free that the decision barely changes.
05Create the mailbox and get mail flowing
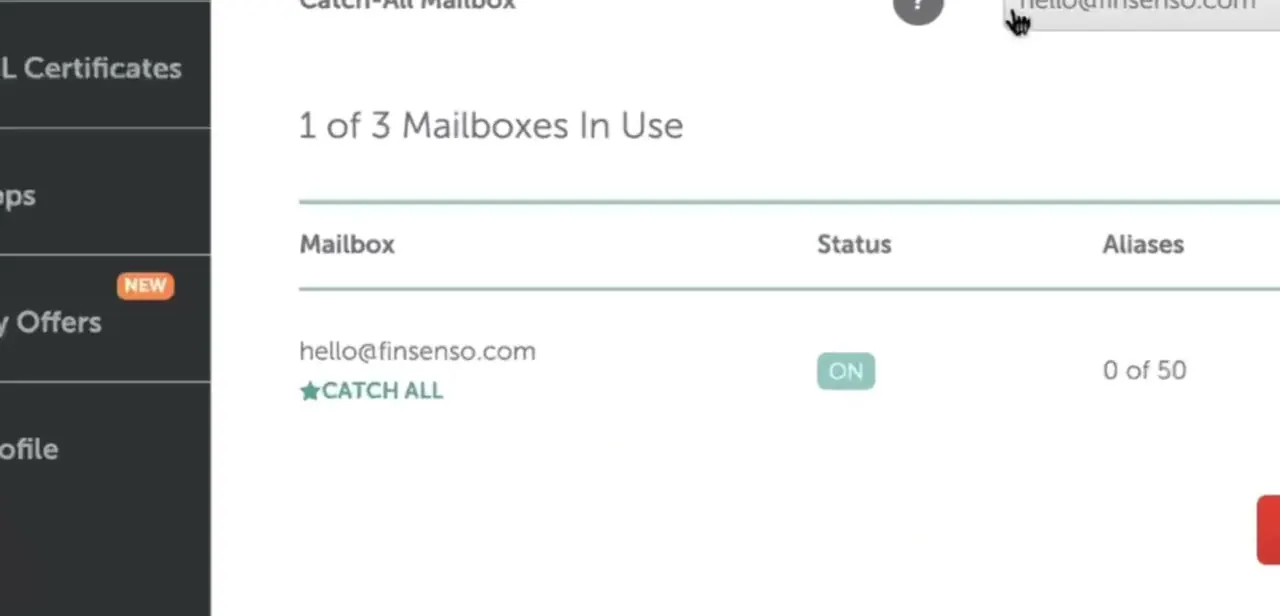
After checkout, open Private Email from the dashboard rail and create the mailbox itself — you choose the local part of the address, the domain it belongs to, and a password, and that combination is your webmail login as well as the credentials any mail app will use. A subscription with unused mailboxes shows them as empty slots you can fill later, so on Pro or Ultimate you can add a teammate's address without buying anything more.
Mail will not arrive until the domain's MX records point at Namecheap's mail servers; for a domain registered with Namecheap this is applied for you when you link the subscription, and for a domain hosted elsewhere you copy the MX values from the Private Email setup screen into your DNS provider. Give DNS changes a few minutes to propagate, then send yourself a test message from an outside address before you put the new address on anything public.
06Connect it to Outlook or Gmail
Webmail is fine for a check, but most people want the branded address inside the client they already live in. Both Outlook and Gmail take the same three things: your full email address as the username, your mailbox password, and Namecheap's incoming and outgoing server names with their SSL ports, all of which are listed on the Private Email setup page.
In Gmail, add it under Settings, Accounts and Import — POP or IMAP for receiving, and "Send mail as" with the SMTP details so your replies leave from the branded address rather than your Gmail one. Choose IMAP over POP unless you have a specific reason not to, because IMAP keeps the same folder state across your laptop, phone and webmail instead of yanking messages onto one device. The mobile sync support included on every tier is what makes the phone side work cleanly here.
07Add aliases, spam filtering and calendar sync
Once mail flows, the features that make a single cheap mailbox feel like a full email system are worth ten minutes. Aliases let addresses like support@ and billing@ deliver into the one inbox you already pay for, which is how a Starter plan covers a whole small business.
The anti-spam layer gets its own tab on the pricing page and is on by default, but check the quarantine in the first week so you learn what it is holding back before a customer's mail goes missing. Calendar and contacts sync over the same account, so adding the mailbox to your phone brings the calendar with it. Finally, keep an eye on storage — 5GB fills faster than expected once attachments accumulate, and clearing large mail beats upgrading a tier you did not need.
Frequently asked questions
Can I get Namecheap Private Email for free?
Yes, when a trial is running. The Trial tab on the Private Email pricing page drops the plan to $0.00 per month for the trial window — two months in the promotion shown here. You still complete checkout, and the plan converts to the printed renewal rate when the trial ends.
How much does Namecheap Private Email cost?
Starter is around $11.88 for the first year with the promo code and renews near $14.88; Pro is roughly $29.98 renewing at $41.88; Ultimate is about $47.88 renewing at $71.88. Codes and rates rotate, so check the line under each plan's button for the current first-term and renewal prices.
What's the difference between Starter, Pro and Ultimate?
Mailboxes and storage, mainly — 1 mailbox and 5GB, 3 mailboxes and 30GB, or 5 mailboxes and 75GB. Ultimate adds document tools and premium email delivery. Full mobile sync is included on all three.
Can I use Namecheap Private Email with Gmail or Outlook?
Yes. Add the account in your client using your full address as the username, your mailbox password, and the IMAP and SMTP server details from the Private Email setup page. In Gmail, set up "Send mail as" too so replies go out from the branded address.
Do I need my domain registered at Namecheap to use Private Email?
No. A domain registered with Namecheap links almost automatically, but you can use a domain hosted anywhere by copying the MX records from the Private Email setup screen into your existing DNS provider.
About the author

Impran M N
I've been hooked on technology for as long as I can remember — especially the new tools and AI apps that seem to land every other week. Easy Tech Tuts is where I write up whatever I've just worked out: I do the task in the real product, record the screen, and turn it into the guide I wish I'd found first.