Easy Tech Tuts
How to Connect Namecheap Email to Gmail, Add & Use Easily 2026
By Impran M N
Managing a custom domain mailbox from Namecheap Private Email separately from your regular Gmail inbox gets tedious fast, and Gmail's "Send mail as" feature lets you send outgoing mail from that address without switching tabs. It doesn't pull incoming mail into Gmail on its own; that's a separate setting, and one Google has been steadily shutting down.
This guide follows the send-mail-as flow: confirming your mailbox exists in Namecheap Private Email, adding it through Gmail's account settings, entering the SMTP details Namecheap actually documents, and confirming ownership through the email Gmail sends. It also covers a timing issue worth knowing before you start: Google is phasing this exact feature out for personal Gmail accounts, on a schedule that overlaps with when you're likely reading this.
Before you start
- A mailbox already created and active in Namecheap Private Email
- If two-factor authentication is on for that mailbox, an application-specific password generated in Private Email's security settings
01Confirm your mailbox in Namecheap Private Email
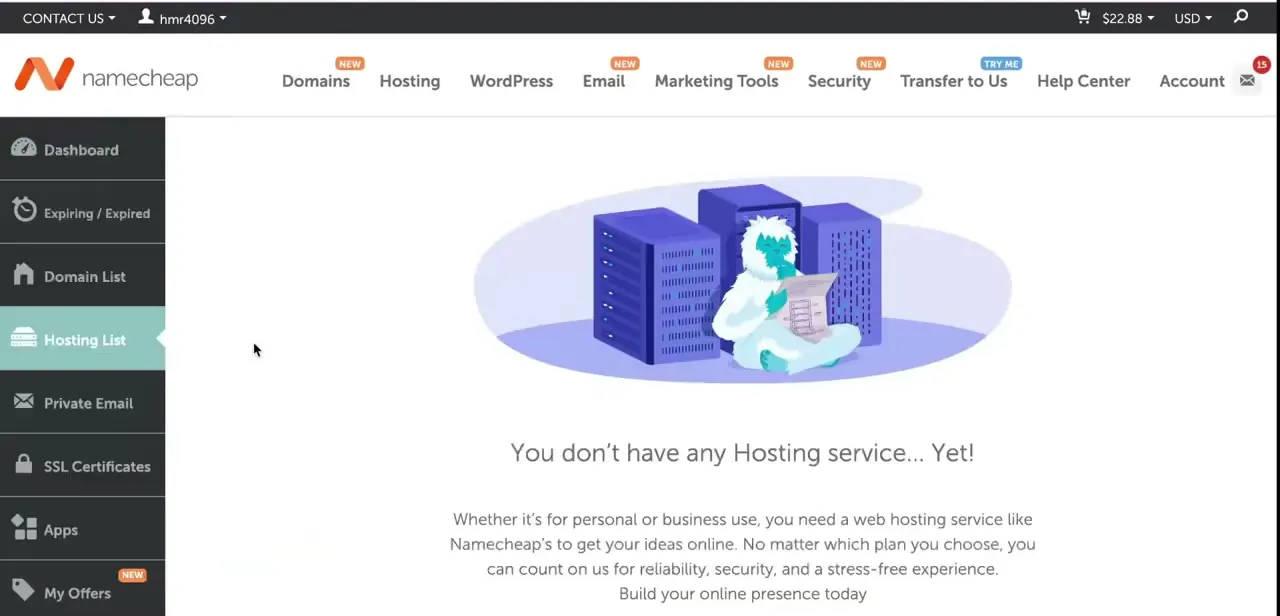
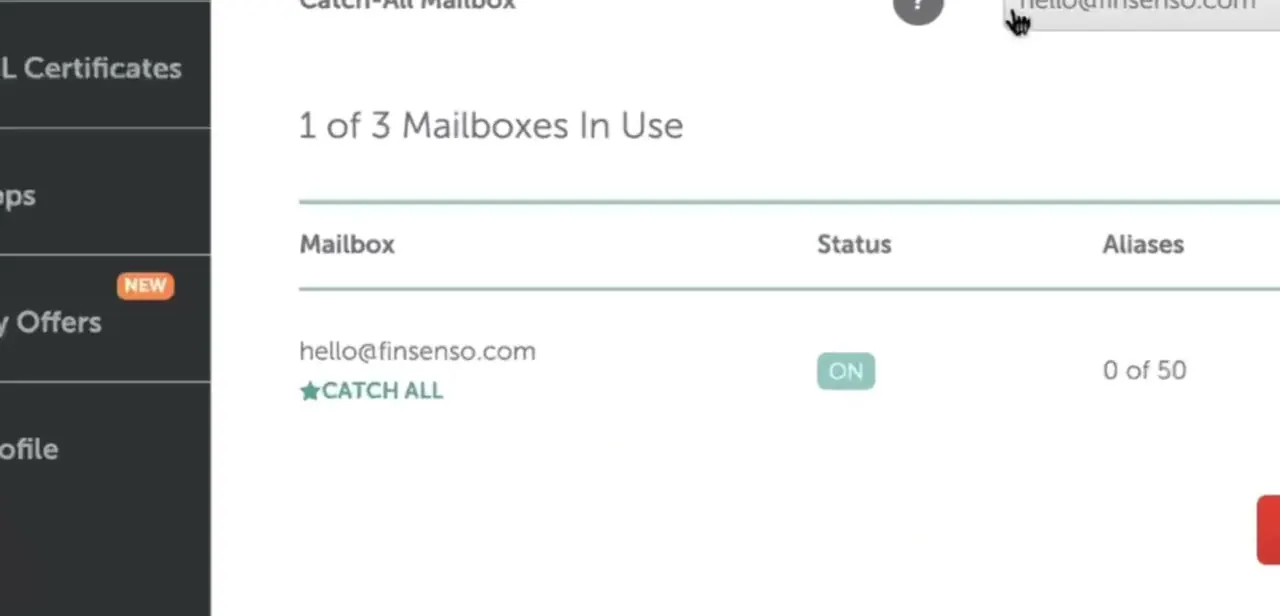
Before touching Gmail, log in to Namecheap and open Private Email for your domain. You'll see a mailbox count like "1 of 3 Mailboxes In Use," with each mailbox listed by address, status, and alias count. Confirm the exact address you're connecting, such as hello@yourdomain.com, and that it's switched on before you go looking for it in Gmail.
02Add the address in Gmail's Send mail as settings
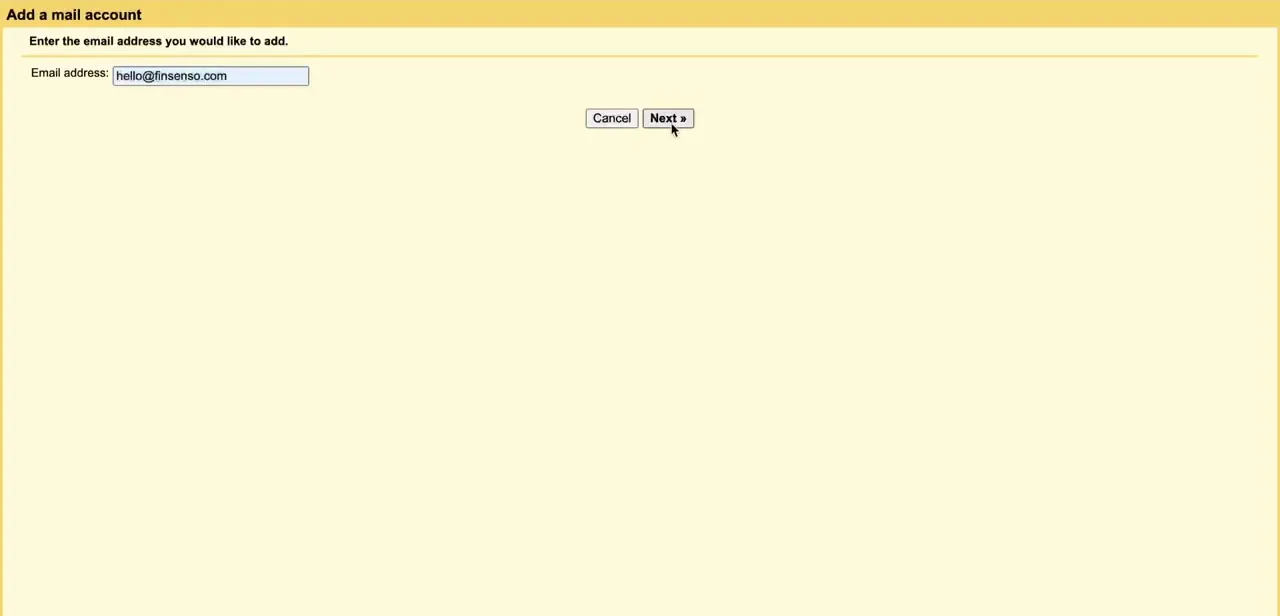
In Gmail, open Settings, then See all settings, then the Accounts and Import tab. Under Send mail as, click "Add another email address." Gmail opens a small popup asking for the email address to add, pre-filled if it can guess one from context. Type your full Namecheap address exactly as it appears in Private Email and click Next; the server configuration comes on the following screen, so it's worth double-checking the address here since everything downstream is built around it.
03Enter your Namecheap SMTP settings
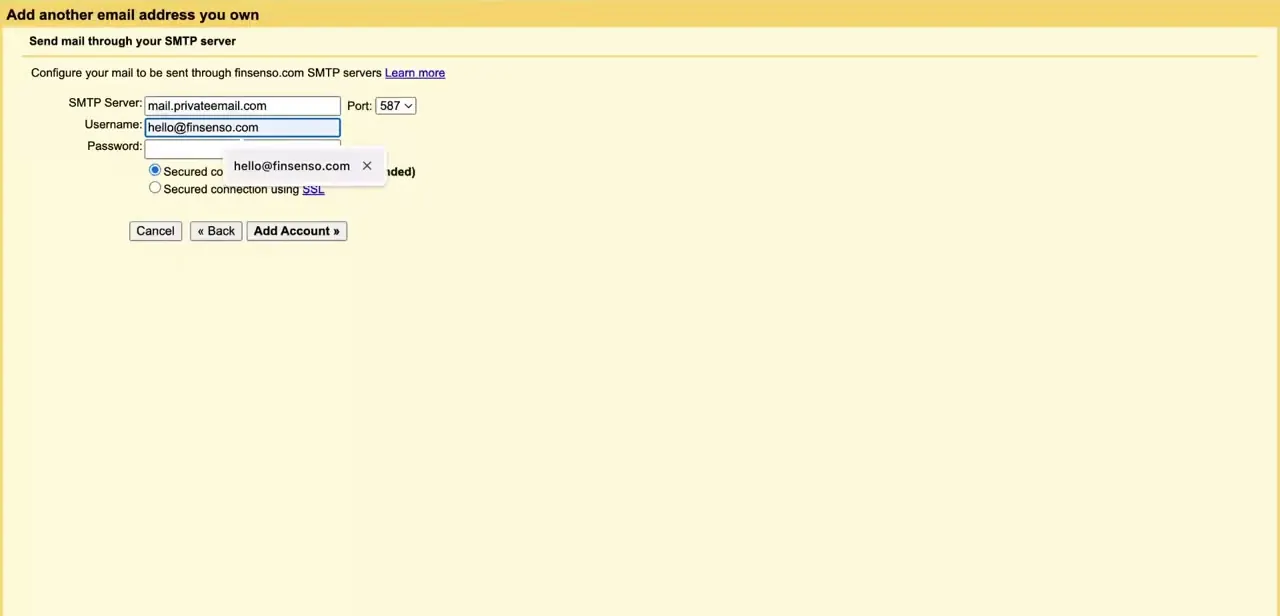
The next screen asks Gmail to send mail through your own SMTP server. Namecheap's own documentation for this exact setup lists mail.privateemail.com as the server, with two working port options: 465 with SSL, which Namecheap treats as the default, or 587 with TLS if 465 is blocked on your network.
The username is your full email address, the same one you just entered. For the password, use your Private Email login password, or the application-specific password from your prerequisites if two-factor authentication is on for that mailbox. Leave the secured-connection option matching whichever port you chose, then click Add Account.
04Verify ownership
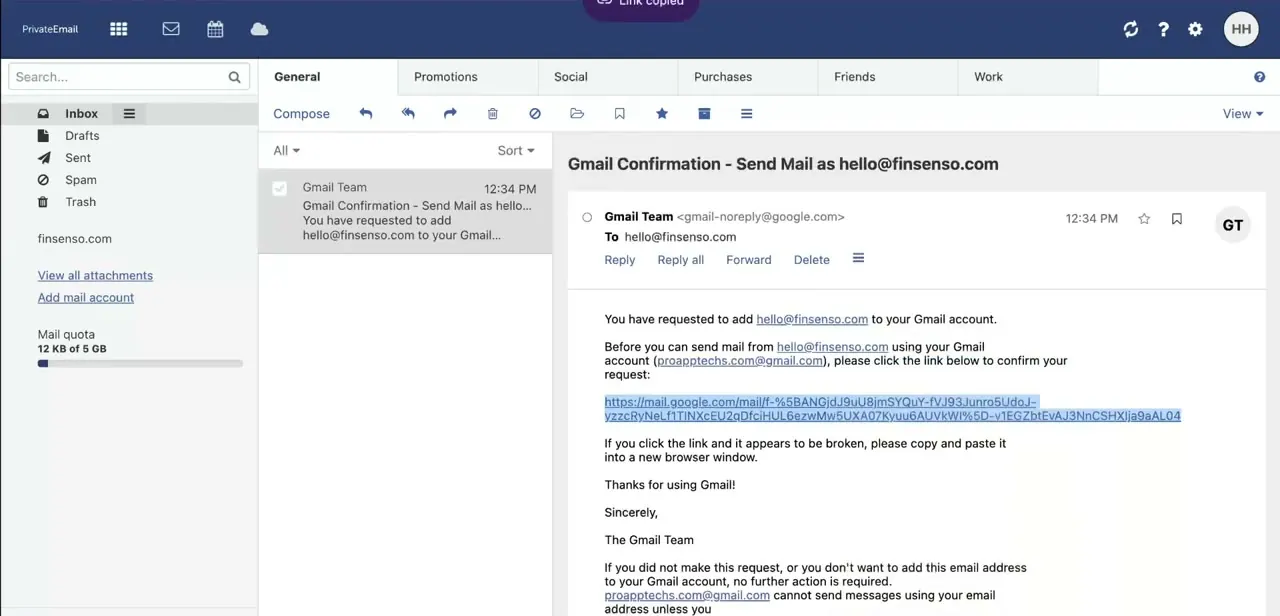
Gmail sends a confirmation message to the Namecheap address itself, titled something like "Gmail Confirmation - Send Mail as hello@yourdomain.com." Log in to Private Email's own webmail to find it, then click the verification link inside. Gmail also displays a verification code in the same window you can type in directly, which works even if the link doesn't load. The account looks added the moment you click Add Account, but Gmail won't send as that address until one of these two verification methods is complete.
05Choose how the address behaves
Back in Gmail's Accounts settings, your Namecheap address now appears under Send mail as, with a "make default" option and a choice of whether replies to messages sent to that address use it or your regular Gmail address by default. Set these to match how you work; most people running a business inbox make the custom address the default so outgoing mail looks consistent.
| Feature | What it does | Status for personal Gmail (September 2026) |
|---|---|---|
| Send mail as (this guide) | Sends outgoing mail so it appears to come from your Namecheap address | New setups may already be restricted during a transition running through the rest of 2026; existing setups keep working until Google removes the feature in January 2027 |
| Check mail from other accounts (POP) | Imports incoming Namecheap mail into the Gmail inbox itself | Already blocked for new users since early 2026; existing users lose it in January 2027 as well |
Google Workspace accounts are not affected by either change. Source: Google's official Gmail Help pages, checked September 2026.
When it doesn't work
Gmail won't let me set up Send mail as for my Namecheap address
Why: Google is restricting new Send as configurations for third-party, non-Workspace addresses during a transition period running through the rest of 2026, ahead of removing the feature entirely in January 2027.
Fix: If it was already working before the restriction, it keeps running through the transition. For a fresh setup now, send directly from Namecheap's own webmail, or add the mailbox to the Gmail mobile app over IMAP instead.
Gmail rejects the password that works fine in Namecheap's webmail
Why: If two-factor authentication is on for the mailbox, Namecheap requires an application-specific password for SMTP rather than the normal login password.
Fix: Generate an application password inside Private Email's security settings and use that in Gmail's SMTP fields instead.
The confirmation email never arrives
Why: It's sent to the Namecheap address itself, so it never shows up in your regular Gmail inbox, and it can also land in that mailbox's spam folder.
Fix: Log in directly to Private Email's webmail, not Gmail, and check both inbox and spam. You can also type the verification code Gmail displays instead of waiting on the email.
Messages sent to my Namecheap address don't show up in Gmail
Why: This SMTP setup only handles sending. Receiving relies on Gmail's separate "Check mail from other accounts" (POP) feature, which Google has been restricting for new users since early 2026.
Fix: Set up mail forwarding from Namecheap's own settings to your Gmail address, or check the Namecheap mailbox in the Gmail mobile app over IMAP, which isn't affected by either change.
Frequently asked questions
Can I use this with a free Gmail account?
Yes, the setup itself works the same on free and paid Gmail accounts. The difference is durability: Google Workspace "send as" addresses are unaffected by the phase-out described below, while free personal Gmail accounts are the ones losing this feature.
What SMTP settings does Namecheap Private Email use?
mail.privateemail.com, with either port 465 using SSL (Namecheap's documented default) or port 587 using TLS as a fallback. The username is your full email address, and the password is your Private Email password or an application password if two-factor authentication is on.
Where do I find the Gmail verification email?
It's sent to the Namecheap address you're connecting, so log in to that mailbox in Namecheap's own webmail to find and click the confirmation link. Gmail also shows a verification code in the same window you can enter directly instead.
Will I still be able to send email as my Namecheap address from Gmail?
For now. Google is restricting new setups of this feature during a transition through the rest of 2026 and plans to remove it for non-Workspace accounts entirely in January 2027. A setup you complete and verify before then should keep working through the transition.
What happens if I skip the ownership verification step?
The account won't fully connect. Gmail requires either the confirmation link or the verification code before it will send mail as that address, even though the account already shows up in your settings.
Is Google actually shutting this feature down?
Yes, for personal Gmail accounts. Google's own Gmail Help documents a Q3-Q4 2026 transition where new third-party "send as" setups may be restricted, followed by full removal in January 2027. Google Workspace accounts keep the feature.
Does this also let me receive Namecheap email inside Gmail?
No. This method only covers sending. Receiving Namecheap mail inside Gmail relies on a separate POP-based feature that Google has already restricted for new users, so forwarding from Namecheap or checking the mailbox via IMAP in the Gmail mobile app are the more durable options.
Sources and last check
Click path and screens come from a walkthrough recorded in 2026. SMTP details and the verification flow were re-checked against Namecheap's own knowledge-base article for this exact setup, and against Google's official Gmail Help pages, in September 2026. That check found two things the original draft missed: Namecheap documents port 465 with SSL as its default (587 with TLS is a fallback, not the only option), and Google is actively phasing out Send mail as for non-Workspace third-party addresses, restricting new setups from Q3 2026 and removing the feature for existing ones in January 2027. The original also implied this method covers receiving mail, which it does not.
- Namecheap: Private Email account setup for sending emails from the Gmail interface (official)
- Google: Send emails from a different address or alias (official Gmail Help)
- Google: Learn about changes to third-party email account support in Gmail (official)
- Google: Learn about upcoming changes to Gmailify & POP in Gmail (official)
About the author

Impran M N
I've been hooked on technology for as long as I can remember — especially the new tools and AI apps that seem to land every other week. Easy Tech Tuts is where I write up whatever I've just worked out: I do the task in the real product, record the screen, and turn it into the guide I wish I'd found first.