Easy Tech Tuts
How to Connect Namecheap Domain to Wordpress Easily 2026
By Impran M N
If you registered your domain through Namecheap but built your site on WordPress.com, connecting the two means working in both dashboards: starting a domain request on the WordPress.com side, then finishing the name-server change back in Namecheap. This guide follows that round trip on a real domain, finsenso.com, and shows the choice WordPress.com presents partway through and where it leads. Most people hit this from a free WordPress.com site that needs upgrading to take a custom domain, so that's the starting point here.
Before you start
- A domain already registered and active in your Namecheap account
- A WordPress.com site, plus willingness to move it to a paid plan — connecting an existing domain is not available on the free plan
01Open your site's domain settings in WordPress.com
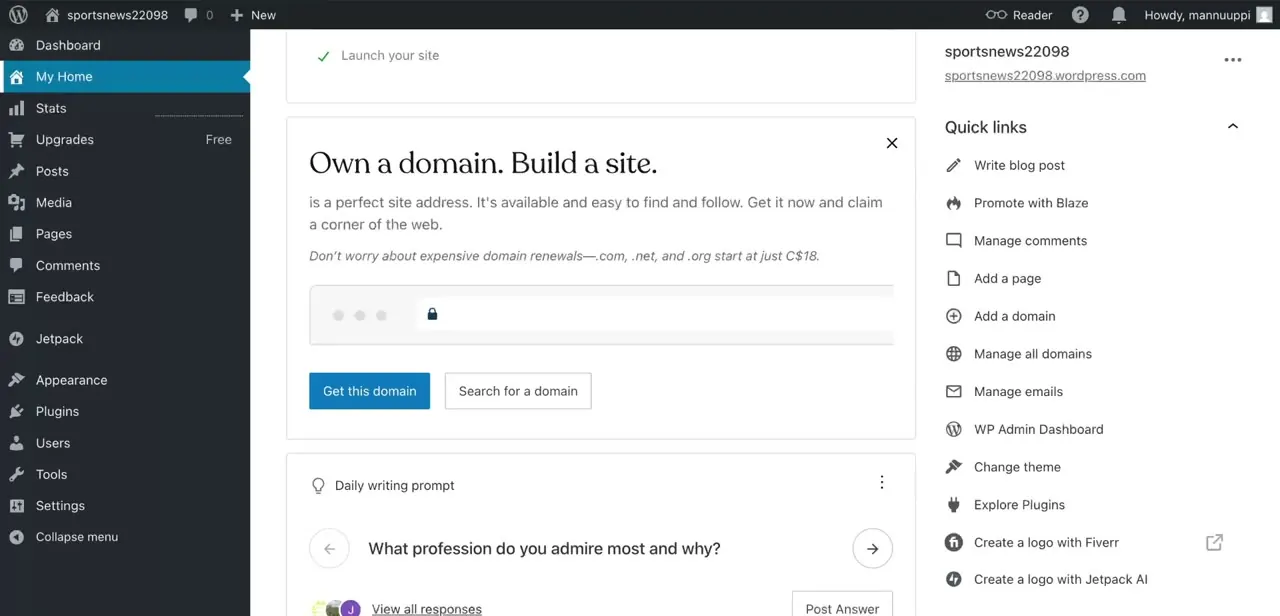
Log into WordPress.com and open My Home. The Quick links panel lists Add a domain and Manage all domains alongside everyday tools like Write a blog post.
WordPress.com has since introduced a newer Hosting Dashboard for this: click the WordPress W icon in the top-left corner, or go to my.wordpress.com, then choose your site and select Domains from the left sidebar. Either route lands you at the same domain settings; if Quick links doesn't show an Add a domain option, that newer dashboard is where to look.
Ignore any prompt offering to sell you a new domain outright. You're connecting one you already own through Namecheap, not registering a fresh one.
02Search for your existing domain
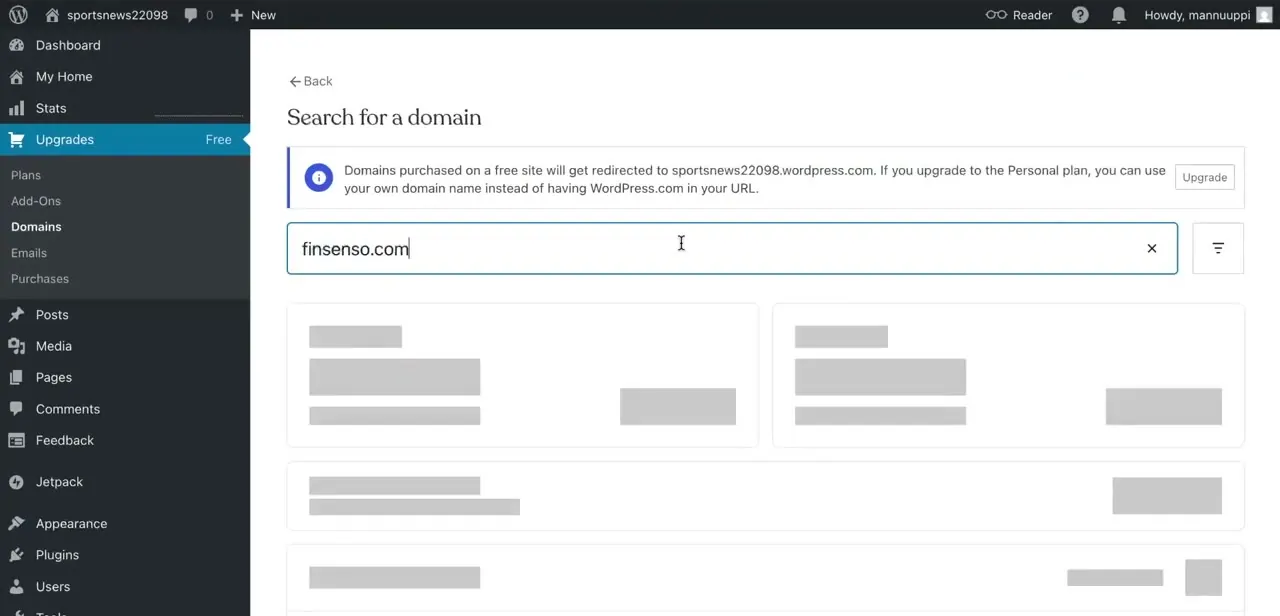
Selecting Add a domain (or Add domain name, then Use a domain name I own, in the newer dashboard) opens a search field. Type in the domain you already own, finsenso.com here, not a new name to register.
WordPress.com's own documentation is direct about the plan gate: connecting an existing domain is available on the Personal, Premium, Business, and Commerce plans, and a free site needs to upgrade to finish the process. Expect a prompt to do that before the connection completes.
03Choose Connect, not Transfer
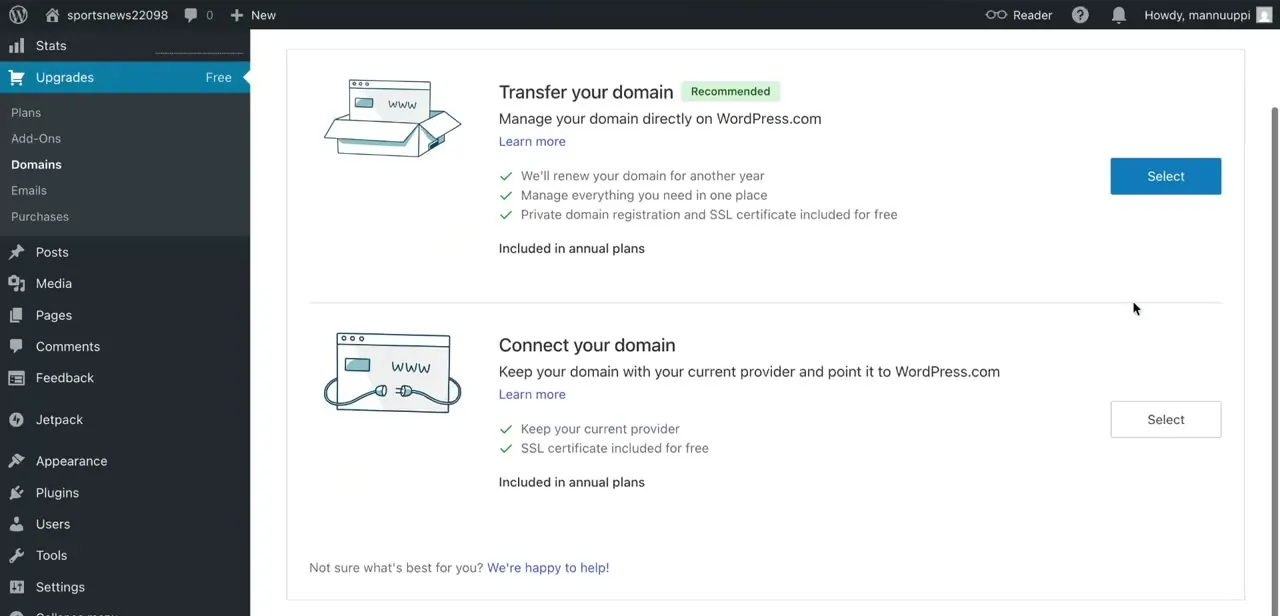
Once WordPress.com recognizes the domain, it offers two paths. Transfer moves the registration itself to WordPress.com and bundles a year of renewal, private registration, and a free SSL certificate, but Namecheap stops being your registrar.
Connect is the lighter option: the domain stays registered at Namecheap and you just point it at WordPress.com's name servers. That's what most people mean by "connect a Namecheap domain to WordPress," and it's the path this guide takes from here.
04Point Namecheap's nameservers at WordPress.com
With Connect selected, WordPress.com shows the name server values to use. According to WordPress.com's support documentation these are ns1.wordpress.com, ns2.wordpress.com, and ns3.wordpress.com, entered with no other values left in place.
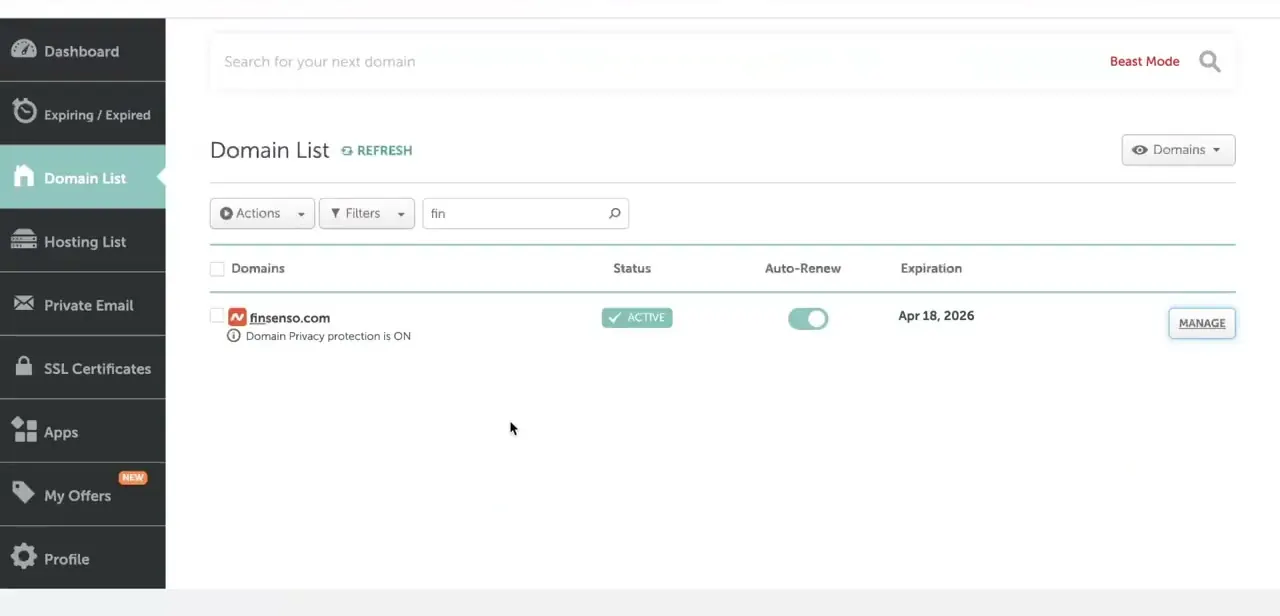
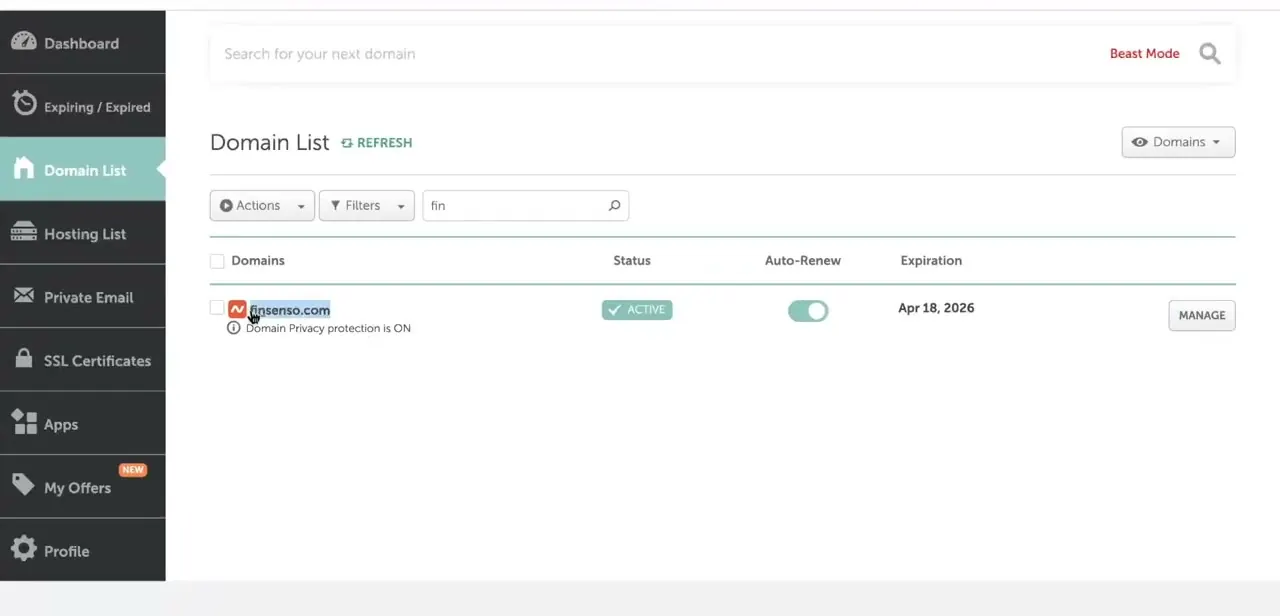
Copy the exact set shown on your own screen, since WordPress.com occasionally revises them. Switch to Namecheap, open Domain List, and click Manage next to the domain.
In its Nameservers section, change the dropdown from Namecheap BasicDNS to Custom DNS and enter the WordPress.com values, one per field, then confirm with the green checkmark. This hands DNS authority for the domain to WordPress.com, which is what makes the site respond when someone visits it.
05Wait for propagation, then confirm on the WordPress side
WordPress.com's own guidance puts the window at up to 72 hours for the new name servers to take effect everywhere, though it's often much faster. Namecheap separately notes local ISPs can take up to 24 hours to refresh their cached DNS, which is really the same wait measured from the other end.
Back in WordPress.com's domain settings, the connection shows as pending until it detects the name servers are live; there's nothing to click here beyond refreshing occasionally. If it's still unresolved well past 72 hours, recheck the exact name server values against what WordPress.com currently lists. An old set copied from an older guide, including this one after a future change, won't work.
When it doesn't work
There's no "Add a domain" link under Quick links
Why: WordPress.com has been migrating domain management into a separate Hosting Dashboard, reached from the W icon in the top-left corner or my.wordpress.com.
Fix: Open the Hosting Dashboard, select your site, click Domains in the left sidebar, then Add domain name and Use a domain name I own.
The Connect option never appears, only Transfer
Why: Connecting an existing domain is gated to WordPress.com's paid plans; a free site doesn't get the full flow.
Fix: Upgrade to Personal or higher first, then search for the domain again.
The domain still doesn't load the WordPress.com site after a few days
Why: Either the name servers weren't entered exactly as WordPress.com listed them, or a leftover custom DNS record is still pointing elsewhere.
Fix: Reopen Namecheap's Nameservers section and confirm only the three current WordPress.com values are present, then allow the full 72-hour window before assuming something's wrong.
Frequently asked questions
How long does it take for a Namecheap domain to connect to WordPress.com?
WordPress.com's own documentation gives up to 72 hours for the name server change to take effect everywhere, though it's frequently faster than that.
Should I transfer my domain or just connect it?
Connect keeps the domain registered at Namecheap and only repoints its DNS at WordPress.com; Transfer moves registration itself. Connect is the simpler choice if you're happy staying with Namecheap.
Do I need a paid WordPress.com plan to use a custom domain?
Yes. WordPress.com limits domain connection to the Personal plan and above; a free site can search for the domain but has to upgrade to finish connecting it.
I can't find "Add a domain" in my WordPress.com dashboard. Where did it go?
WordPress.com has been moving domain tools into a newer Hosting Dashboard, reachable from the W icon top-left or my.wordpress.com, with Domains listed in the left sidebar there instead of under Quick links.
Will my site go down while I make these changes?
There can be a short window of downtime while the new name servers propagate, so it helps to make the change during low-traffic hours.
What do I need from WordPress.com before I touch Namecheap's settings?
The exact name server addresses WordPress.com shows after you pick Connect your domain. Copy those precisely before switching over to Namecheap's Nameservers section.
Sources and last check
Click path and screens come from a walkthrough recorded on a free WordPress.com site. Re-checked against WordPress.com's and Namecheap's official support documentation in September 2026, which corrected the propagation window from this guide's earlier 24-48 hours to WordPress.com's own stated 72 hours, and flagged that WordPress.com now also manages domains through a newer Hosting Dashboard alongside the older My Home > Quick links path shown in the recording.
About the author

Impran M N
I've been hooked on technology for as long as I can remember — especially the new tools and AI apps that seem to land every other week. Easy Tech Tuts is where I write up whatever I've just worked out: I do the task in the real product, record the screen, and turn it into the guide I wish I'd found first.