Easy Tech Tuts
How to Connect Namecheap Domain to Hostinger Hosting Easily 2026
By Impran M N
Buying a domain on Namecheap and hosting on Hostinger is a common combination, but the two platforms don't talk to each other automatically — you have to tell Namecheap where to send visitors. The fix is a single settings change: swapping Namecheap's default nameservers for Hostinger's.
It looks intimidating the first time because the two dashboards look nothing alike and the change doesn't take effect instantly, which makes people think they did it wrong. This guide walks through finding the nameserver values in Hostinger, logging into Namecheap, and making the swap, plus what to expect while the change spreads across the internet.
01Get your Hostinger nameservers
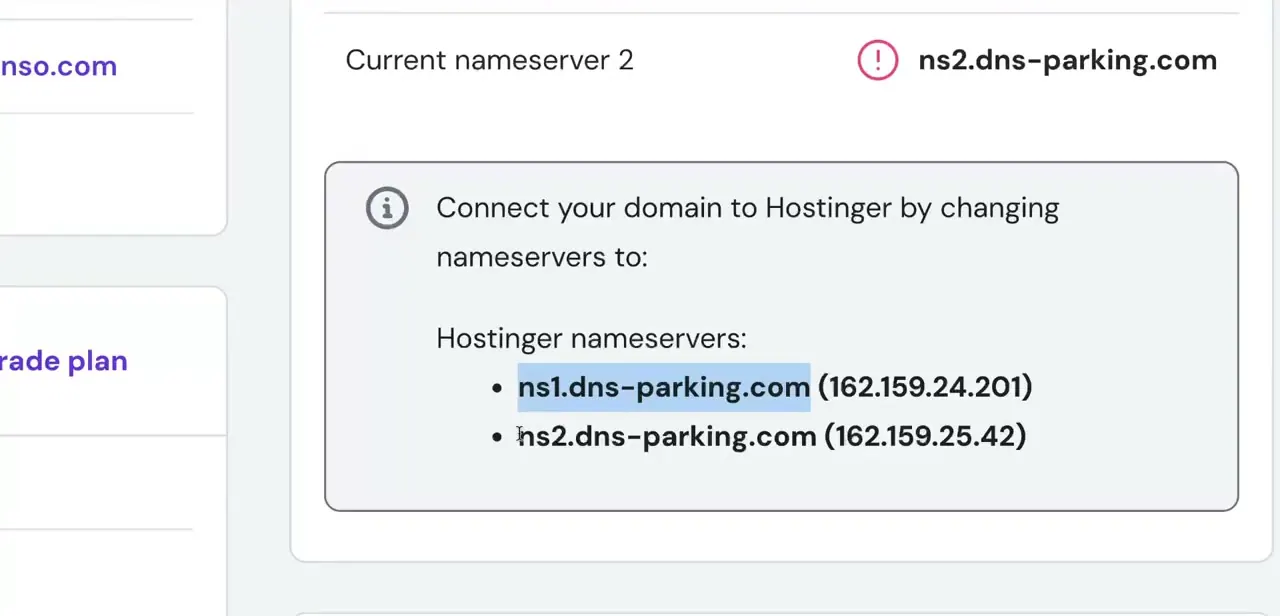
Before touching Namecheap, grab the nameserver addresses Hostinger wants you to use — you'll find them in the domain or hosting setup section of your Hostinger account, usually presented as a short info panel once you start connecting an external domain. They're listed as two addresses ending in a Hostinger-operated DNS domain, each paired with an IP address.
Copy both exactly; a typo here is the single most common reason a domain connection fails to activate. Keep this tab open, because you'll need to paste these values into Namecheap in the next step.
02Log into your Namecheap account
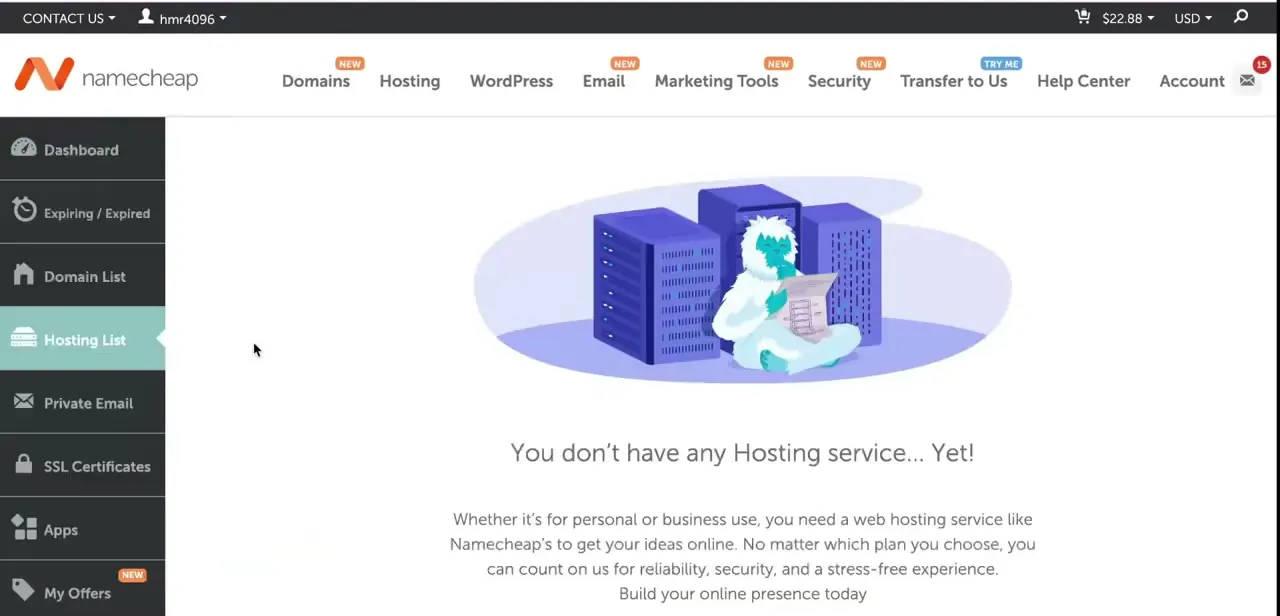
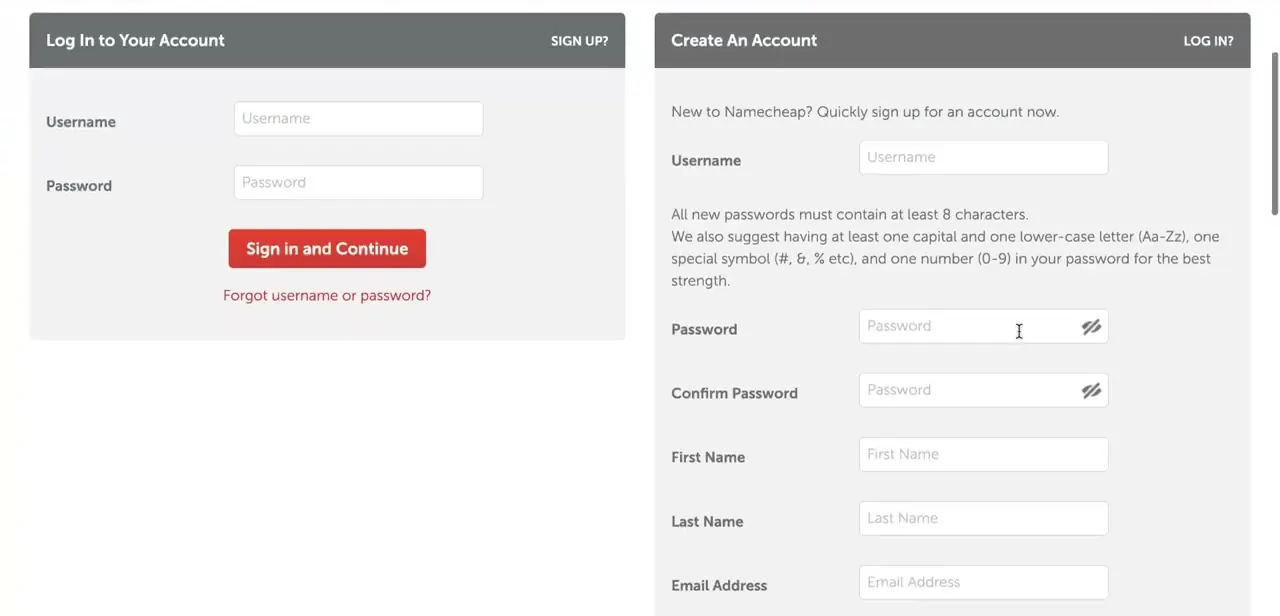
Head to Namecheap and sign in with the account that owns the domain — not a new signup, since creating a second account won't have your domain attached to it. If you're not sure which email you used to register, check your original purchase receipt before trying to reset a password. Once you're in, the dashboard opens to your account overview, and the domain you want to redirect will be listed under your active domains.
03Open Domain List and select your domain
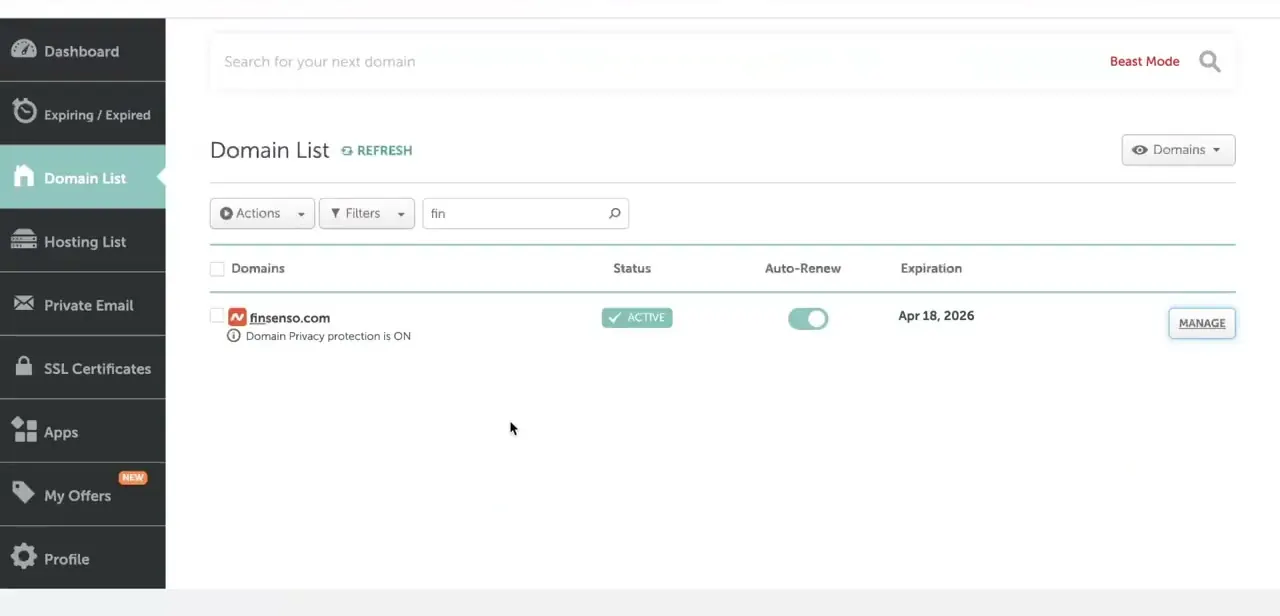
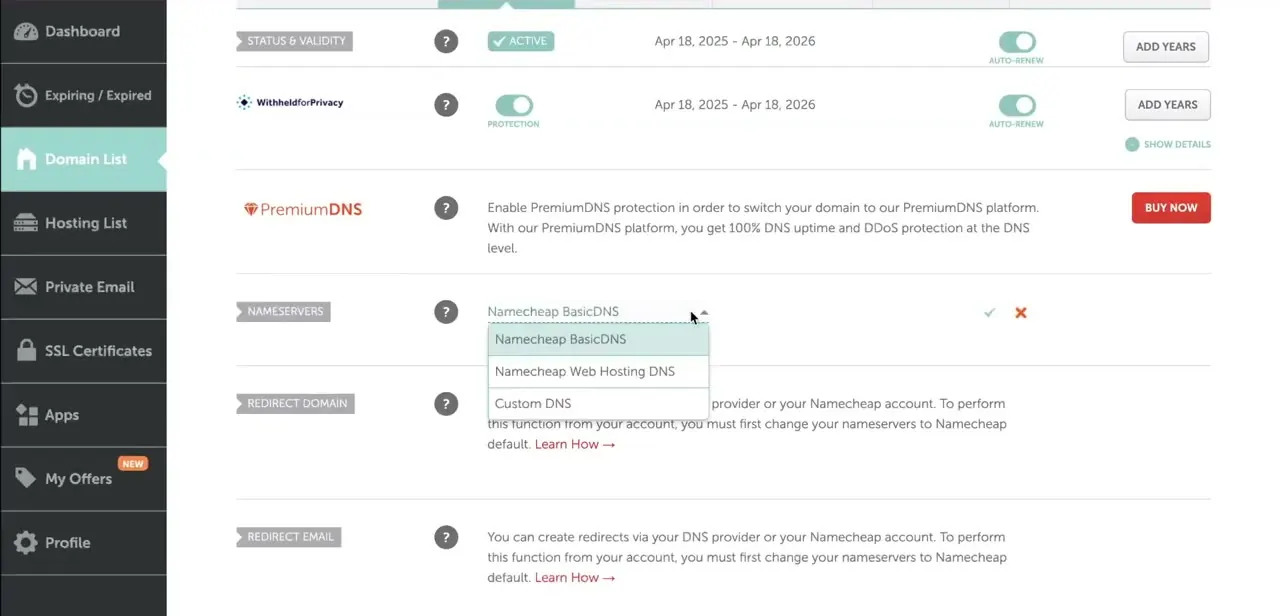
From the left-hand menu, click Domain List, find the domain you want pointed at Hostinger, and click Manage next to it. This opens the domain's settings page, which is split into sections for status, privacy protection, PremiumDNS, and further down, Nameservers — the one you actually need. Everything above that section (renewal status, WHOIS privacy) can be left alone; you're only here to change one dropdown.
04Switch to Custom DNS and paste in Hostinger's values
Click the Nameservers dropdown and choose Custom DNS instead of whatever is currently selected — usually Namecheap BasicDNS by default. This reveals two (sometimes more) empty fields where you paste the Hostinger nameservers you copied earlier, one per line, with no extra spaces or trailing characters.
Confirm the change with the checkmark that appears next to the field once you've entered both values; Namecheap will show a brief "nameservers updated" confirmation. Don't add a third or fourth nameserver unless Hostinger specifically gave you one — extra blank fields can be left empty.
05Wait out DNS propagation
The change doesn't take effect the moment you save it. DNS propagation — the process of every internet service provider's DNS cache picking up the new nameservers — typically takes anywhere from a few hours to 24-48 hours, occasionally longer depending on your domain's TTL settings and your ISP.
During this window it's normal for the site to load correctly on one network and show an old page or an error on another; that's caching, not a broken setup. Avoid the urge to keep changing settings during this period, since each change can restart the propagation clock.
06Confirm the connection inside Hostinger
Once propagation has had time to settle, go back into Hostinger and check the domain's status — it should flip from a pending or unverified state to active, confirming Hostinger can now see the nameserver change on its end. If it still shows pending after two full days, double-check the exact nameserver values in Namecheap character by character, since a single mismatched digit in an IP address will silently block the connection indefinitely rather than throwing an obvious error.
Frequently asked questions
How long does it take for a domain to connect after changing nameservers?
Most connections activate within a few hours, but full DNS propagation can take up to 24-48 hours worldwide. Test from a different network or use an online DNS checker if your own connection still shows the old site.
Do I need to change anything on the Hostinger side besides adding the domain?
You need the domain added to your Hostinger hosting account and the Hostinger nameservers copied correctly into Namecheap. If you'd rather not change nameservers at all, Hostinger also supports pointing a domain via A records, which leaves DNS management with Namecheap.
Will changing nameservers affect my existing email if I use Namecheap Private Email?
Yes — switching to Custom DNS hands DNS control to Hostinger, so any MX records for email need to be recreated in Hostinger's DNS zone or your email will stop routing. Set those up before or immediately after the nameserver change.
What if the Nameservers dropdown only shows Namecheap options and no Custom DNS?
Custom DNS is a standard option on every Namecheap domain; if it's missing, make sure you're logged into the account that actually owns the domain and not a linked or shared account with limited permissions.
Can I switch back to Namecheap's own DNS later?
Yes, at any time — return to the same Nameservers dropdown and select Namecheap BasicDNS or Namecheap Web Hosting DNS to move DNS management back, though this again triggers a propagation delay.
About the author

Impran M N
I've been hooked on technology for as long as I can remember — especially the new tools and AI apps that seem to land every other week. Easy Tech Tuts is where I write up whatever I've just worked out: I do the task in the real product, record the screen, and turn it into the guide I wish I'd found first.