Easy Tech Tuts
How to Activate & Validate SSL Certificate for Namecheap Domain 2026 Easily In 3 Minutes
By Impran M N
Buying an SSL certificate through Namecheap is the easy part — activating it means generating a CSR, submitting it through Namecheap's activation wizard, and proving you actually control the domain before the certificate authority will issue anything. None of that happens automatically the moment you pay. This guide walks through where the SSL Certificates section lives in your Namecheap dashboard, how to generate the CSR the activation wizard asks for, and what a certificate looks like while it's still working through validation.
01Open SSL Certificates in your Namecheap dashboard
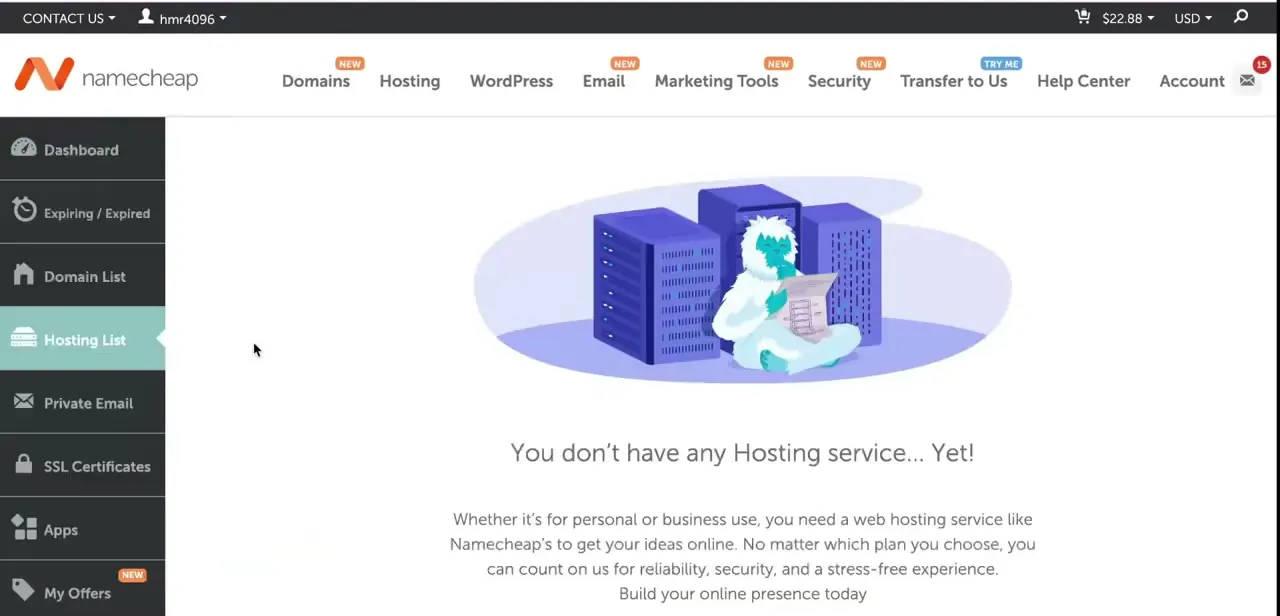
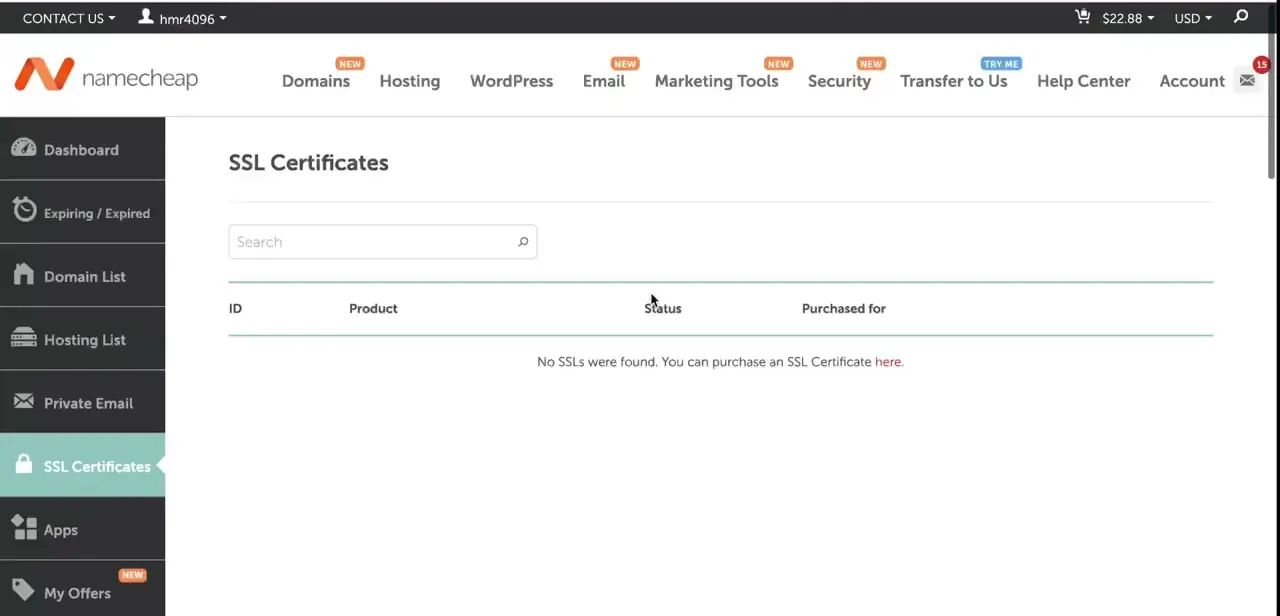
From the left sidebar of your Namecheap dashboard, click SSL Certificates. If you haven't purchased one yet, this page will simply say no SSLs were found, with a link to buy one — that's your confirmation you're in the right place before anything else. Once you've bought a certificate, it appears here in a table with its ID, product, status, and what it was purchased for, which is also where you'll come back to check on activation progress later.
02Generate a CSR for your domain
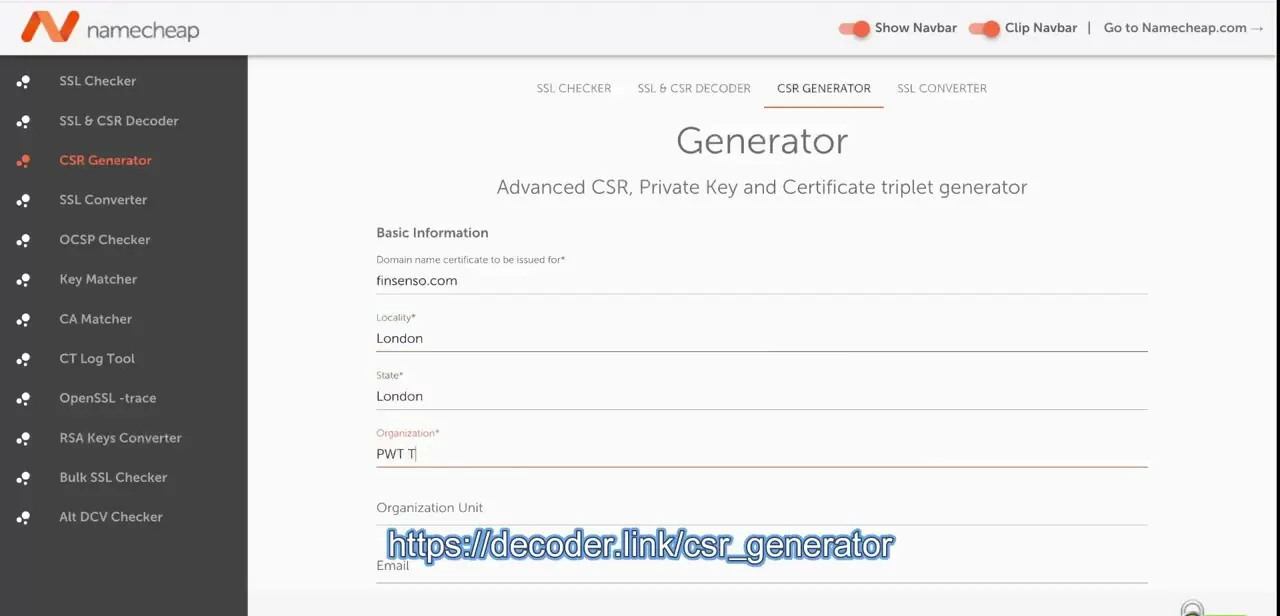
Namecheap's activation flow needs a Certificate Signing Request (CSR) before it will issue the certificate — this is a block of encoded text generated from your domain and organization details that proves what the certificate is being requested for. A CSR generator tool asks for basic information: the domain name the certificate covers, your locality and state, and your organization name, then produces the CSR text along with a matching private key you'll need to keep for installing the certificate later.
03Start activation and paste in your CSR
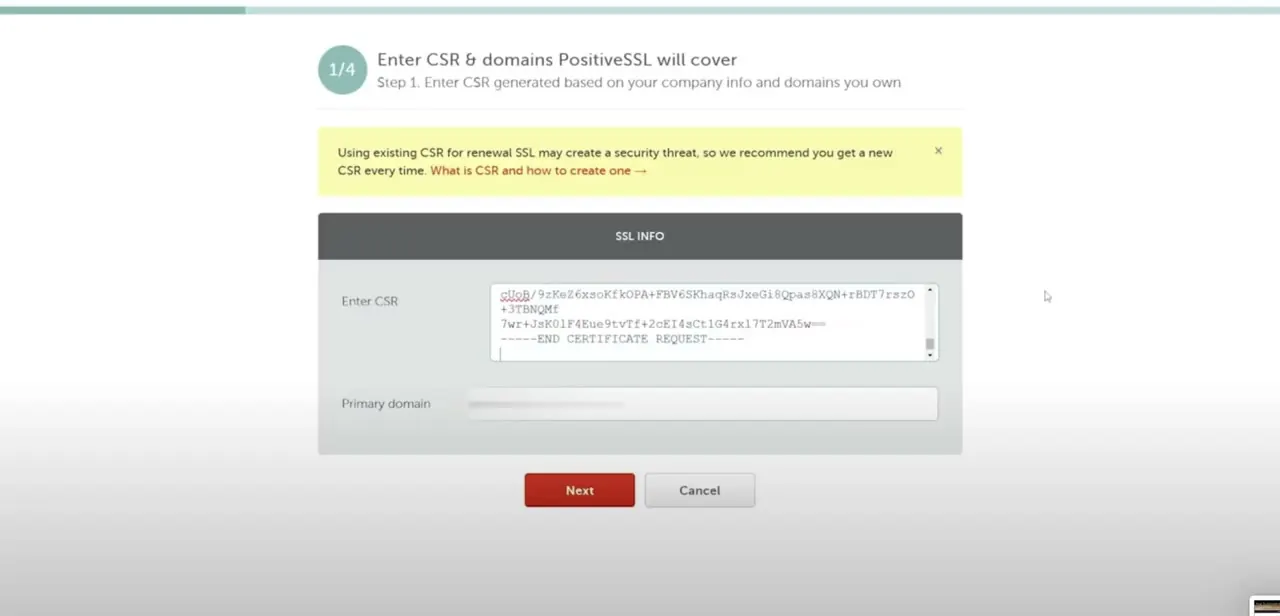
Back in Namecheap, find your purchased certificate and click Activate. The first step of the activation wizard, labeled Enter CSR & domains PositiveSSL will cover, asks you to paste the full CSR text you generated, then confirms the primary domain it applies to. Namecheap specifically recommends generating a fresh CSR each time rather than reusing an old one, since reusing an existing key can create a security risk.
04Choose your domain control validation (DCV) method
After the CSR, the wizard has you choose how to prove you control the domain — typically either an email sent to an address on the domain, or a DNS record you add through your domain's DNS settings. DNS validation tends to resolve faster since it doesn't depend on checking and clicking a link in an inbox, but either method works as long as you complete it before the certificate authority's validation window expires.
05Track the certificate while it validates
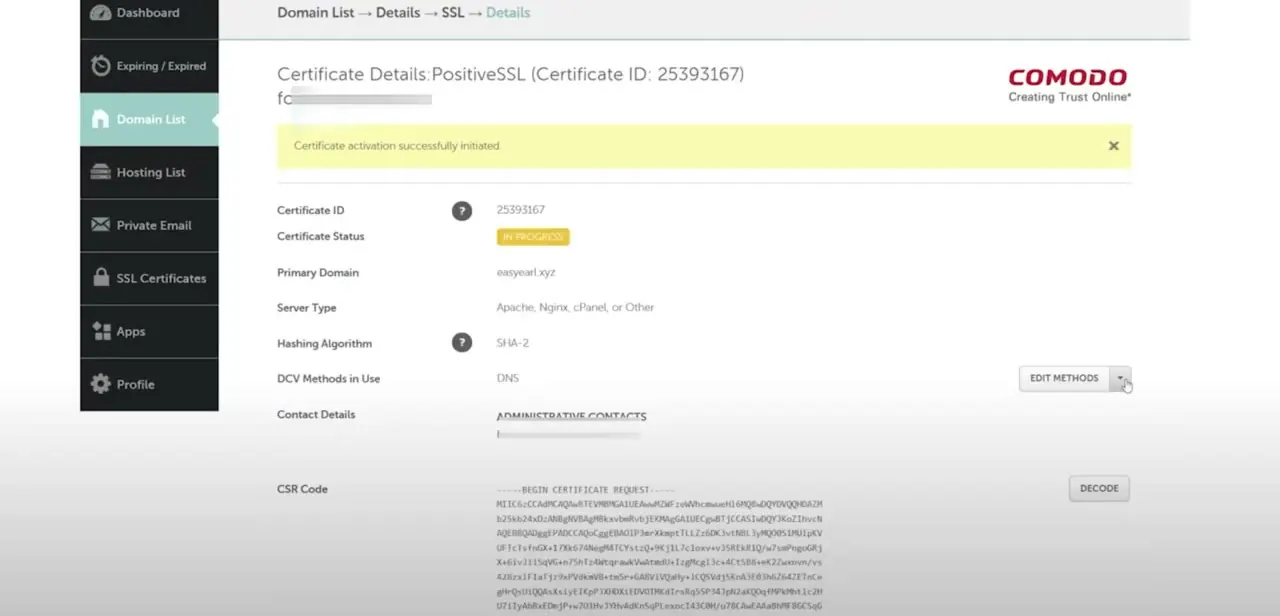
Once activation is submitted, the certificate's status shows as In Progress on its Certificate Details page, along with its Certificate ID, the DCV method you chose, and the CSR code it was issued against. This page is worth bookmarking during validation — if the status is stuck, it's usually because the DNS record hasn't propagated yet or the validation email hasn't been actioned, rather than anything wrong with the certificate itself.
06Install the issued certificate on your hosting
Once validation completes and the status changes from In Progress to Active, download the issued certificate files from the same page. From there, upload and install them through your hosting control panel alongside the private key generated with your CSR — the exact steps vary by host, but most offer a dedicated SSL installation section that just needs the certificate and key pasted in. After installing, load your domain directly to confirm it serves over HTTPS without a browser warning.
Frequently asked questions
Which validation method is faster, email or DNS?
DNS validation can often be faster since it doesn't rely on checking and clicking a link in an email inbox — you just add the DNS record and wait for it to be detected.
Do I need to generate a new CSR every time I renew?
Namecheap recommends generating a fresh CSR for each activation or renewal rather than reusing an old one, since reusing an existing CSR and key can create a security risk.
Do I need hosting access to install the SSL certificate?
Yes, you'll need access to your hosting control panel to upload and activate the certificate once it's issued, along with the private key generated alongside your CSR.
What happens if domain validation fails or stalls?
A status stuck on 'In Progress' is usually a DNS record that hasn't propagated yet or a validation email that hasn't been actioned — double-check the exact DNS value or email link before assuming something is broken.
Why does SSL matter for my website?
SSL secures the connection between your site and visitors, which helps with visitor trust, SEO, and the safe handling of any data visitors submit through your site.
About the author

Impran M N
I've been hooked on technology for as long as I can remember — especially the new tools and AI apps that seem to land every other week. Easy Tech Tuts is where I write up whatever I've just worked out: I do the task in the real product, record the screen, and turn it into the guide I wish I'd found first.