Easy Tech Tuts
How to Change the Reporter in Jira
By Impran M N
The Reporter field on a Jira work item records who originally raised it, and it's easy to end up with the wrong name there — someone files a bug on a teammate's behalf, or a ticket gets created through an integration under a generic account. Fixing it takes under a minute once you know where the field lives, which is inside the Details panel on the right side of the work item, not on the main card itself. This guide walks through opening an item and changing that field using the same backlog and work item panel Jira shows by default.
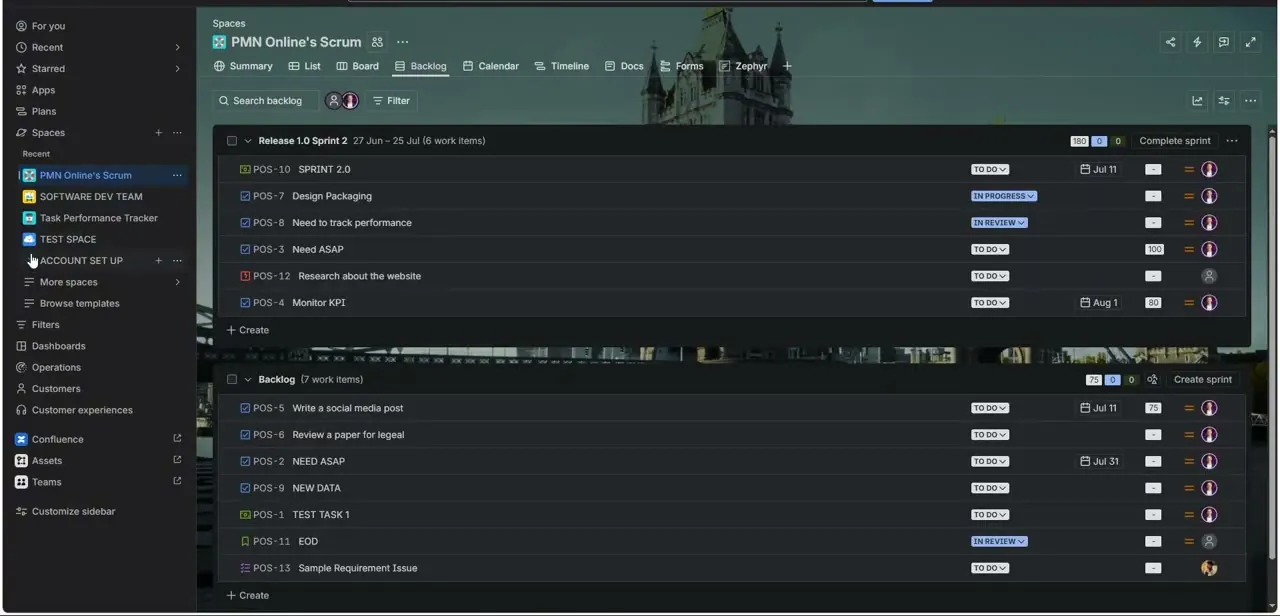
01Open the project backlog
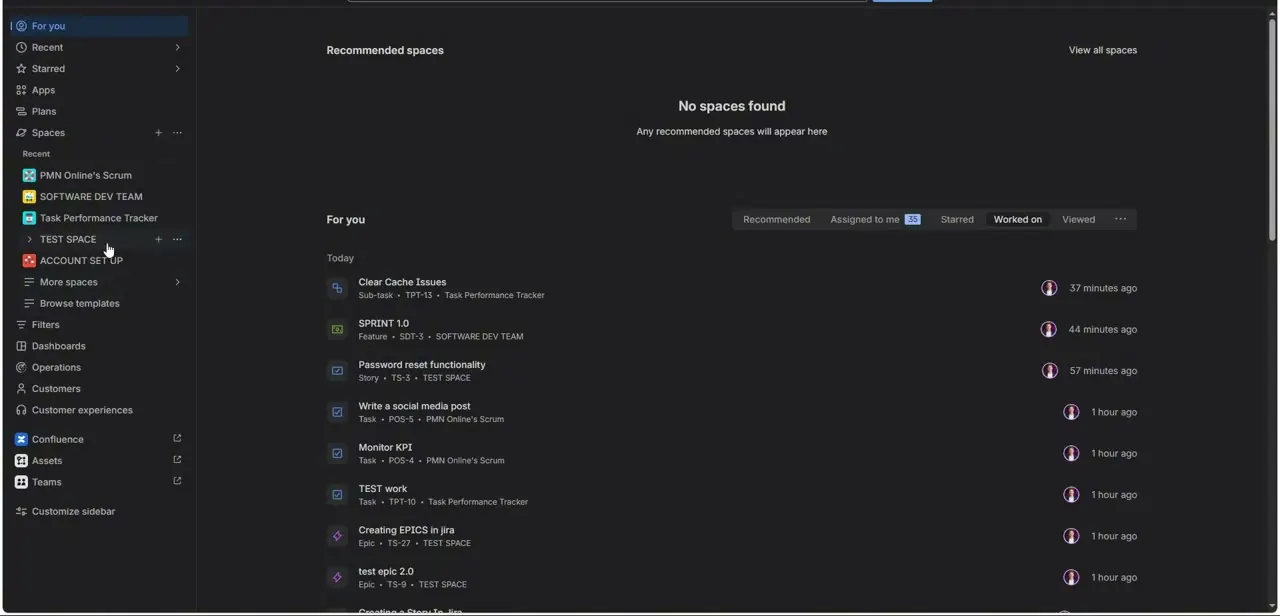
From the left sidebar, pick the space or project holding the item you need to fix — in this walkthrough that's a project called SOFTWARE DEV TEAM — then open its Backlog view. The backlog lists every work item with its key, status, and assignee avatar in a single row, which is the fastest place to find a specific item if you already know roughly what it's called.
02Click into the work item
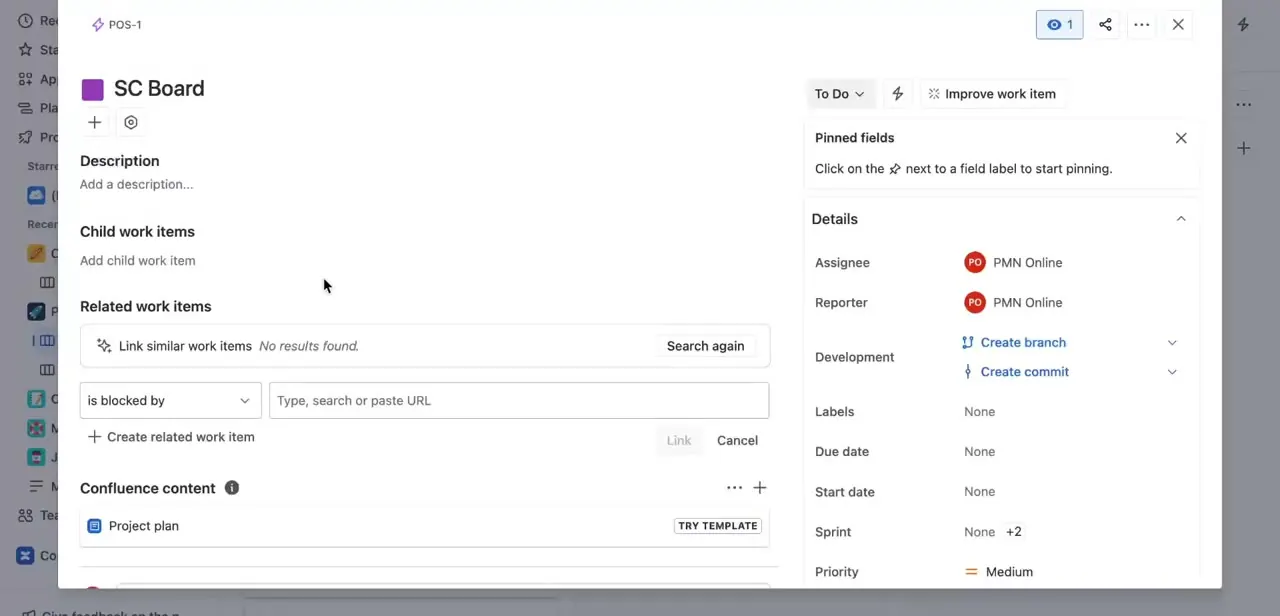
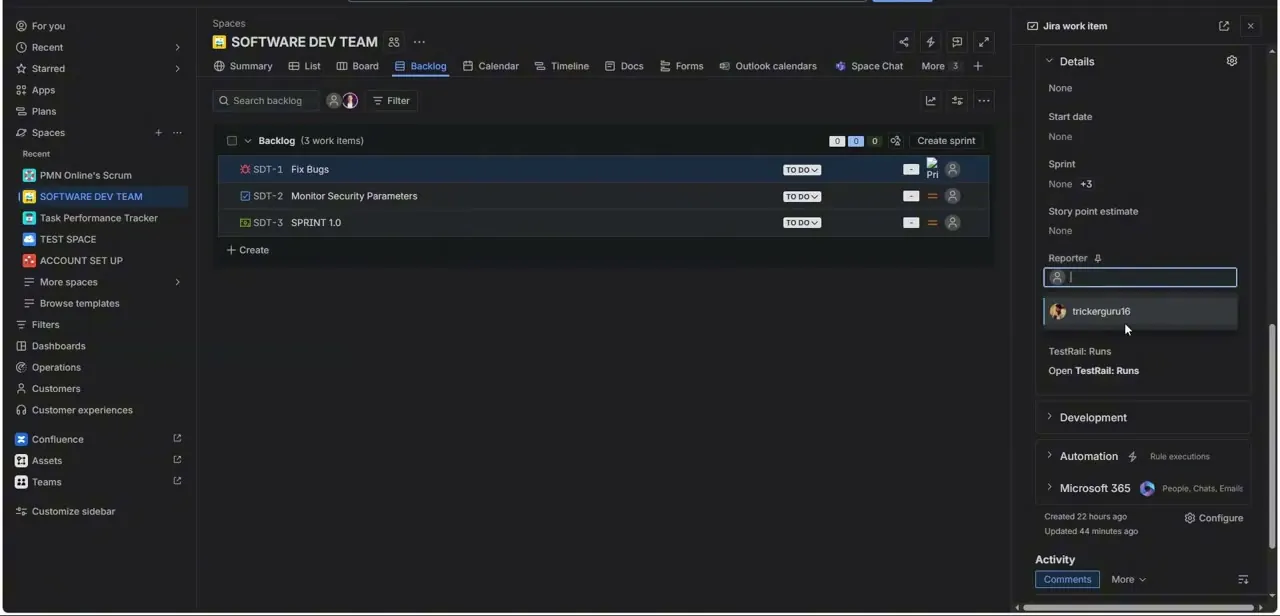
Clicking a row, such as "Fix Bugs" (SDT-1), opens a Jira work item panel on the right side of the screen without leaving the backlog. The top of that panel shows the title, status dropdown, description field, subtasks, and linked items — useful context, but not where the reporter lives. Scroll down within this panel rather than looking for a separate edit screen.
03Expand the Details section
Below the description and linked items, a collapsible Details section holds the metadata fields — start date, sprint, story point estimate, and Reporter among them. If it's collapsed, click to expand it. This is standard across Jira work item types, so the same panel structure applies whether you're looking at a bug, task, or story.
04Click the Reporter field and search for a user
Click directly into the Reporter field and a search box opens with a dropdown of matching users below it — in this case, typing brought up a user named trickerguru16. Type enough of the correct person's name or username to narrow the list, since larger projects can have dozens of similarly-named accounts and picking the wrong one is an easy mistake to make quickly.
05Select the correct reporter
Click the right name in the dropdown to set it. Jira saves the change immediately — there's no separate Save button to hunt for, since edits made inside the Details panel commit as soon as you make the selection. Glance at the field afterward to confirm the new name stuck before moving on.
06Check your permissions if the field won't open
If clicking the Reporter field does nothing or shows it as read-only, you likely don't have edit permission on that project, or the field has been locked down by a workflow scheme. That's a project-level permission, not a personal account setting, so the fix is asking your Jira admin to grant edit access rather than looking for a workaround in your own profile.
Frequently asked questions
Why would I need to change the reporter on an issue?
Most often to correct a misattributed ticket — someone files an issue on behalf of a teammate, or an integration creates it under a generic or incorrect account.
Do I need special permissions to change the reporter?
Yes. Editing the Reporter field requires edit permission on the issue, which depends on your project's permission scheme and may be restricted for some roles.
Where exactly is the Reporter field located?
Inside the work item panel, under the collapsible Details section alongside fields like start date, sprint, and story point estimate — not on the main card header.
Does the change save automatically?
Yes. Selecting a new reporter from the search dropdown saves immediately with no separate confirmation step.
Can I bulk change the reporter across multiple issues?
Jira supports bulk editing for some fields from list views, so check whether your instance allows a bulk update to Reporter if you need to fix several items at once rather than one at a time.
About the author

Impran M N
I've been hooked on technology for as long as I can remember — especially the new tools and AI apps that seem to land every other week. Easy Tech Tuts is where I write up whatever I've just worked out: I do the task in the real product, record the screen, and turn it into the guide I wish I'd found first.