Easy Tech Tuts
How to Bulk Edit Issues in Jira, Bulk Change Tickets, Status Easily 2026
By Impran M N
Editing Jira tickets one at a time works fine for a handful of tasks, but it falls apart once a backlog grows into dozens of tickets that all need the same update. Jira's bulk operation tool solves this: select any number of issues from a list, walk through a short four-step wizard, and apply the same field changes to all of them at once. This guide follows that wizard screen by screen, from selecting issues in a real project view through the confirmation screen that shows exactly what's about to change before you commit.
01Start from your Jira homepage
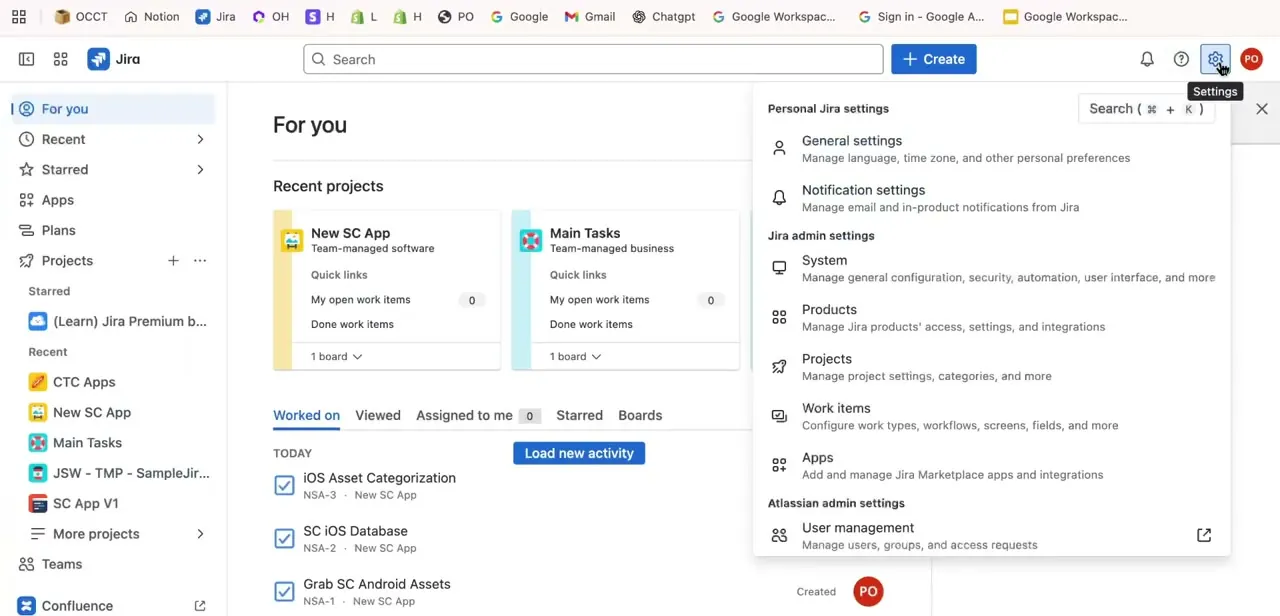
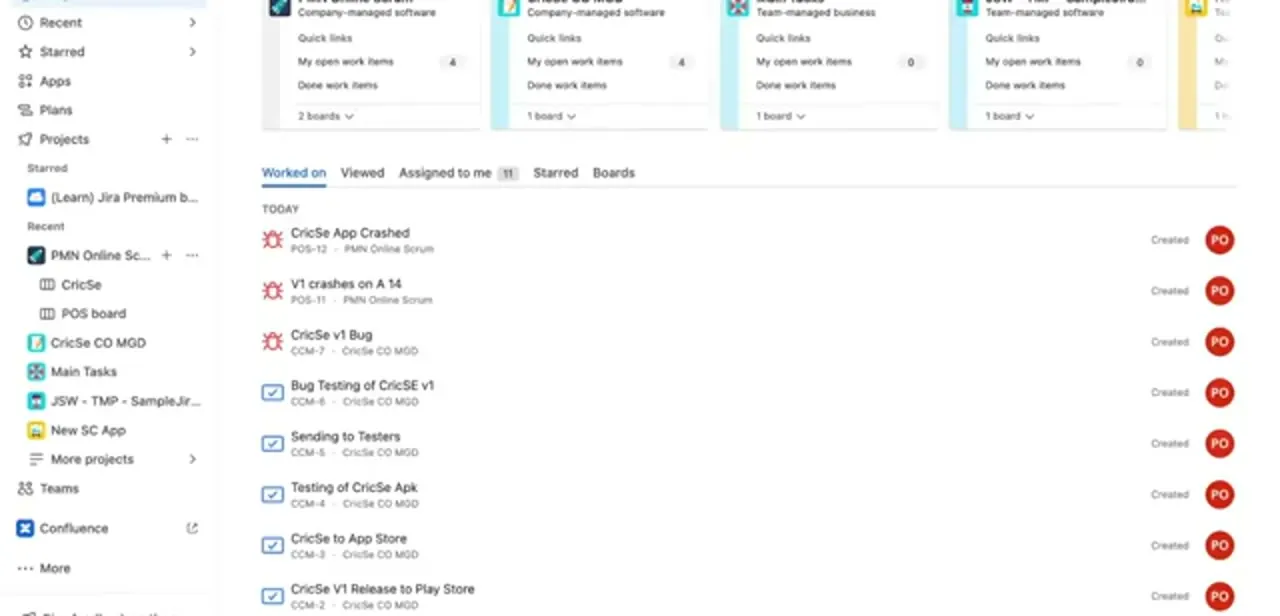
Jira's landing view lists the boards you belong to across projects, along with a "Worked on" feed of recently touched tickets — bugs, tasks, and stories with their keys, project, and reporter. This is a useful starting point when the issues you need to bulk-edit are spread across more than one board, since you can jump into the right project directly from here rather than hunting through the sidebar.
02Select the issues you want to edit
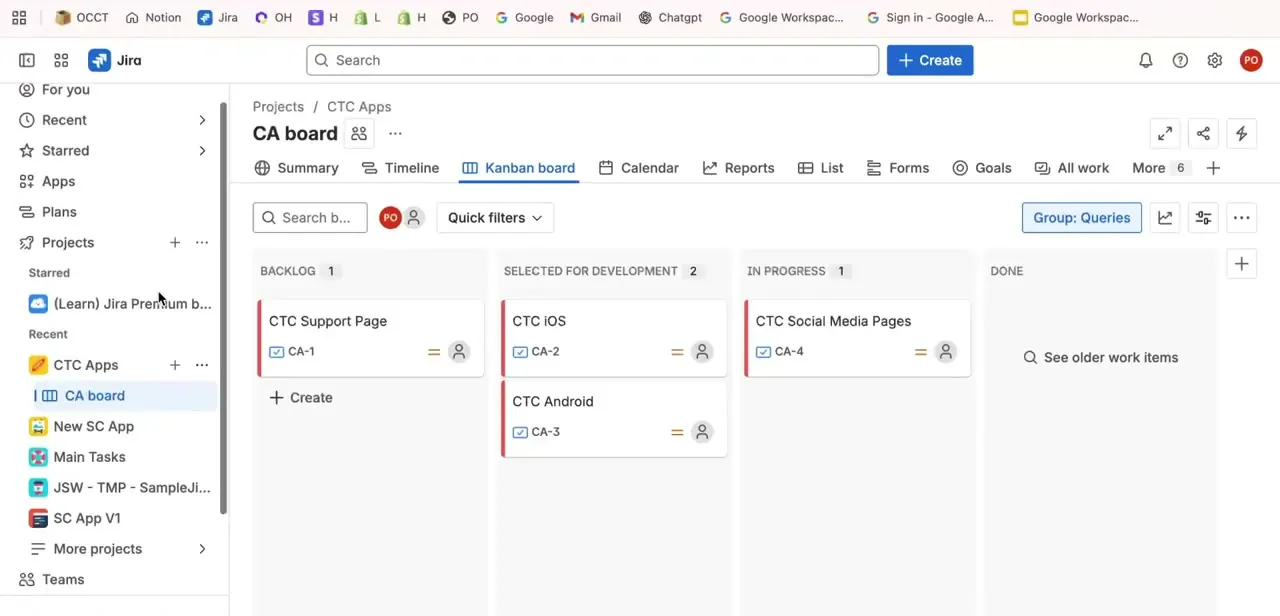
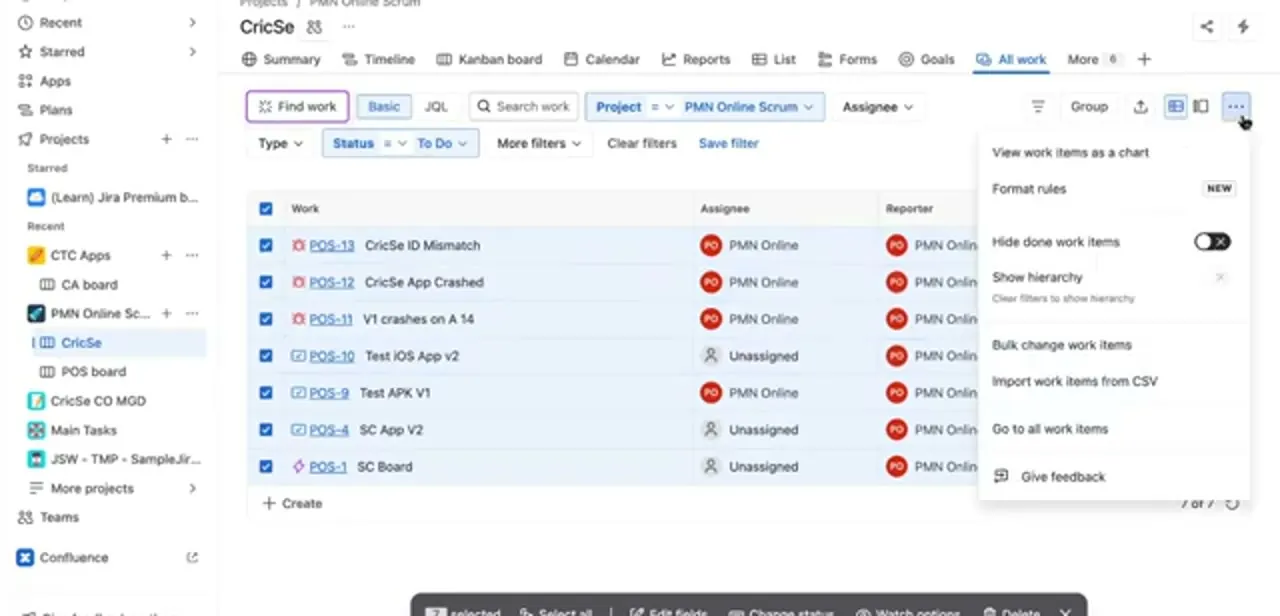
Open a project's work item list — Summary, Timeline, Kanban board, or the All work tab all lead here — and use the checkboxes on the left of each row to select the tickets you want to change. Selecting the header checkbox grabs everything currently filtered into view, which pairs well with the Type, Status, and More filters above the list if you first narrow it down to, say, every unassigned "To Do" ticket. Once issues are checked, open the "..." menu in the top right of the list and choose "Bulk change work items" to launch the wizard.
03Choose your bulk action
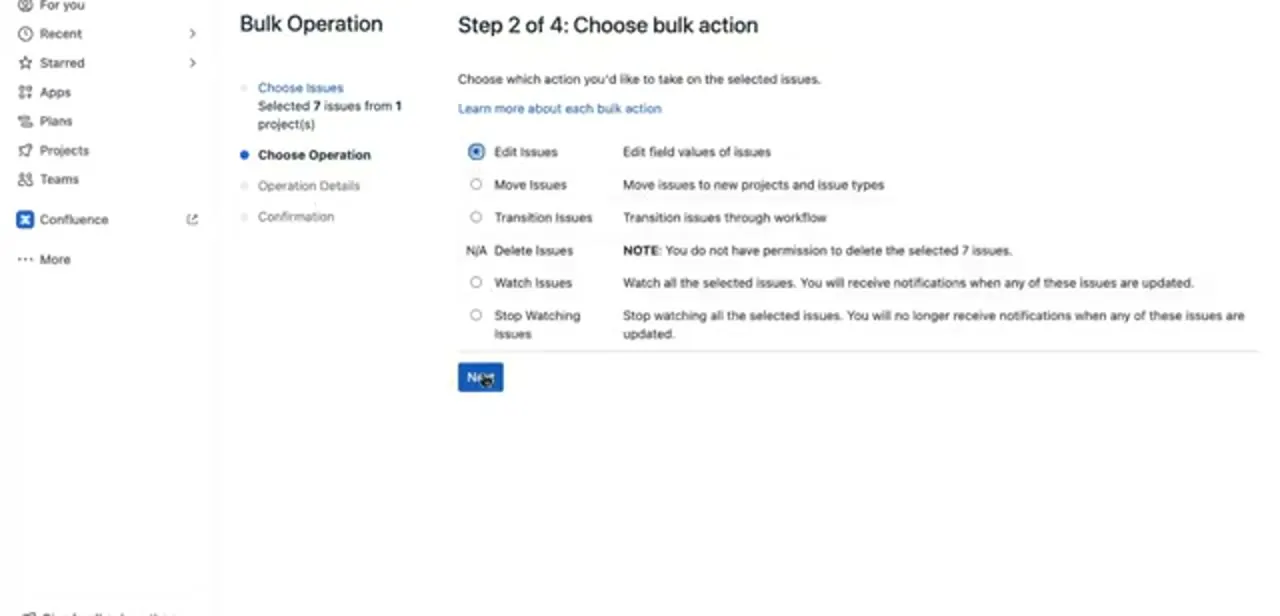
The wizard opens on "Step 2 of 4: Choose bulk action," confirming how many issues you selected and from how many projects. From here you pick what kind of change to make: Edit Issues to update field values, Move Issues to shift them to a different project or issue type, Transition Issues to push them through workflow statuses, or Watch/Stop Watching to manage notifications. Delete Issues appears too, though it's grayed out with a permissions note if your account isn't allowed to delete — a safeguard worth noticing before you assume it's available.
04Set the field values to apply
Choosing Edit Issues moves you to Operation Details, where you pick which fields to change and what to change them to — Priority, Assignee, Labels, and similar fields are typical candidates. This is the step where a bulk update earns its time savings: setting Priority to Medium and Assignee to a specific teammate here applies to every selected issue in one pass instead of seven separate edits.
05Review the confirmation before committing
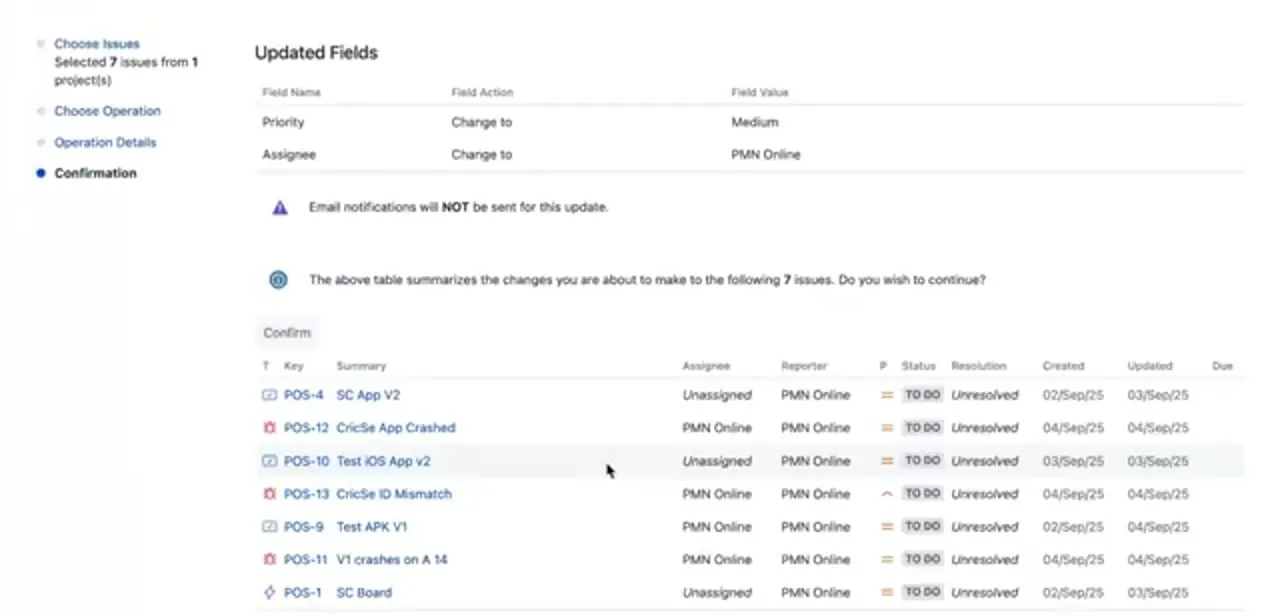
The final screen, Confirmation, lays out exactly what's about to happen: an Updated Fields table listing each field name, the action (Change to), and the new value, plus a note on whether email notifications will fire for the update. Below that, a full table lists every affected issue by key, summary, assignee, reporter, priority, and status, so you can scan for anything you didn't mean to include before clicking Confirm.
06Confirm and verify the results
Click Confirm to apply the changes. Jira processes all selected issues in the background and returns you to the list, where the updated priority, assignee, or status should now be visible across every ticket you included. It's worth spot-checking a couple of issues afterward, especially the first time you use bulk operations on a workflow with restricted transitions, since a status change that's blocked for one issue can behave differently than the rest of the batch.
Frequently asked questions
How many Jira issues can I bulk edit at once?
Jira supports selecting and bulk editing a large number of issues at once — the wizard shows the exact count you've selected on the Choose Issues step, and very large batches simply take longer to process.
Can I change assignees in bulk in Jira?
Yes, Assignee is one of the standard fields available on the Edit Issues path of the bulk operation wizard, letting you reassign every selected issue in one pass.
Does bulk changing status trigger workflow transitions?
Yes, the Transition Issues bulk action moves tickets through your workflow the same way an individual transition would, so any restrictions on who can make that transition still apply.
Will bulk edits send notifications to watchers?
The confirmation screen tells you upfront whether email notifications will be sent for that specific update, so you can check before confirming rather than guessing.
Can I bulk delete issues in Jira?
Delete Issues appears as an option in the bulk operation wizard, but it's only available if your account has delete permission on the selected issues — otherwise it's shown as unavailable with a note explaining why.
About the author

Impran M N
I've been hooked on technology for as long as I can remember — especially the new tools and AI apps that seem to land every other week. Easy Tech Tuts is where I write up whatever I've just worked out: I do the task in the real product, record the screen, and turn it into the guide I wish I'd found first.