Easy Tech Tuts
How to Host Api on Hostinger 2026 Easily
By Impran M N
Hostinger's shared hosting supports PHP by default, which makes it a practical option for hosting a lightweight API without paying for a separate VPS. This guide covers logging into hPanel, finding your way to the File manager and public_html folder, organizing your API files, and wiring up a database with the credentials Hostinger gives you. It closes with the SSL and testing steps that turn an uploaded folder of PHP files into a working, secured endpoint.
Before you start
- A paid Hostinger shared hosting plan with a site already added — hosting isn't part of Hostinger's free tier
- Your API's PHP files, ready to upload
01Log in and open hPanel
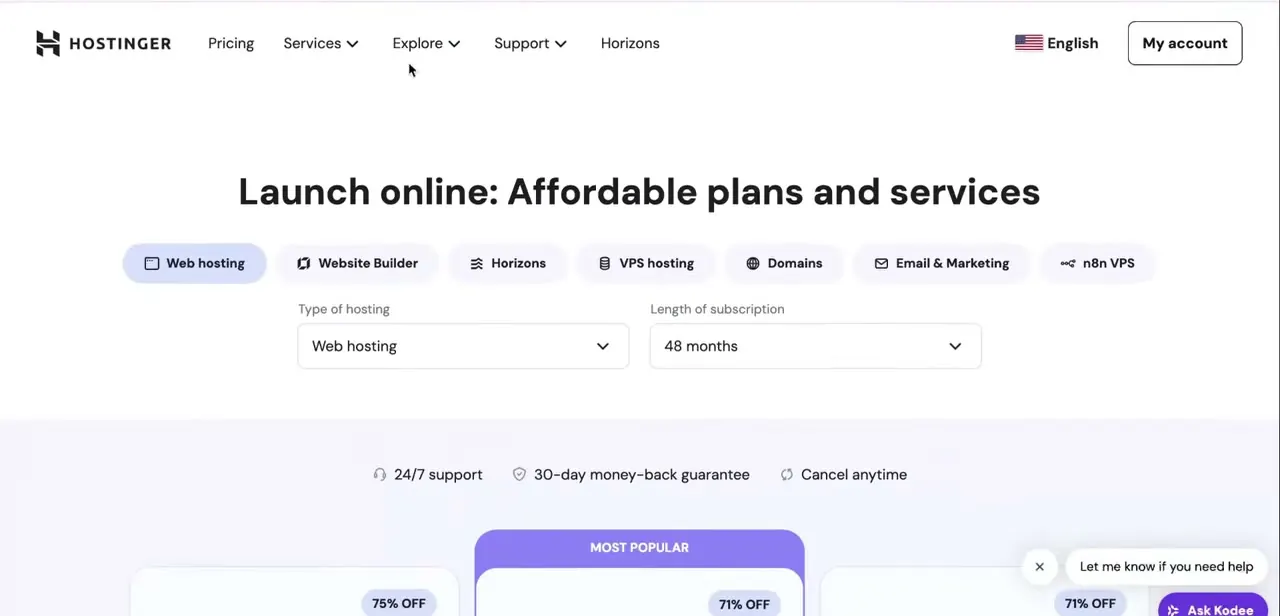
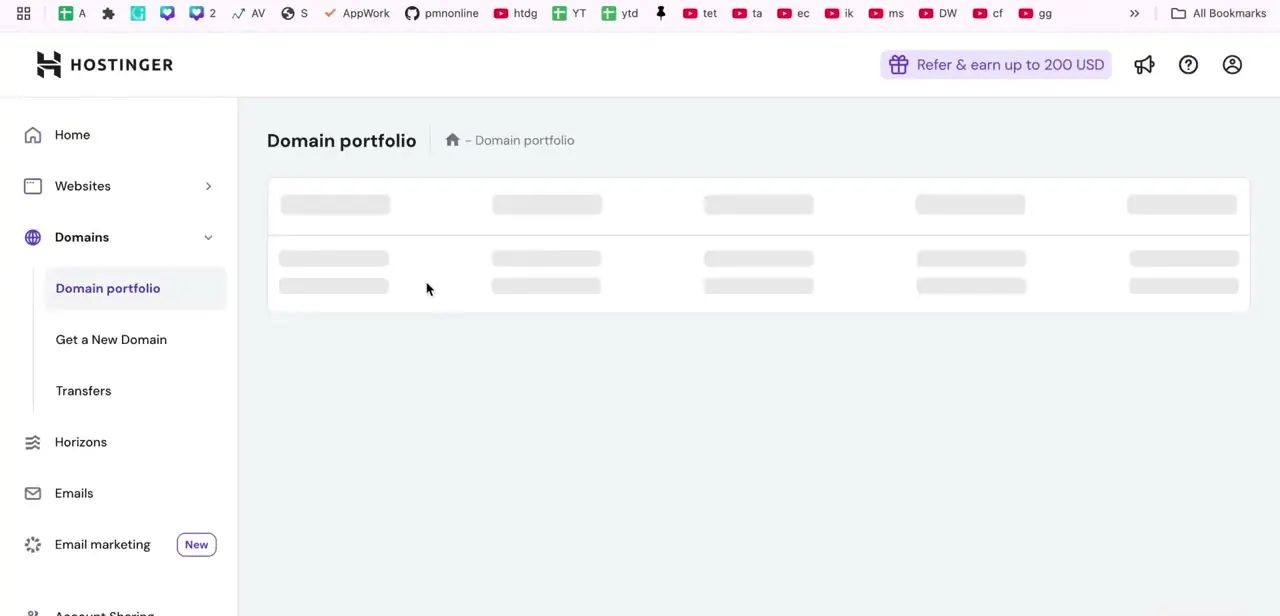
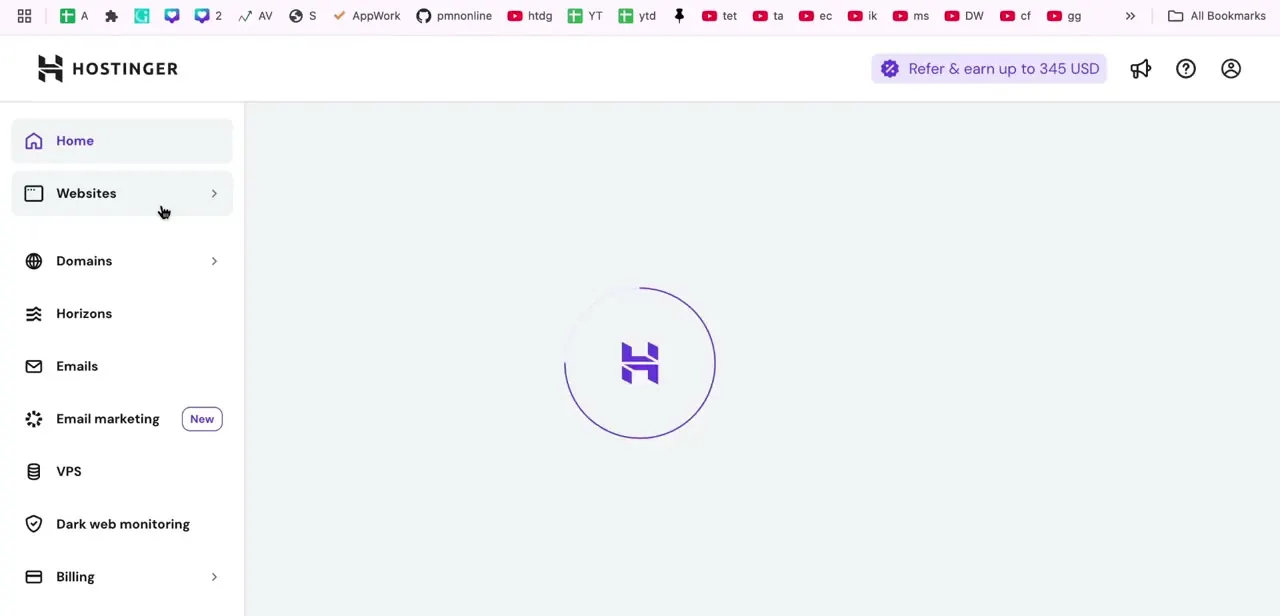
Sign in at hostinger.com and you're dropped into hPanel, Hostinger's control panel and the hub for everything covered in this guide. The main menu lists Home, Websites, Domains, Horizons, Emails, Email marketing, VPS, Dark web monitoring, and Billing. Websites is the one you want: that's where each site's individual dashboard, file manager, and database tools live.
02Open your website's dashboard
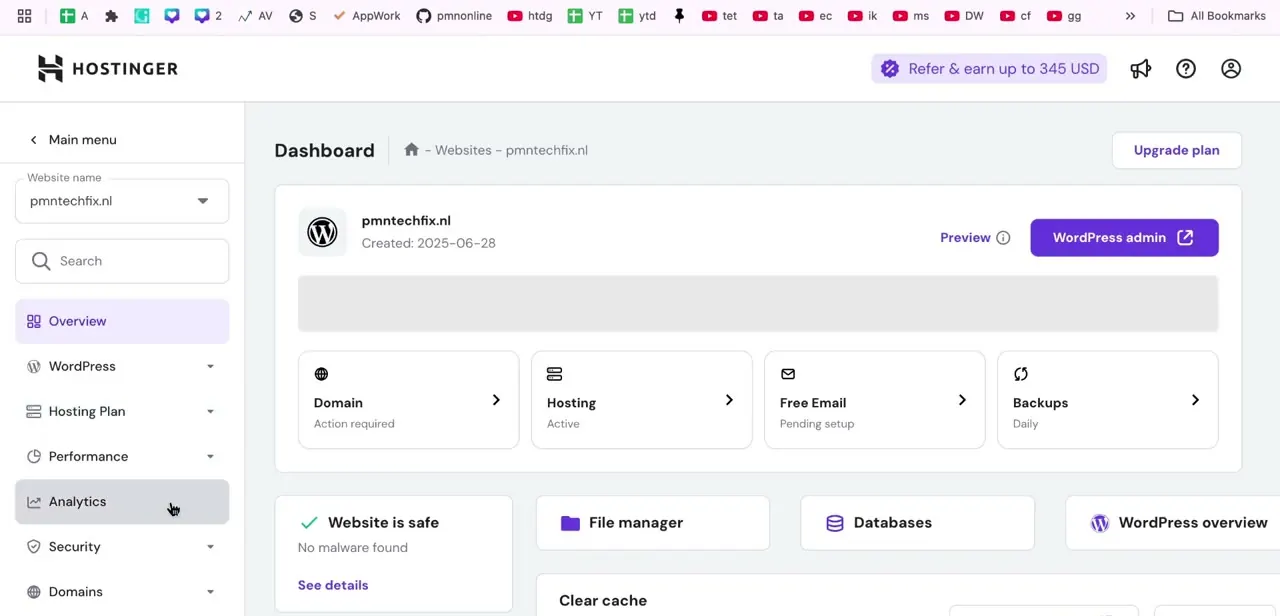
Click into a specific site from Websites and you land on its dashboard. This example shows pmntechfix.nl, with status cards for Domain, Hosting, Free Email, and Backups across the top.
Below that sit the two tools that matter most for an API: File manager, for uploading and organizing your PHP files, and Databases, for creating and managing the MySQL database your API will connect to. A "Website is safe / No malware found" indicator also lives here, worth a glance before you start uploading anything.
03Navigate to public_html and upload your PHP files
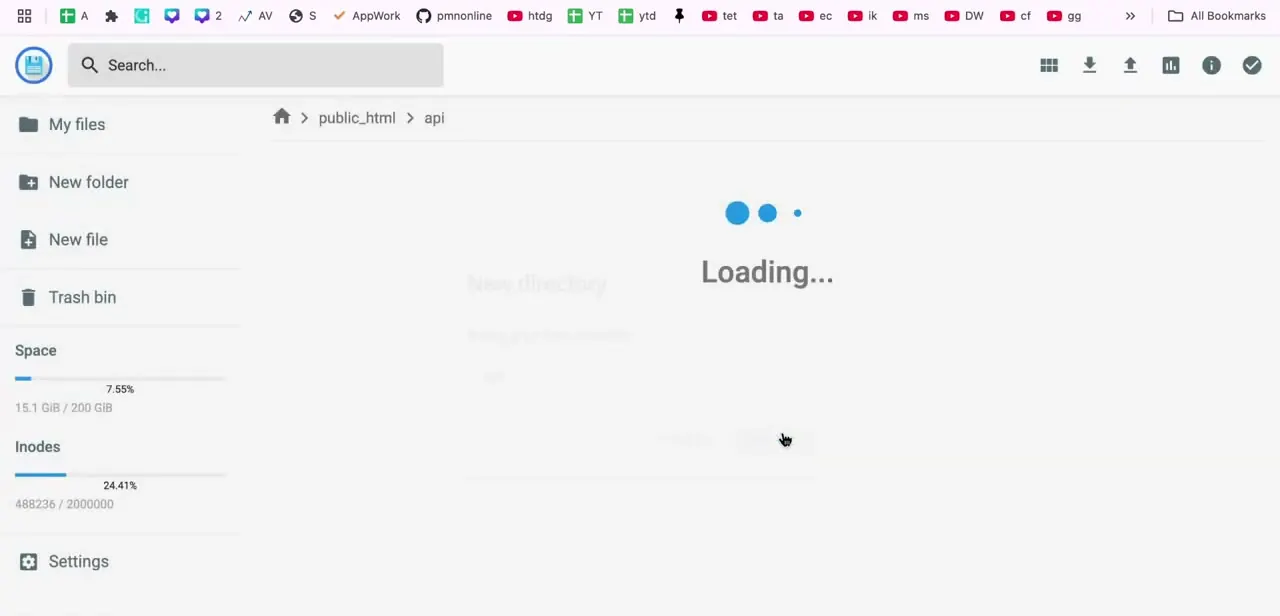
Open File manager and go to public_html: this is the web root, the folder Hostinger serves to visitors. You can drop your PHP files straight in here, but it's cleaner to create a dedicated subfolder, for example one named api, and upload your files there.
Doing this keeps your API separate from any website files already living in public_html and gives you a predictable path for every endpoint you add. Upload the files by dragging them into File manager, or connect over FTP with a client like FileZilla using the host, username, and password hPanel provides under its FTP section.
Whatever you name a file determines its URL: a file named user.php inside the api folder becomes reachable at yourdomain.com/api/user.php, so plan filenames as you would plan route names in any API framework. Hostinger's own documentation doesn't publish a fixed upload size limit for File manager; it recommends FTP over drag-and-drop for large or bulk uploads because it's more reliable.
04Connect your database
If your API reads or writes data, create a MySQL database first, from Databases > Management in hPanel. Give it a name, username, and password; Hostinger prefixes the database and username automatically and won't let you change the prefix.
The password needs at least 8 characters with one uppercase letter, one lowercase letter, and one number, or hPanel rejects it. Plug those three values into your PHP connection code along with the host, which is localhost for every database on Hostinger's shared hosting, not an external address.
Double-check the credentials match before you upload: a typo here is the most common reason a freshly uploaded API returns a blank page instead of data. Each database is limited to one user account on shared hosting; a project that needs several database users needs a VPS plan instead.
05Turn on SSL, sanitize inputs, and test the endpoint
Before calling the API done, install the free SSL certificate included with your plan: Websites > Dashboard > Security > SSL, then Install SSL. It moves through an "Installing" status and becomes active within a few minutes, and renews automatically after that.
An API serving data over plain HTTP is a bad idea even for a personal project. On the code side, validate and sanitize every piece of user input your PHP files accept, whether it comes from a query string, POST body, or header, so the API isn't an open door into your database.
Once SSL is active, open the endpoint URL directly in a browser for a quick sanity check, then move to a tool like Postman for anything that needs a specific HTTP method, headers, or a request body. Confirm the response matches what your code expects before pointing a real application at it.
When it doesn't work
hPanel rejects the database password
Why: Hostinger requires at least 8 characters with one uppercase letter, one lowercase letter, and one number.
Fix: Choose a password that meets all three rules; hPanel won't create the database or user until it does.
The uploaded API returns a blank page instead of data
Why: Usually a mismatch between the database name, username, password, or host in the PHP connection code and what hPanel generated, including the automatic account prefix.
Fix: Reopen Databases > Management in hPanel, copy the exact credentials shown there, and confirm the host is set to localhost.
A second application needs its own database login and hPanel won't allow it
Why: Each MySQL database on shared hosting supports exactly one user account.
Fix: Create a separate database for the second app, or move to a VPS plan if multiple users need to share one database.
Frequently asked questions
Can I host an API on Hostinger's shared hosting plan?
Yes. All Hostinger shared hosting plans support PHP, which is enough to run a PHP-based API without upgrading to a VPS. There's no free hosting tier, though; shared hosting plans start at $2.99/month on the longest term.
Where do I upload my API files on Hostinger?
Into the public_html folder, or better, a dedicated subfolder inside it like api, so your API stays organized separately from any website files.
What host value do I use to connect to the database from PHP?
localhost. Hostinger's documentation states this is the hostname for every MySQL database on shared hosting, not an external address.
Does Hostinger provide a free SSL certificate for my API?
Yes. Free SSL is included on every Hostinger hosting plan. Install it from Websites > Dashboard > Security > SSL, then click Install SSL; it isn't switched on automatically.
How do I test that my API is working after uploading it?
Open the API's URL directly in a browser for a quick check, or use a tool like Postman when you need to test specific HTTP methods, headers, or request bodies.
Sources and last check
Click path and screens come from a walkthrough recorded in 2026. The database host value, the password rule, the one-user-per-database limit, and the SSL activation path were all re-checked against Hostinger's official documentation in September 2026 and matched what the recording showed; the added detail was the specific password rule and the one-user-per-database constraint, neither of which the original draft mentioned. The claim that shared hosting has no free tier was checked against Hostinger's own pricing page.
About the author

Impran M N
I've been hooked on technology for as long as I can remember — especially the new tools and AI apps that seem to land every other week. Easy Tech Tuts is where I write up whatever I've just worked out: I do the task in the real product, record the screen, and turn it into the guide I wish I'd found first.