Easy Tech Tuts
How To Buy a Hostinger Domain, Register Hostinger Domain with Cheap Prices & Coupons Easily 2026
By Impran M N
Registering a domain doesn't have to cost full price if you know where the discounts actually apply — first-year pricing on domains varies wildly by extension, and a coupon on top of that can push a .com down to a few dollars. This guide walks through searching for a name on Hostinger, comparing what's available across extensions, and getting through checkout with a coupon applied so you're not paying the sticker price.
01Search for your domain name
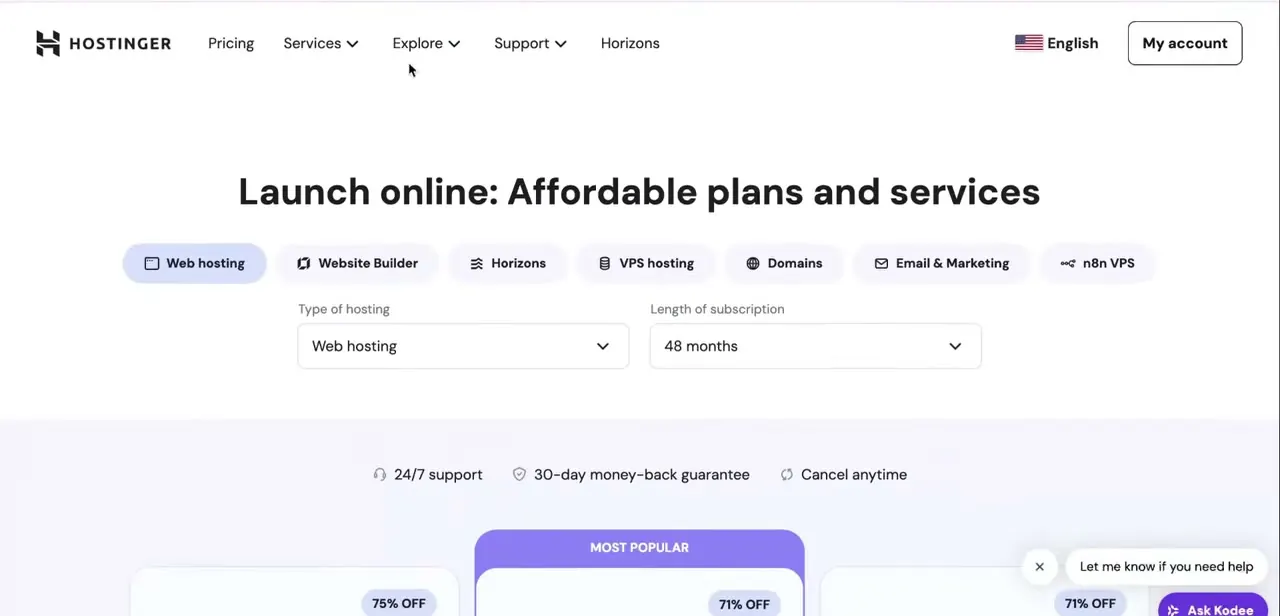
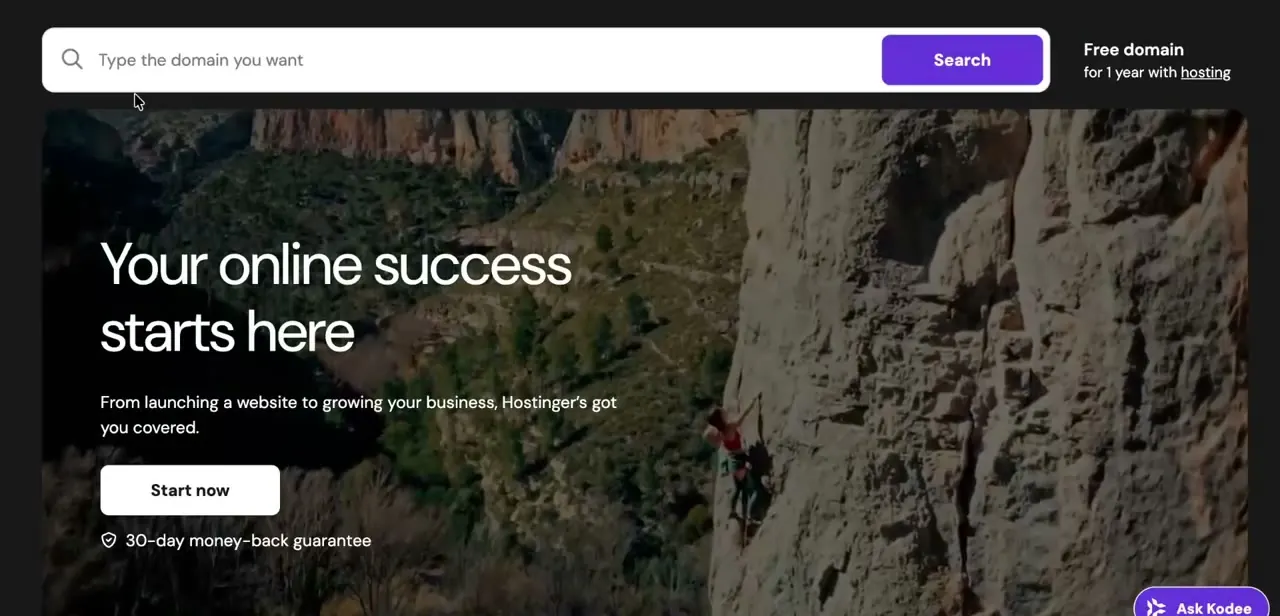
Hostinger's homepage puts a domain search bar front and center — type in the name you want and hit Search. The page also advertises a free domain for a year bundled with hosting, which is worth noting if you're setting up a new site from scratch rather than just registering a domain on its own.
02Compare extensions and first-year pricing
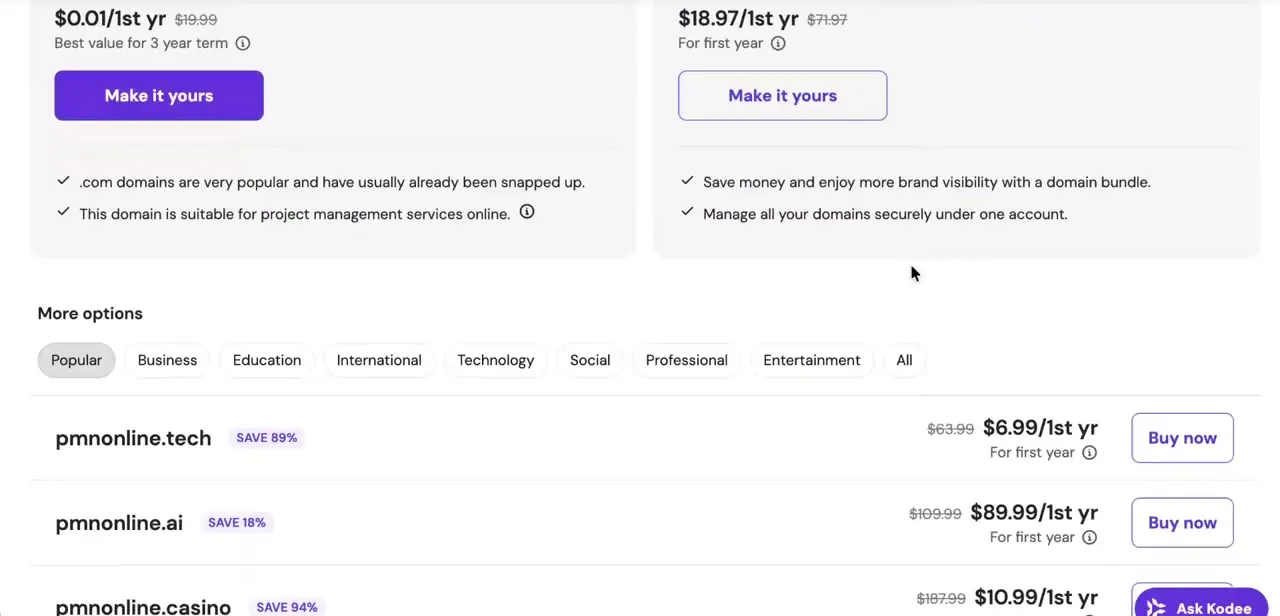
Results come back as a list of available names across different extensions, each with its own discounted first-year rate and a Buy now button — a .tech extension at $6.99 for the first year next to a much pricier .ai at $89.99 is typical of how much the extension alone affects cost. Scroll through the tabs for Popular, Business, Technology, and other categories if your first choice is taken or overpriced; a slightly different extension can save a significant amount without hurting your brand much.
03Add your chosen domain to checkout
Once you've picked a name and extension, click Buy now (or Make it yours on the featured options higher up the page) to add it to your cart. Hostinger will typically prompt you toward add-ons like domain privacy protection at this point — privacy protection is worth keeping since it hides your personal registration details from public WHOIS lookups.
04Enter a coupon code before paying
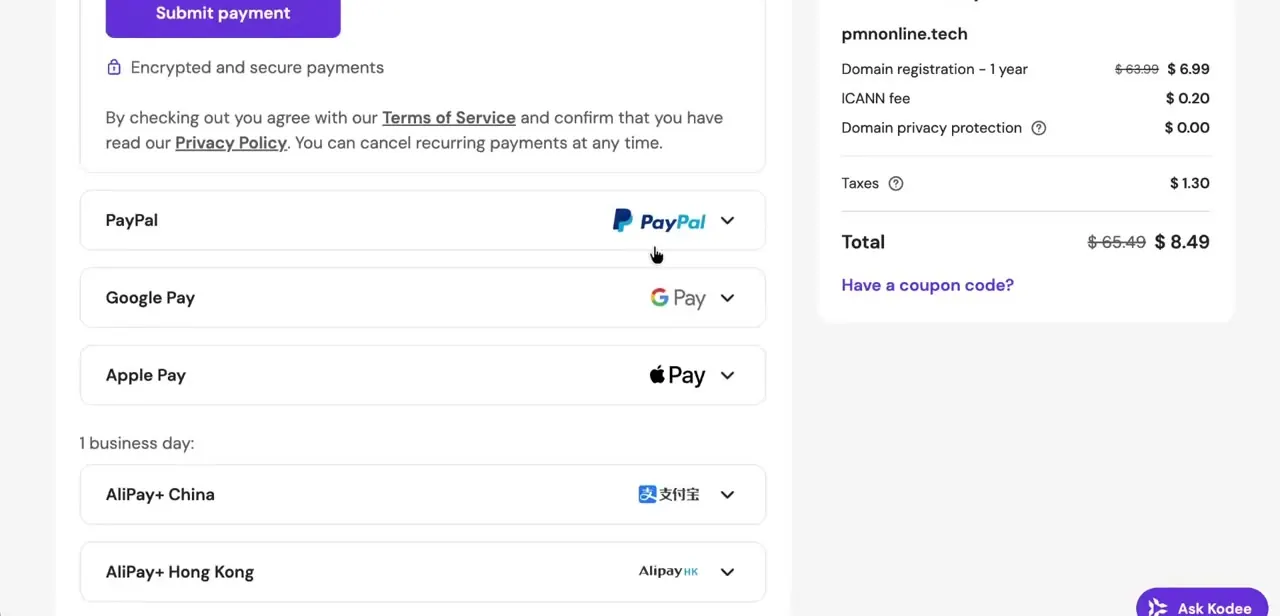
On the checkout page, look for a "Have a coupon code?" link near the order summary — this is separate from whatever discount is already applied to the sticker price, so a valid promo code can stack on top of it for extra savings. Paste the code in, apply it, and confirm the total updates before moving on to payment.
05Review the order summary and choose a payment method
The right-hand panel breaks the charge down clearly: domain registration for the first year, a small ICANN fee that's standard across all registrars, optional privacy protection, and tax, all rolled into one total. Checkout supports several payment options beyond a card — PayPal, Google Pay, Apple Pay, and regional options like AliPay — so pick whichever is fastest for you.
06Submit payment and verify your email
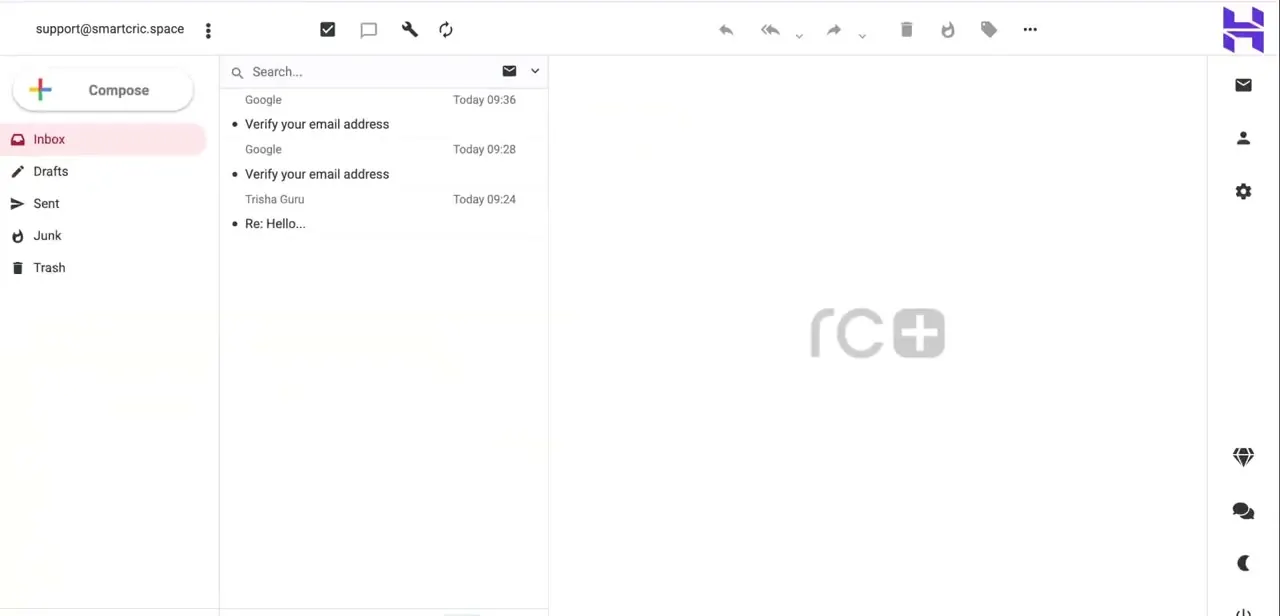
Complete the payment, and Hostinger will send a confirmation email to the address on your account — verifying that email is typically required before the domain is fully active and usable. Once verified, the domain shows up in your Hostinger dashboard under Domains, ready to be pointed at a hosting plan or an external platform like Shopify or WordPress.
Frequently asked questions
Where do I enter a coupon code when buying a domain?
Coupon codes are typically entered at checkout, right before you complete the payment for your selected domain.
What domain extension should I choose?
This depends on your business and target audience — .com is broadly recognized, while country-specific extensions like .in can suit a local audience.
Do I need to verify my email after registering?
Yes, verifying your email is typically required to fully activate a newly registered domain.
Is buying a domain through Hostinger different from other registrars?
The general process — searching, selecting an extension, and checking out — is similar across registrars, though pricing and available coupons vary.
About the author

Impran M N
I've been hooked on technology for as long as I can remember — especially the new tools and AI apps that seem to land every other week. Easy Tech Tuts is where I write up whatever I've just worked out: I do the task in the real product, record the screen, and turn it into the guide I wish I'd found first.