Easy Tech Tuts
How To Add Google AdSense To Hostinger Website, Add Ads txt & Domain Verification code Easily 2026
By Impran M N
Connecting Google AdSense to a Hostinger site comes down to two pieces of code landing in two different places: a verification meta tag in the page head, and an ads.txt line that AdSense's crawler checks at your domain root. This guide follows the hPanel and builder screens those pieces actually get pasted into, so you're not guessing where a snippet belongs.
It's built around Hostinger's Website Builder, which handles custom code through an Integrations panel rather than a plain site-settings box. The same verification tag and ads.txt line apply whether the site runs on Website Builder, WordPress, or plain HTML hosting; only the paste location changes. Getting both pieces in correctly clears the two most common blockers to AdSense approval.
Before you start
- A Google AdSense account that has already generated your site's verification tag, ads.txt line, and ad unit code
- A Hostinger site that is live and reachable at its domain, not just saved in the editor
01Get your AdSense verification code and ads.txt content
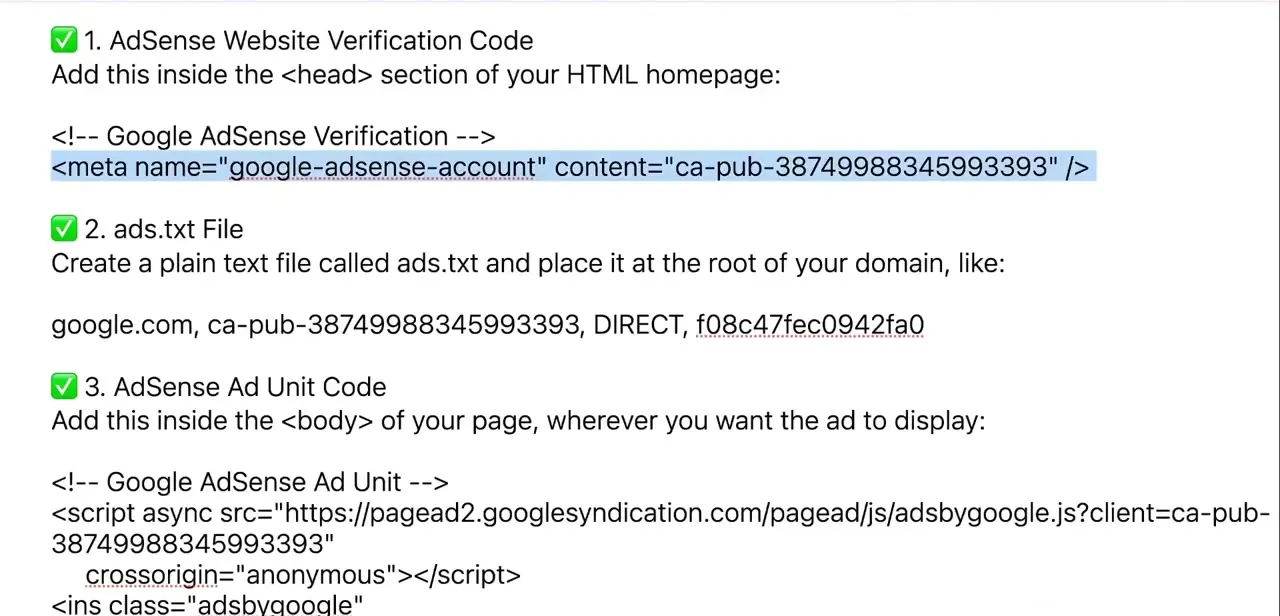
Google AdSense gives you three separate snippets once you request site verification: a meta tag for domain verification, a single line of text for an ads.txt file, and a script block for the ad unit itself. Each ca-pub number in these snippets is unique to your account, so copy them exactly instead of reusing an example from a tutorial.
The verification tag comes first. Nothing else in AdSense unlocks until Google confirms the domain you're claiming belongs to you.
02Open your project's editor from hPanel
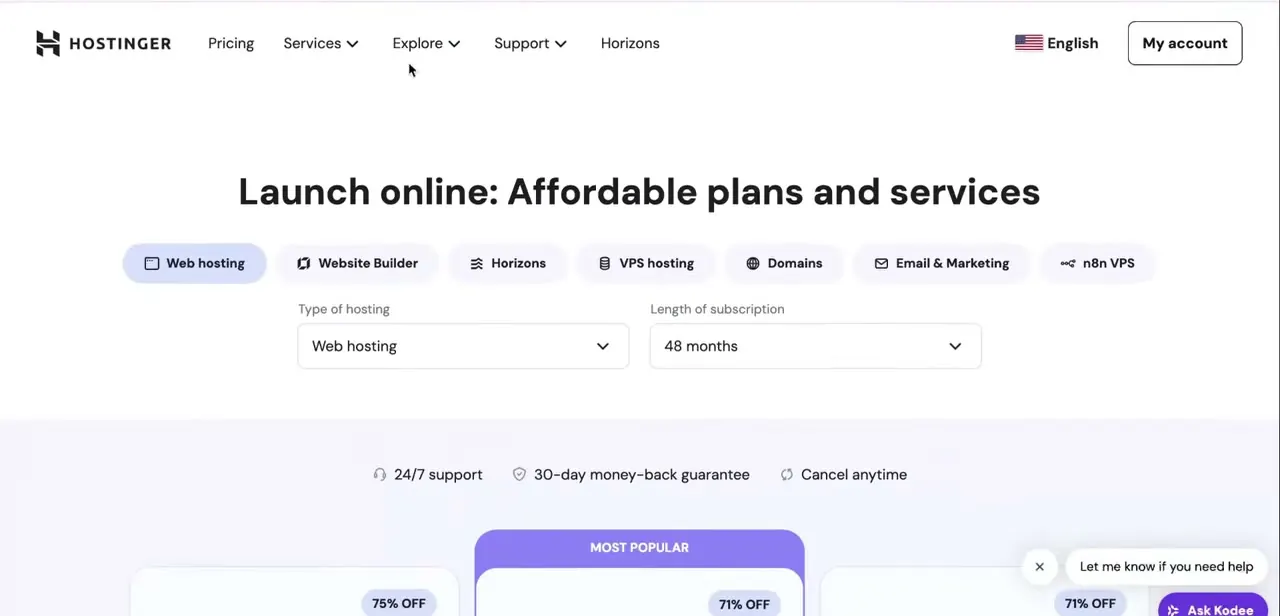
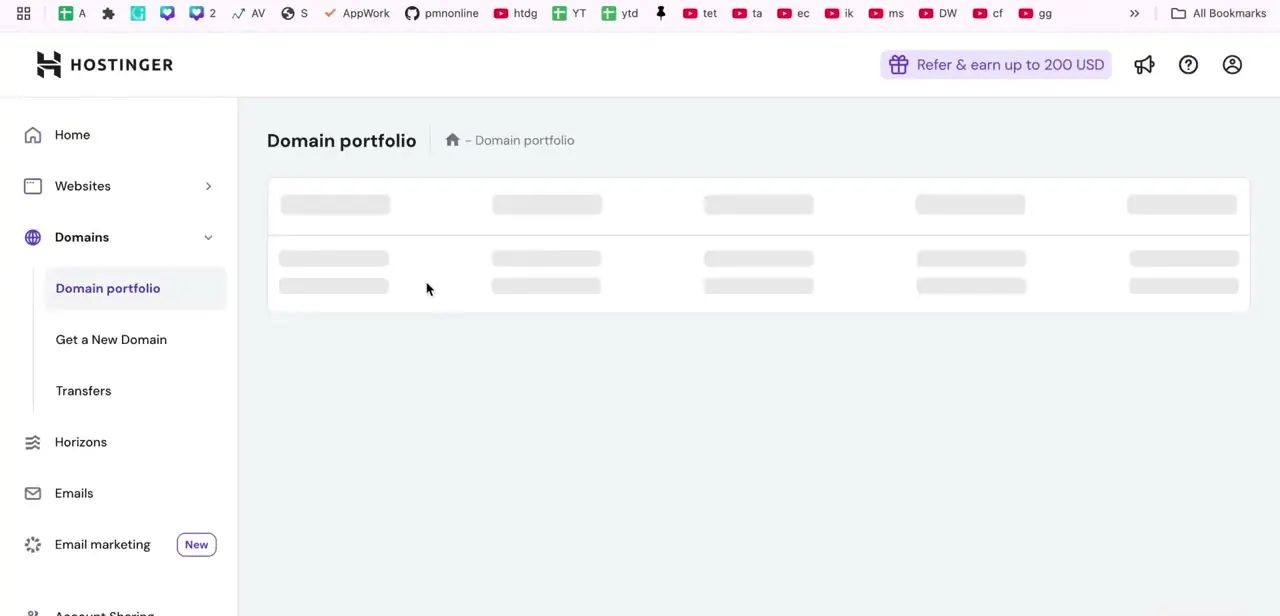
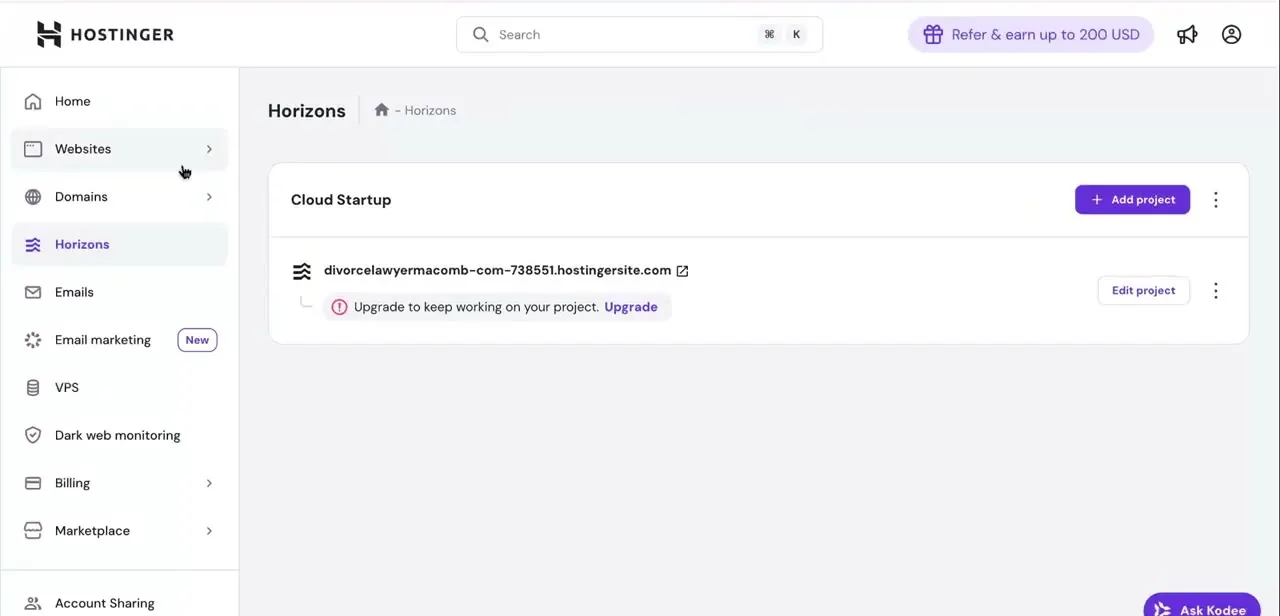
Your site is listed under the Websites section of hPanel, with a live domain and an Edit or Edit website button. Hostinger currently runs two separate builders from that same section: the point-and-click Website Builder, and Horizons, a prompt-based AI app builder sold on its own subscription.
The steps below follow Website Builder's editor, which has the three-dot menu and Integrations panel this guide uses. A Horizons project doesn't expose that panel; there you'd ask the AI assistant directly to insert the verification snippet into the page head, since Horizons has no separate custom-code settings screen of its own.
If the site runs on WordPress rather than either builder, the equivalent is your theme's header settings or a header/footer plugin. The verification tag itself is identical either way.
03Paste the verification tag into Integrations
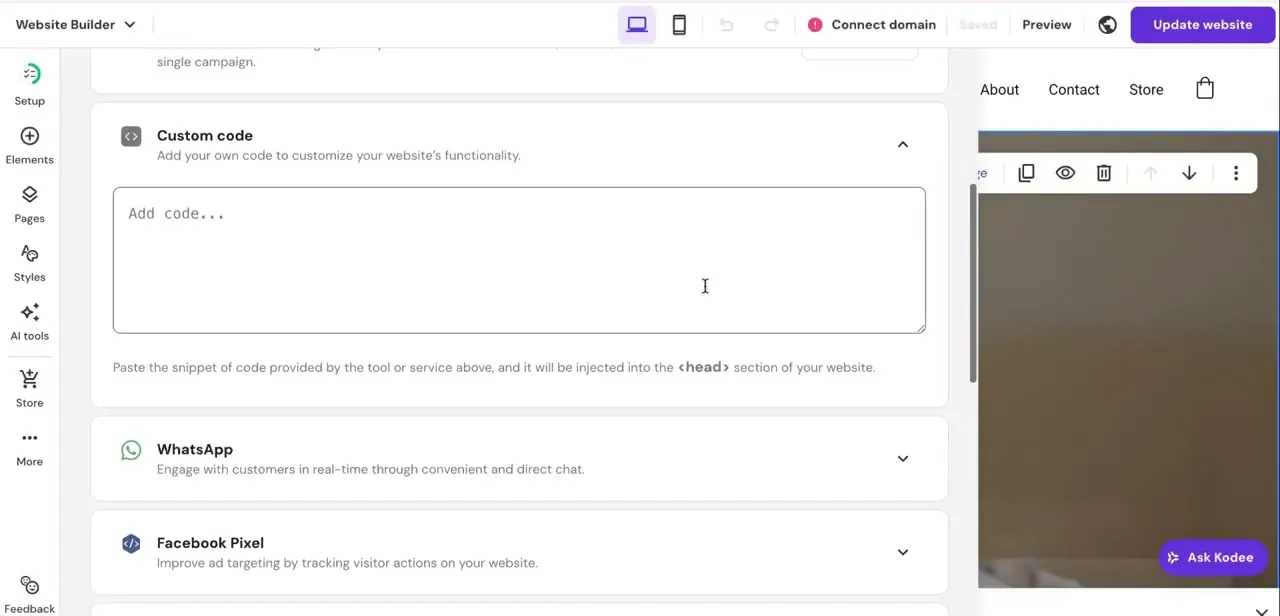
Inside the Website Builder editor, open the three-dot menu and choose Integrations to reach the Custom code field. Hostinger auto-places whatever you paste there by tag type: meta, link and style tags go into the page head automatically, while script, noscript and iframe tags go to the end of the body instead.
That's why the verification meta tag needs no extra wrapping. Paste it in as-is, then click Update website so the change publishes rather than sitting as an unsaved draft. Back in AdSense, trigger the verification check; it typically confirms within a few minutes once the tag is live on the published site.
04Add the ads.txt line, not a file upload
On a Website Builder or Horizons site, ads.txt isn't a file you upload at all. The same Integrations settings that hold the Custom code field also have a dedicated Google AdSense field; paste the single line AdSense gave you there (it reads roughly like google.com, pub-XXXXXXXXXXXXXXXX, DIRECT, f08c47fec0942fa0) and save.
Hostinger publishes it at yourdomain.com/ads.txt on its own. On a traditional Hostinger hosting plan running your own WordPress or static files, there's no such field.
There you create a plain text file named exactly ads.txt and drop it straight into public_html through File Manager, so it's reachable at the domain root and not inside a subfolder. Either way, load that URL directly afterward to confirm the line is actually there. Google's own guidance notes ads.txt changes can take several days to register, longer on low-traffic sites, so a same-day recheck can still show a stale result.
05Place the ad unit where you want it to render
AdSense gives you two ways to show ads: Auto ads, where Google decides placement across the site, and manual ad units, which need their code sitting at one exact spot on a page. The sitewide Custom code field from step 3 isn't built for that job.
Script tags pasted there always land at the end of the body, not wherever you want an ad to sit in the page flow. For a manual ad unit at a specific spot, open the builder's Add elements panel, drag an Embed code element onto that spot on the page, click it, choose Enter code, paste the AdSense ad unit script, and confirm with Embed code.
Update the site to publish. This step is optional until AdSense approves the site, but placing it early means ads start appearing the moment approval lands instead of needing a second round of edits.
06Confirm everything is correctly placed
Check each piece independently instead of assuming success because the site loads normally. View the page source to confirm the meta tag sits in the head, open the ads.txt URL directly to confirm the line is live, and check the AdSense account for verification status. Catching a misplaced snippet here saves a rejected review and a wait for AdSense to recheck the site.
When it doesn't work
AdSense still shows ads.txt as "Not found" after it looks correct
Why: The line was pasted into the general Custom code field instead of the dedicated Google AdSense field, or the site was saved but never updated/published, or Google simply hasn't recrawled yet.
Fix: Check the Google AdSense field specifically in Integrations settings, confirm the site was updated, then load yourdomain.com/ads.txt directly. Google's own guidance says it can take several days to register, longer on low-traffic sites.
The verification check fails even though the tag looks pasted correctly
Why: The change was saved in the editor but Update website was never clicked, so the live site still serves the old head section.
Fix: Click Update website, wait a minute, then view the live page's source to confirm the meta tag is actually present before retrying verification in AdSense.
An ad unit's code is in place but no ad ever renders at that spot
Why: The script was pasted into the sitewide Custom code field, which always pushes script tags to the end of the body rather than the chosen location on the page. It can also mean the account or the specific site hasn't been approved yet.
Fix: Move the ad unit code into an Embed code element placed exactly where the ad should sit, and confirm in AdSense that both the account and this domain show as approved.
Frequently asked questions
Do I need both the verification tag and the ads.txt line?
Yes. The verification tag confirms domain ownership to AdSense, and ads.txt is a separate, Google-recommended file that tells ad systems which sellers are authorized to sell ads on your site.
Where does the ads.txt content go on a Hostinger Website Builder site?
Into the dedicated Google AdSense field inside Integrations settings, not a file upload. Hostinger publishes it at yourdomain.com/ads.txt from that setting automatically.
Is Hostinger Horizons the same thing as Website Builder for this?
No. Horizons is a separate, prompt-based AI app builder with its own subscription. It has no Integrations/Custom code panel; verification code there gets added by asking the AI assistant to insert it into the page head instead.
Why did my ad unit code not show an ad where I placed it?
The sitewide Custom code field always moves script tags to the end of the body, not to a chosen spot. For a manual ad unit at an exact location, use the builder's Embed code element instead.
Do I need a paid plan for any of this?
No, if the site is on Website Builder; Integrations and custom code are included with any hosting plan that has Website Builder. Horizons is the exception, since it runs on its own separate subscription.
Sources and last check
Click path and screens come from a walkthrough recorded in 2025. In September 2026 the menu path, the ads.txt method, and the ad-placement steps were re-checked against Hostinger's official documentation on connecting AdSense, integrating custom code, and the Embed code element, plus Google's own ads.txt guidance. That check corrected three things this guide previously got wrong: the verification and ads.txt settings live under Integrations (not a generic site-settings custom code box), ads.txt on a Website Builder or Horizons site is a pasted field rather than an uploaded file, and a manual ad unit needs the Embed code element rather than the sitewide custom code field to land at a specific spot on the page.
- Hostinger Website Builder: How to connect Google AdSense (official)
- Hostinger Website Builder: How to integrate custom code (official)
- Hostinger Website Builder: How to embed custom code (official)
- Hostinger Horizons: Difference between Horizons and Website Builder (official)
- Google AdSense: ads.txt guide (official)
About the author

Impran M N
I've been hooked on technology for as long as I can remember — especially the new tools and AI apps that seem to land every other week. Easy Tech Tuts is where I write up whatever I've just worked out: I do the task in the real product, record the screen, and turn it into the guide I wish I'd found first.