Easy Tech Tuts
How to Add a Payment Method in Hostinger for Ecommerce Store Manager 2026 Easily
By Impran M N
Linking a payment method is the step that turns a Hostinger website from a page people can browse into a store that can take money. The setting lives inside Store Manager's Payments section, and connecting Stripe involves a real verification step, not just typing in a few settings. This guide walks through logging in, finding the payment settings inside Store Manager, and the two prerequisites people tend to skip past: an Ecommerce-capable plan and, for PayPal, a business account instead of a personal one.
Before you start
- A Hostinger Ecommerce-enabled store. Ecommerce is billed as its own subscription, and newer Unlimited and Cloud hosting plans no longer include it automatically
- A PayPal Business account if you plan to accept PayPal; a personal PayPal account can't be connected
01Log in to your Hostinger account
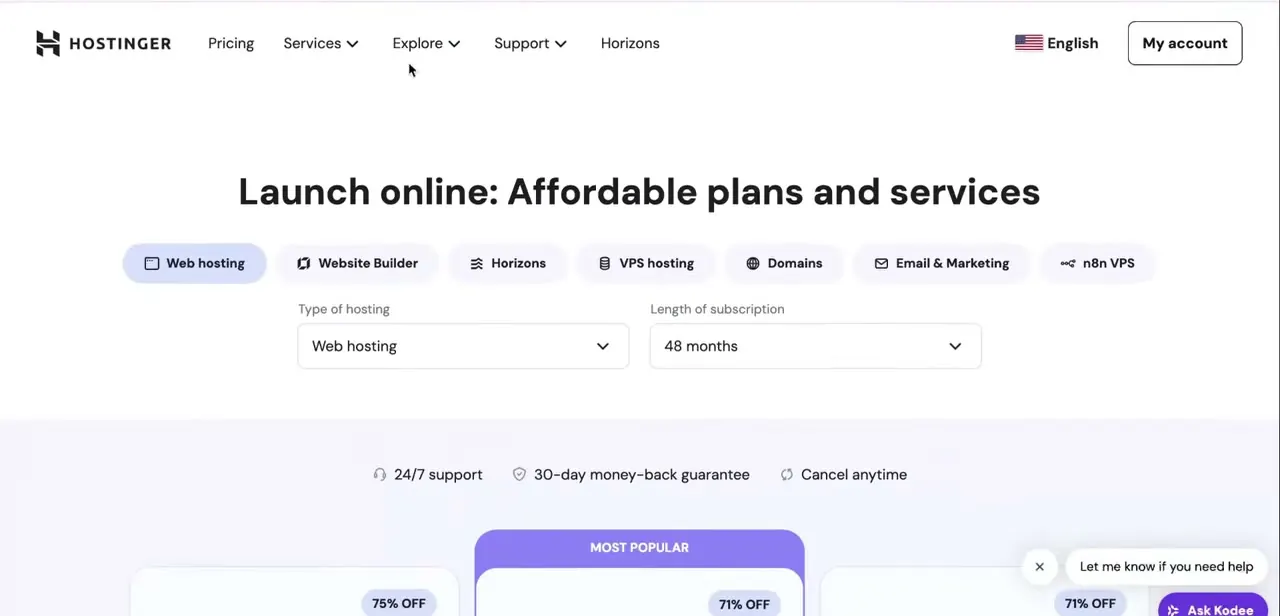
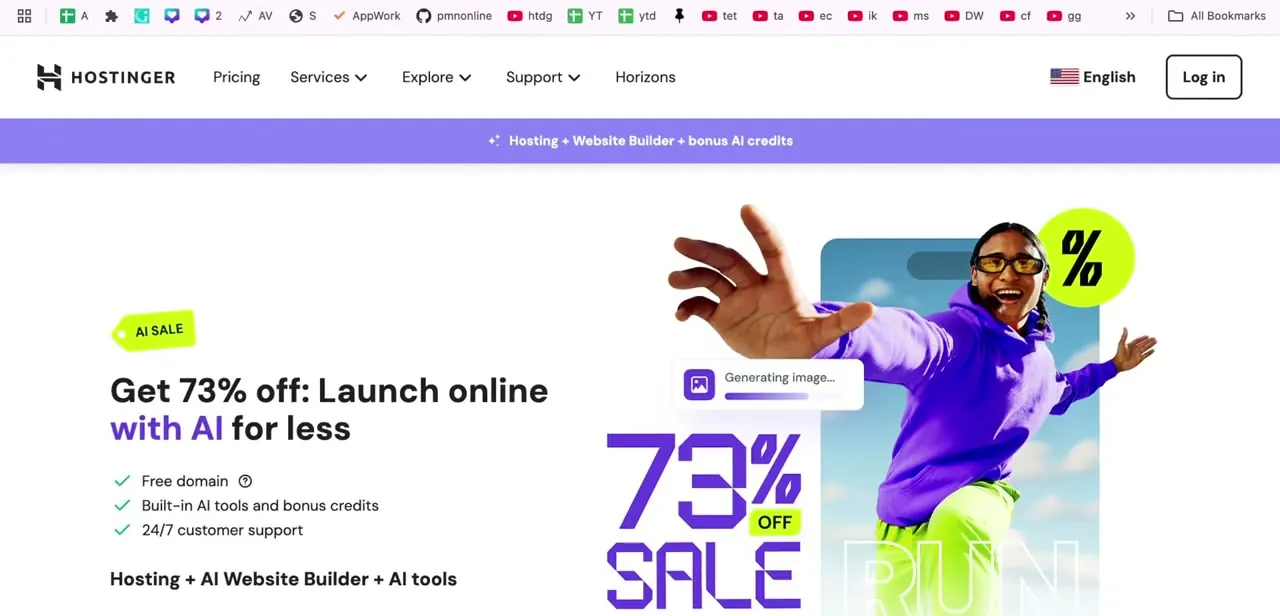
Open hostinger.com in your browser and click Log in at the top right. Sign in with your Hostinger credentials to reach hPanel, the control panel where hosting, domains, and store settings all live.
If you're new, you'll see promotional offers for hosting and AI website tools on the homepage first. None of that is required to set up payments, so head straight for the login button instead of getting pulled into a plan upgrade.
02Open Store Manager for your site
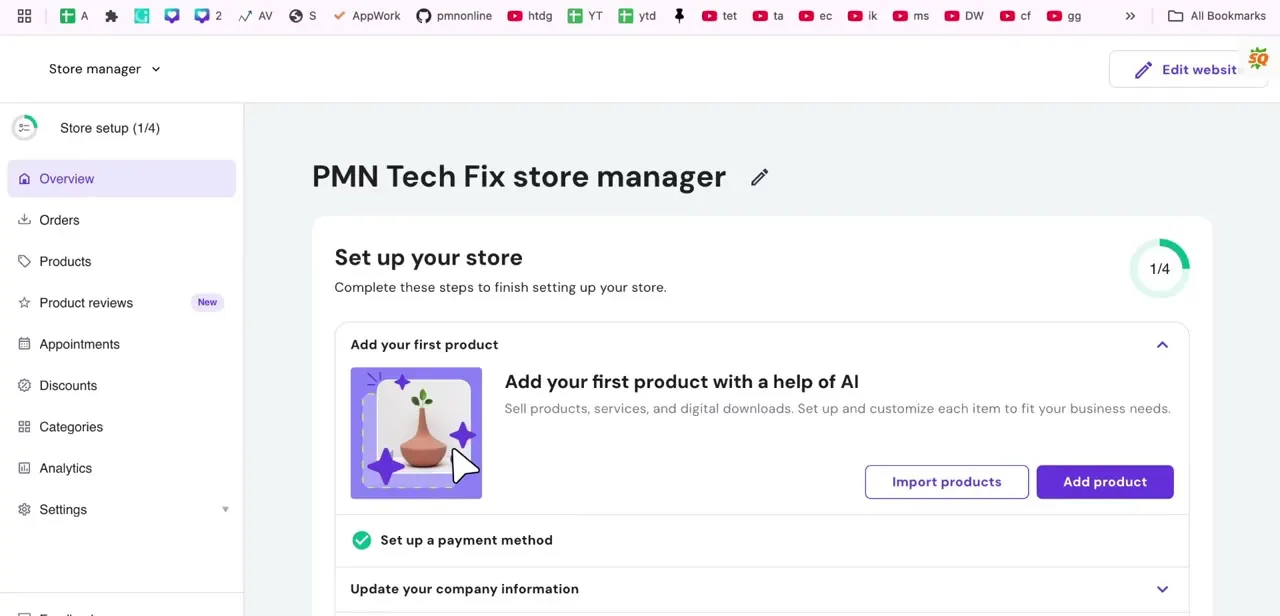
From hPanel, find the website running your store and open its Store Manager. You'll land on an overview page with a "Set up your store" checklist tracking your progress: items like adding your first product, setting up a payment method, and updating your company information, each with a checkmark once done. If "Set up a payment method" already shows a green checkmark, a gateway is already connected, and you're here to change or add one instead of setting up from scratch.
03Navigate to Settings, then Payments, and pick a gateway
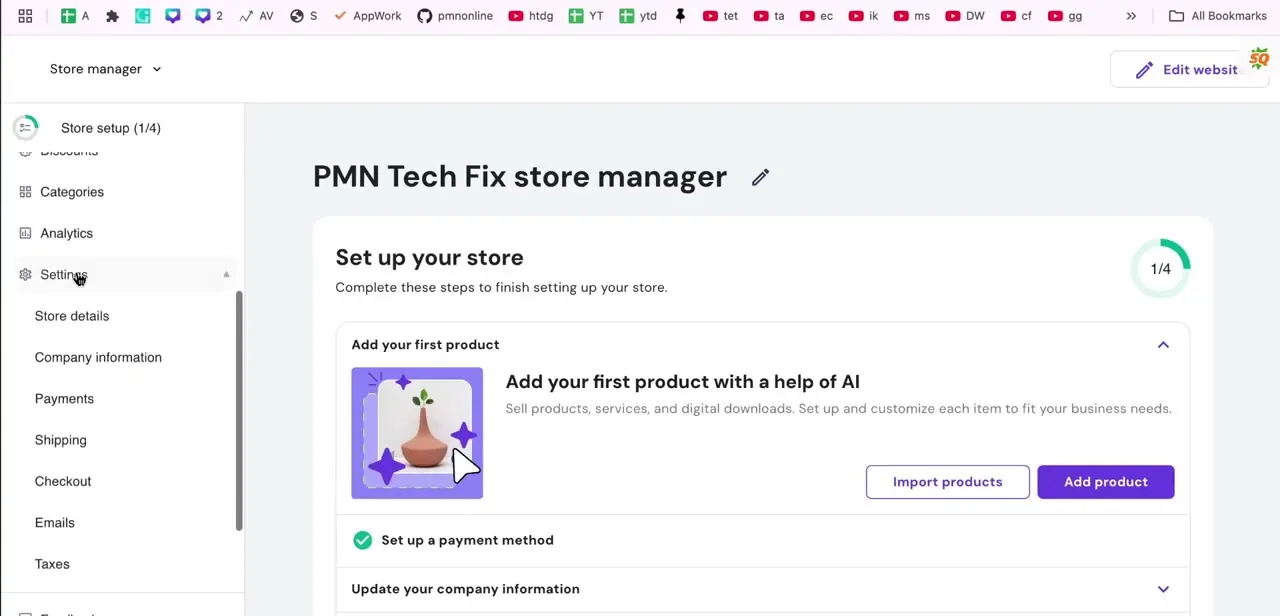
In the left-hand sidebar, click Settings to expand it, which reveals Store details, Company information, Payments, Shipping, Checkout, Emails, Taxes, and Invoices. Click Payments.
It's easy to go looking for this under a top-level "Payments" menu item instead, but in Store Manager it sits nested under Settings. Hostinger's builder supports Stripe and PayPal everywhere, plus two gateways tied to specific countries: Razorpay for stores in India and Paysera for stores in Lithuania.
If you're outside those two countries, Stripe and PayPal are the options. If more than one applies to you, choose based on where your customers are instead of which name you recognize; a local gateway can mean lower fees or a checkout customers already trust.
04Connect the gateway and complete verification
Click Connect next to the gateway you chose. For PayPal, you'll need a PayPal Business account; a personal PayPal account can't be linked here.
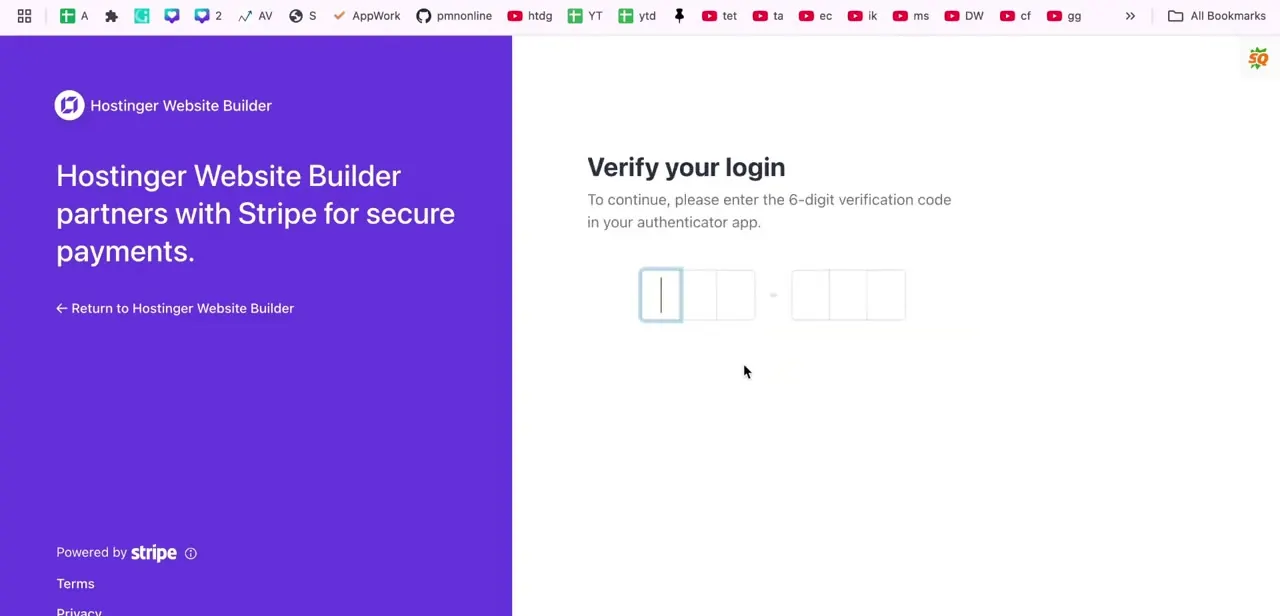
For Stripe, you'll authenticate with an existing Stripe account or create one, then complete a "Verify your login" screen asking for a 6-digit code from your authenticator app. That screen confirms you're the account holder, but it isn't the end of Stripe's checks: Stripe still reviews and verifies the submitted details afterward, which Hostinger's documentation puts at 1-3 business days, and emails you once it's approved.
05Confirm it's live before you announce the store
Once the connection is saved, go back to the Store Manager overview and confirm the payment method checklist item now shows complete. Before sending real traffic to the store, place a small test order if your provider supports test mode, or check the provider's own dashboard to confirm the store is correctly linked to your account.
If you connected Stripe, remember its review can still be pending even though the checklist item is checked. Catching a misconfigured or still-pending gateway before launch is far less painful than finding out from a customer whose checkout failed.
When it doesn't work
PayPal's Connect button won't finish, or PayPal rejects the account
Why: Hostinger's PayPal integration requires a PayPal Business account. A personal PayPal account can't be connected.
Fix: Upgrade to, or create, a PayPal Business account, then reconnect.
Stripe shows as connected, but live payments don't seem to be going through yet
Why: Stripe reviews and verifies new accounts after the initial setup screens, which Hostinger's documentation states typically takes 1-3 business days.
Fix: Wait for Stripe's approval email before assuming the connection failed.
Razorpay or Paysera doesn't show up as an option
Why: Razorpay is limited to stores in India and Paysera to stores in Lithuania. Both are tied to the store's country, not a globally available option.
Fix: Check your store's country setting, or use Stripe or PayPal if you're outside those two countries.
Frequently asked questions
Which payment methods does Hostinger's Store Manager support?
Stripe and PayPal are available everywhere. Razorpay is available for stores based in India, and Paysera for stores based in Lithuania.
Where is the Store Manager located?
Open hPanel after logging in, find the website running your store, and open its Store Manager. Payment settings live under Settings, then Payments, inside that view.
Do I need to verify my identity to connect Stripe?
Yes. You'll complete a screen asking for a 6-digit code from your authenticator app, and Stripe separately reviews the account afterward, which Hostinger's documentation says typically takes 1-3 business days before full approval.
Can I connect my personal PayPal account?
No. Hostinger's PayPal integration requires a PayPal Business account. A personal account can't be linked to the store, and Stripe and PayPal can both run at once if you want customers to have a choice at checkout.
Does adding a payment method cost anything beyond my hosting plan?
Connecting Stripe or PayPal is free. Hostinger Ecommerce itself, though, is billed as its own subscription; some newer Unlimited and Cloud hosting plans don't include it, and each processor charges its own transaction fees once you're live.
Sources and last check
Click path and screens come from a recorded walkthrough. The full list of supported gateways (Stripe and PayPal everywhere, Razorpay in India, Paysera in Lithuania), the PayPal Business account requirement, Stripe's 1-3 business day review window, and Hostinger Ecommerce's status as a separate subscription were checked against Hostinger's official documentation in September 2026. The recording only showed Stripe and PayPal, so this guide previously said nothing about Razorpay, Paysera, the PayPal Business account requirement, or Ecommerce being billed separately from hosting.
About the author

Impran M N
I've been hooked on technology for as long as I can remember — especially the new tools and AI apps that seem to land every other week. Easy Tech Tuts is where I write up whatever I've just worked out: I do the task in the real product, record the screen, and turn it into the guide I wish I'd found first.