Easy Tech Tuts
How to Find Google Workspace MX Records for Gmail Setup 2026 Easily
By Impran M N
Getting Gmail to actually receive mail for your custom domain comes down to one thing your DNS provider needs: the MX records Google publishes for your account. The values themselves are easy enough to copy once you're looking at them, but the Admin console buries the page a few menus deep, and it's easy to end up in the wrong sub-section of Apps. This guide walks the exact navigation path from the Admin console home down to the Gmail settings area, then covers what to do with those records once you have them in hand.
01Start from the Admin console home
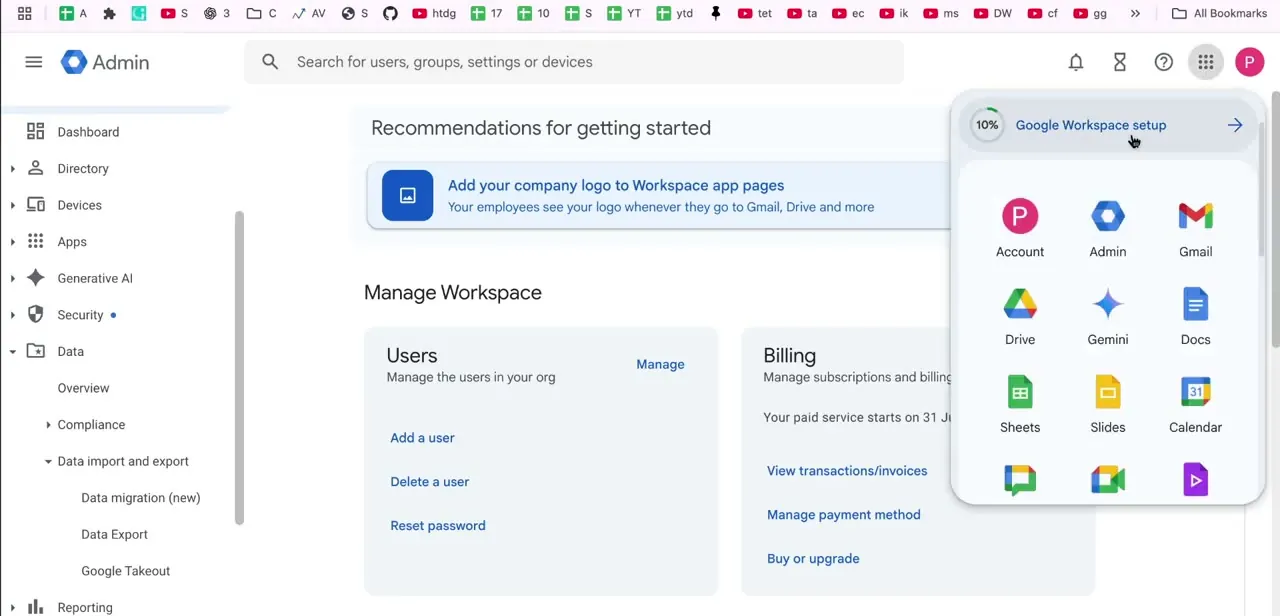
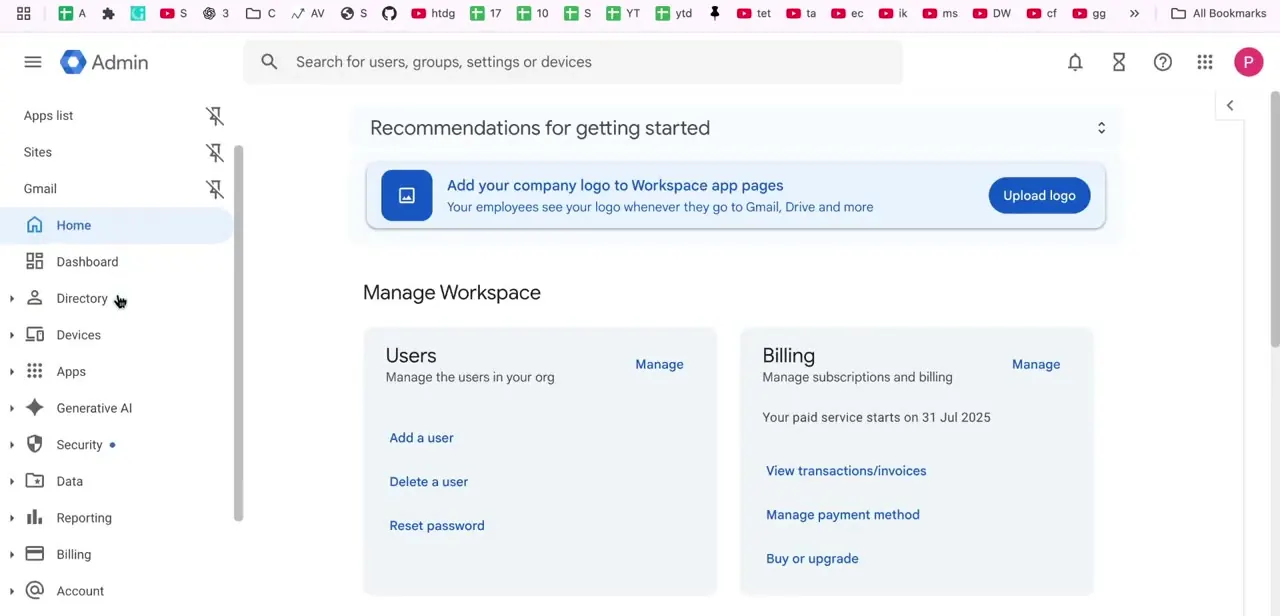
Sign in at admin.google.com and you'll land on the home dashboard, with a Manage Workspace section for Users and Billing front and center and the full navigation menu running down the left side. The MX record settings live under Apps rather than anywhere obviously labeled "email" or "DNS," so resist the urge to search Billing or Directory for them.
02Open Apps, then Google Workspace
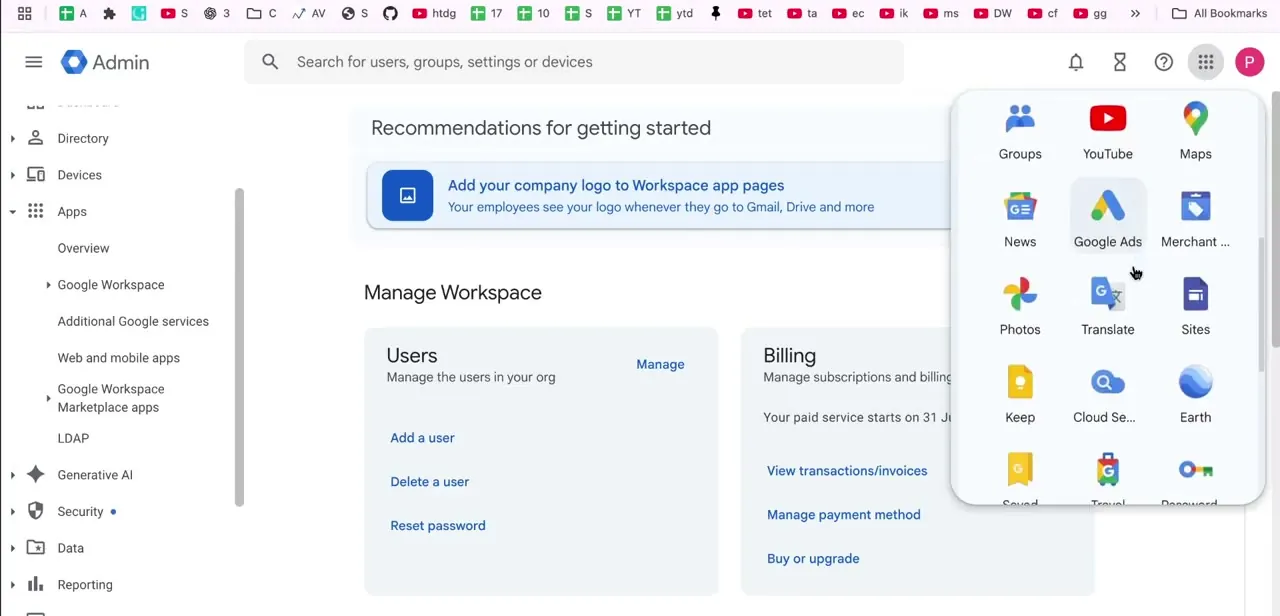
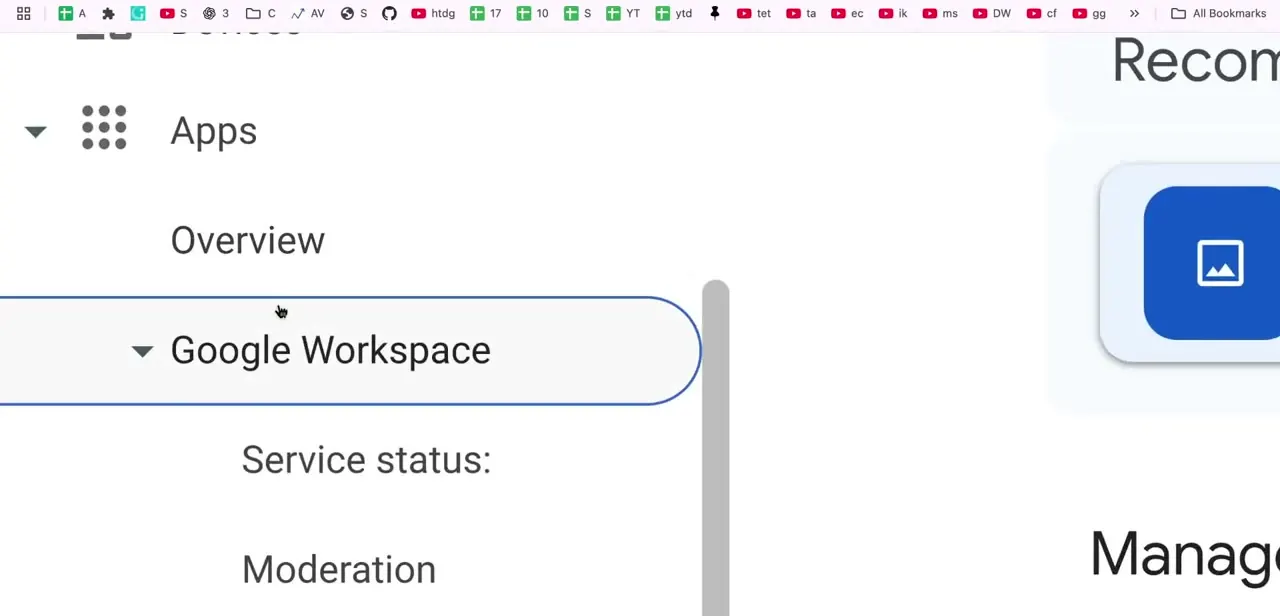
Click Apps in the left menu and it expands into an Overview plus a Google Workspace section — click into Google Workspace and a second-level list unfolds underneath it, starting with Service status and Moderation. This is the correct branch for anything related to Gmail, Calendar, Drive, and the other core apps; a separate top-level "Apps" area elsewhere in the console covers third-party and custom apps instead, so don't confuse the two.
03Scroll to Gmail in the app list
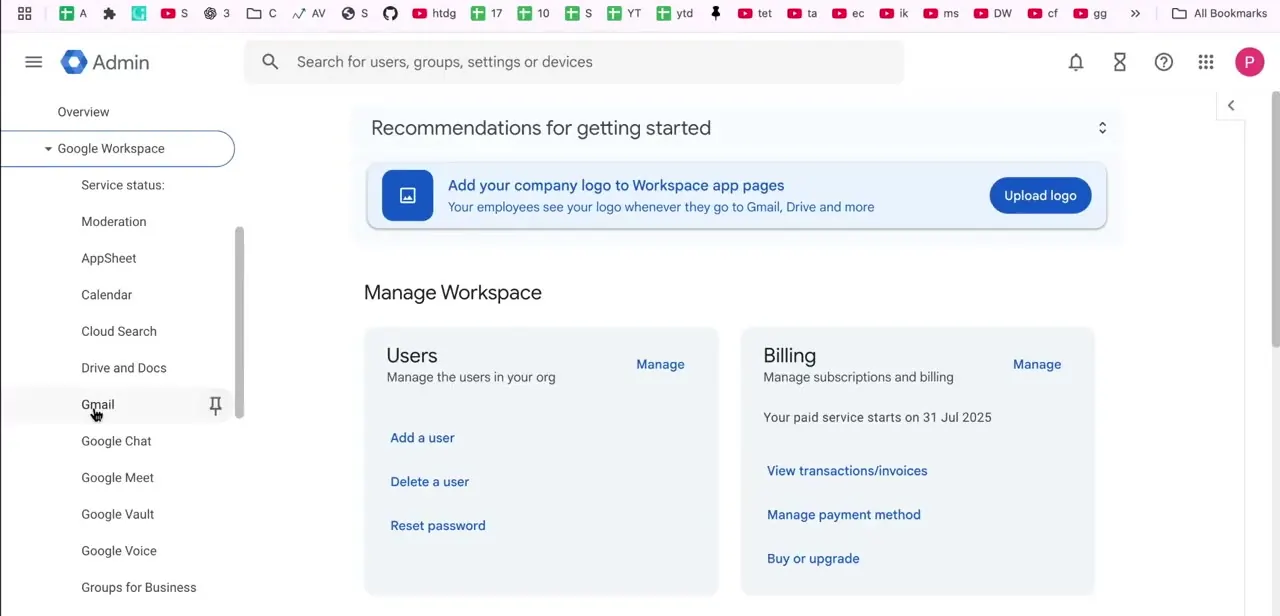
Keep scrolling down the same expanded Google Workspace list — past AppSheet, Calendar, Cloud Search, and Drive and Docs — until you reach Gmail. Click it to open Gmail's dedicated settings area, which is where routing, spam, and the MX record instructions for your domain all live, separate from the general account and billing settings you'd find elsewhere in the console.
04Copy the MX record values exactly
Inside Gmail's settings, Google lays out a short list of mail server addresses along with a priority number for each — these are the records your domain's DNS needs to point at so incoming mail routes to Google instead of wherever it used to go. Copy every value character for character, including the priority numbers, since a typo or a swapped priority is one of the most common reasons Gmail setup fails silently with mail just never arriving.
05Add the records at your domain provider
Log in to wherever your domain's DNS is managed — GoDaddy, Namecheap, Squarespace, or your registrar of choice — and find the DNS or Advanced DNS section for that domain. Add each MX record Google gave you with its matching priority value, and remove any old MX records left over from a previous email provider, since two active sets of MX records competing for the same domain is a common cause of mail bouncing or splitting between two inboxes.
06Verify Gmail is actually receiving mail
DNS changes need time to spread, so wait before assuming something's broken — anywhere from a few minutes up to 48 hours depending on your provider. Once enough time has passed, send a test email from an outside address to your custom domain address and confirm it lands in the Workspace inbox rather than bouncing, which is the only real proof the MX records took effect correctly.
Frequently asked questions
Where exactly do I find my Google Workspace MX records?
In the Admin console, under Apps → Google Workspace → Gmail — that settings page lists the mail server addresses and priority values ready to copy into your DNS provider.
How many MX records does Google Workspace require?
Google provides a small set of MX records with their own priority values; add all of the ones listed on the Gmail settings page rather than picking just one.
How long does it take for MX record changes to work?
DNS propagation can take anywhere from a few minutes to 48 hours depending on your domain provider and existing settings, so give it time before troubleshooting.
What happens if I don't remove my old email provider's MX records?
Leaving old MX records in place can cause mail delivery conflicts or split delivery between two providers, so it's important to remove them when adding Google's records.
Is the MX record page under Billing or Directory in the Admin console?
No — it's under Apps → Google Workspace → Gmail, a separate branch of the console from the Users, Directory, and Billing sections.
About the author

Impran M N
I've been hooked on technology for as long as I can remember — especially the new tools and AI apps that seem to land every other week. Easy Tech Tuts is where I write up whatever I've just worked out: I do the task in the real product, record the screen, and turn it into the guide I wish I'd found first.