Easy Tech Tuts
How To use Godaddy Website Builder, Pricing & Cost of Basic, Standard, Premium Ecommerce Plan Review
By Impran M N
GoDaddy sells two very different ways to get a site online — the drag-and-drop Website Builder and a fully self-managed WordPress install — and picking the wrong one before you've built anything means redoing work later. This guide follows the actual path from your GoDaddy account dashboard into the Website Builder product page, shows where that choice gets made, and breaks down what separates the Basic, Standard, Premium, and Ecommerce tiers so you're not guessing which plan your site actually needs.
01Start from your GoDaddy account dashboard
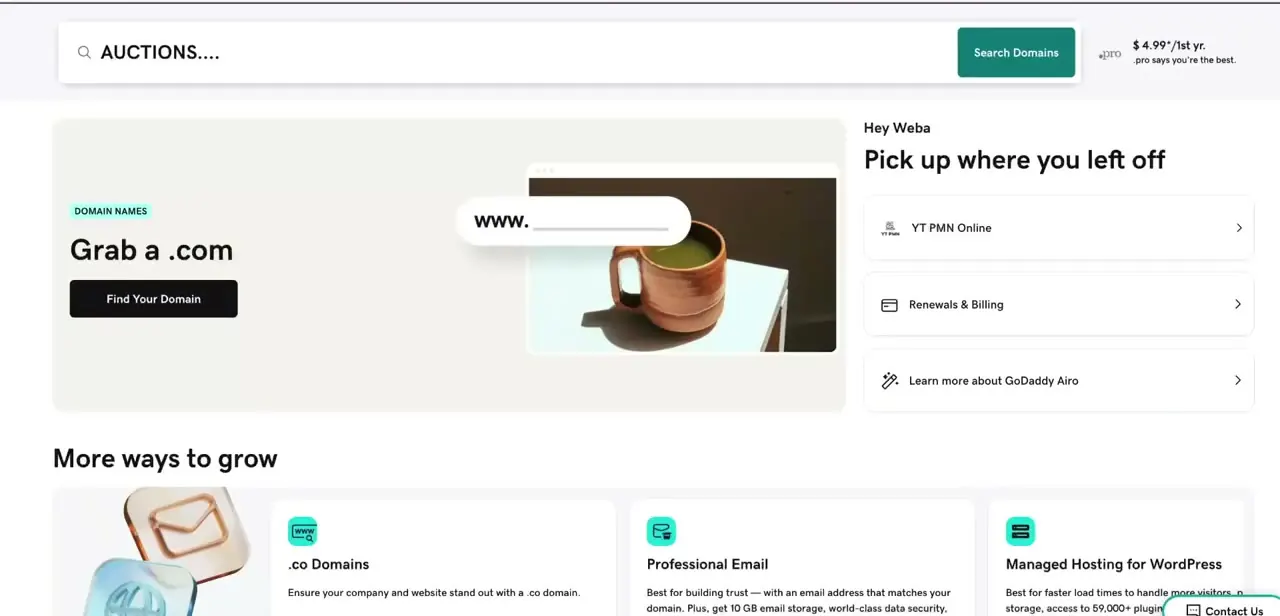
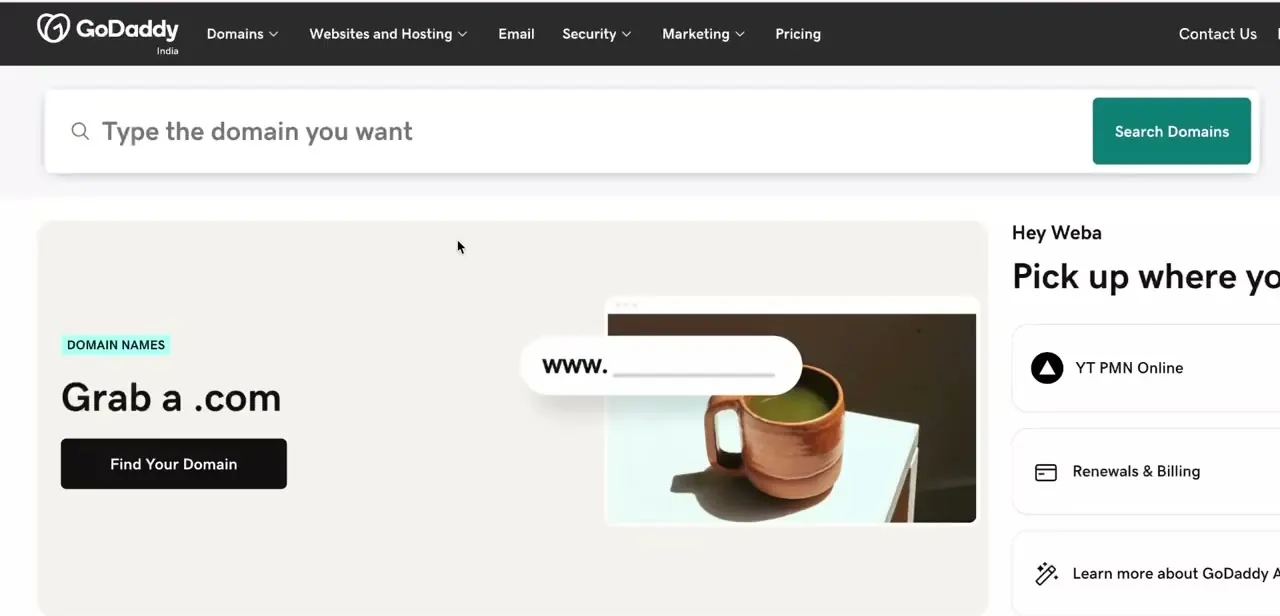
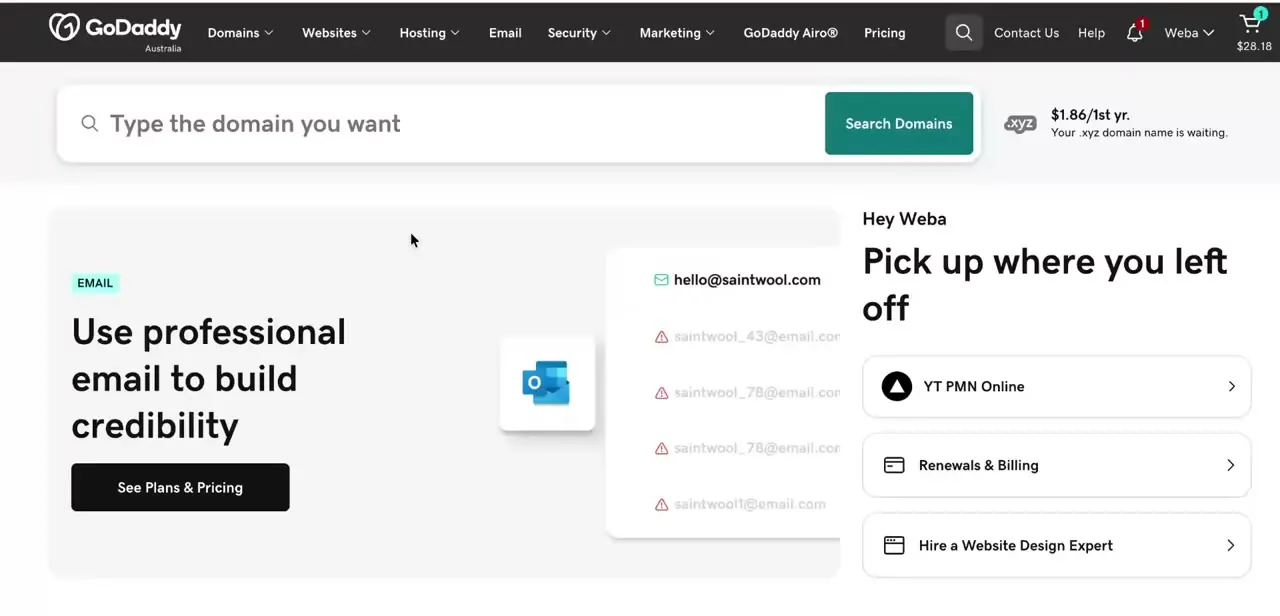
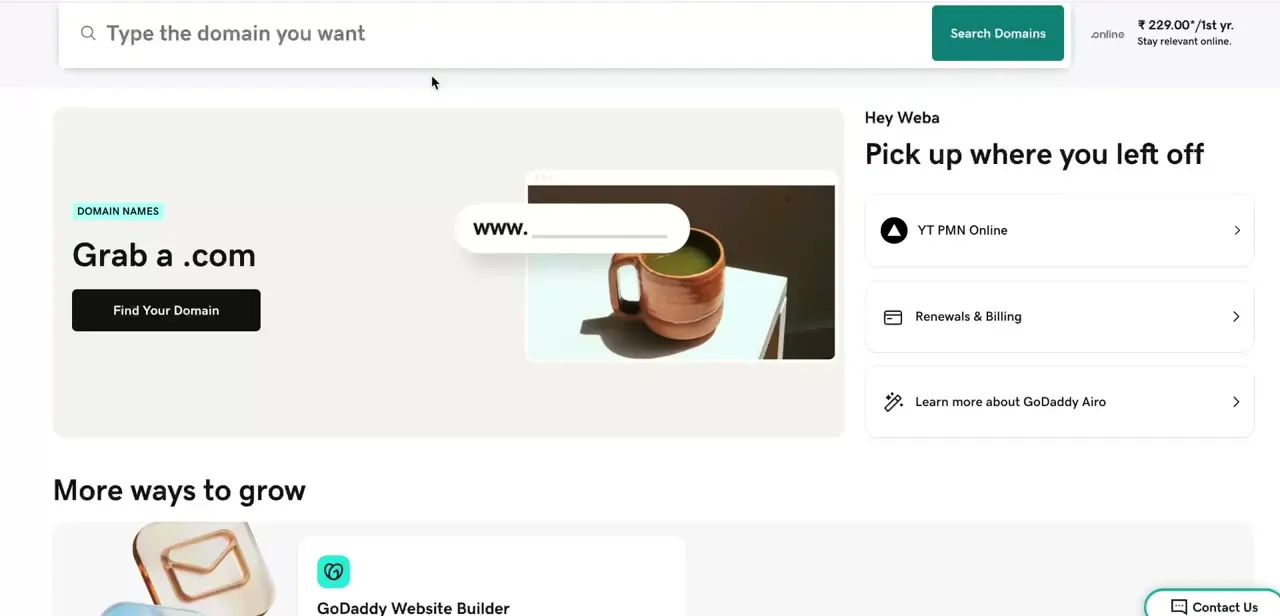
After logging in, GoDaddy drops you on a personal dashboard headed "Pick up where you left off," surfacing your existing domains, renewals and billing, and a shortcut to GoDaddy Airo, the platform's AI site-building assistant. If you've never built a site here before, this is also where the "More ways to grow" section points you toward GoDaddy Website Builder as one of several add-on products tied to your domain.
02Choose between the Website Builder and a WordPress site
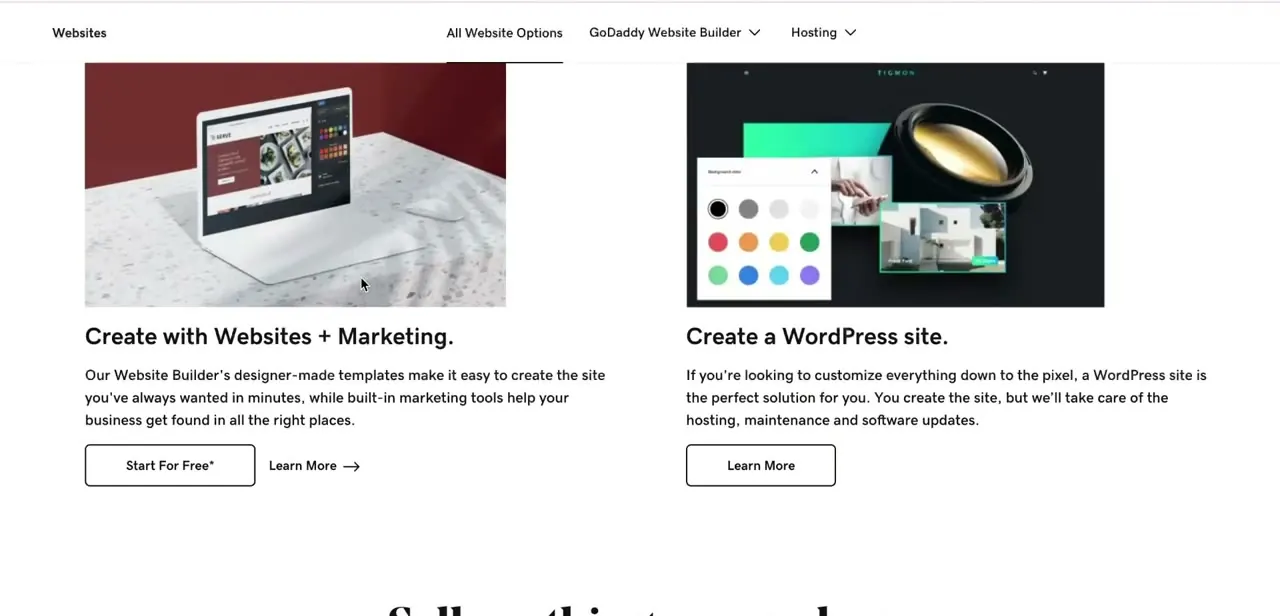
Under Websites and Hosting, GoDaddy presents the two paths side by side: "Create with Websites + Marketing," which is the drag-and-drop Website Builder with designer-made templates and built-in marketing tools, and "Create a WordPress site," aimed at people who want to customize everything down to the pixel while GoDaddy handles hosting, maintenance, and software updates. If you want to be publishing pages within the hour without touching plugins or themes, the Website Builder is the faster route; WordPress trades that speed for far more control.
03Open the Website Builder product page
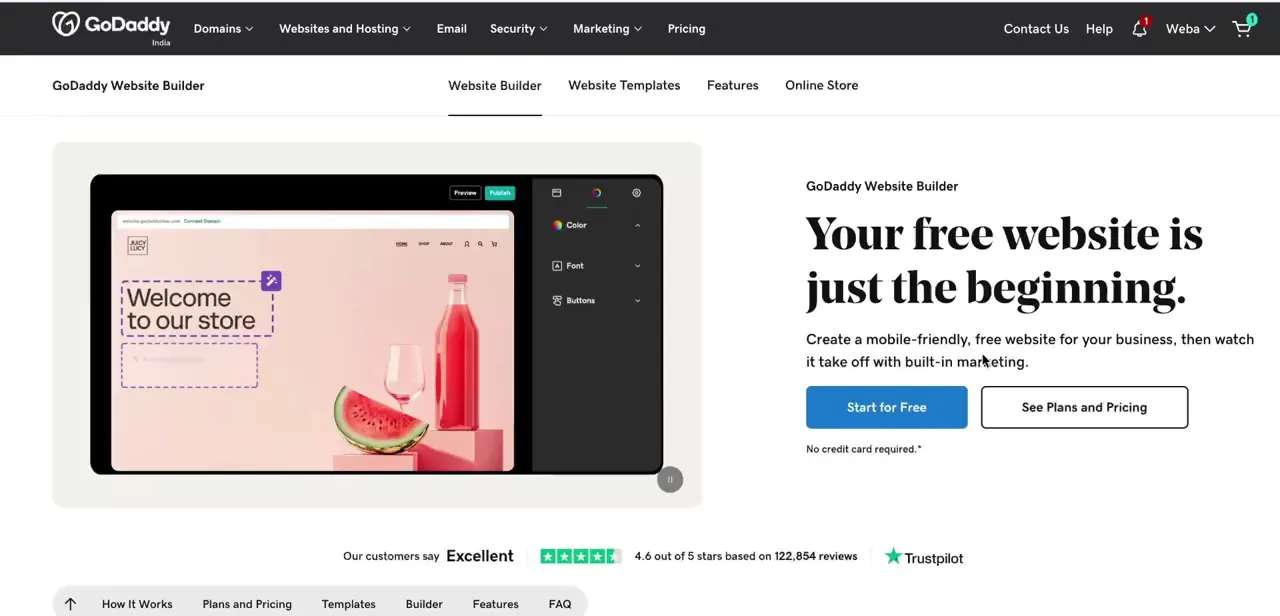
Clicking through to Website Builder lands you on its dedicated landing page: "Your free website is just the beginning," with a live preview of the editor showing a sample store page and, on the right side of that preview, the actual editing panel with Color, Font, and Buttons controls you'll use once you start building. Two buttons sit right under the headline — Start for Free, which needs no credit card, and See Plans and Pricing, which is where the tier comparison lives.
04Understand what separates the four plan tiers
GoDaddy structures its Website Builder plans from Basic up through Standard, Premium, and Ecommerce, and the jump between tiers is mostly about which tools unlock rather than the core building experience — the same drag-and-drop editor and templates are available from Basic onward. Standard and Premium progressively add marketing features like appointment booking and email marketing tools for businesses that need to capture bookings or run campaigns directly from the site. Ecommerce is the tier that specifically unlocks selling: a real online store with product pages, cart, and checkout, which the lower tiers don't include at all.
05Match the plan to what your site actually needs to do
If the goal is a simple informational site — a portfolio, a landing page, a local business's hours and contact info — Basic covers it without paying for tools you won't touch. Once you need visitors to book appointments or you want to run email campaigns without a separate tool, Standard or Premium starts to earn its higher price. Only jump to Ecommerce if you're actually planning to sell products through the site itself; if you just need a "Buy Now" link to an existing store elsewhere, a lower tier plus that link is usually enough.
06Build, preview, and publish
Once you've picked a plan, template selection and editing happen in the same builder shown in the product preview — swap colors and fonts from the side panel, drag sections into place, and use the Preview button to check how the page reads before it's public. When the design is ready, Publish makes the site live on your connected domain immediately, and you can keep editing afterward since changes save and republish without taking the site offline.
Frequently asked questions
What's the difference between the Basic and Premium plans?
Basic covers the core drag-and-drop builder and templates for a simple site, while Premium adds business-focused tools like appointment booking and email marketing on top of that same foundation.
Do I need the Ecommerce plan to sell products?
Yes — Ecommerce is the tier that specifically includes a real store with product pages, cart, and checkout. The lower tiers don't include selling functionality.
Is coding knowledge required to use GoDaddy Website Builder?
No. It's a drag-and-drop tool with a Color, Font, and Buttons side panel for styling, so no coding experience is needed to build and publish a site.
Can I upgrade my plan later as my site grows?
Yes, you can upgrade from Basic to a higher tier like Standard, Premium, or Ecommerce as your site's needs expand, without starting the build over.
Should I choose Website Builder or a WordPress site on GoDaddy?
Choose Website Builder if you want to be live quickly with templates and built-in marketing tools; choose WordPress if you want full control over customization and don't mind managing more of the setup yourself.
About the author

Impran M N
I've been hooked on technology for as long as I can remember — especially the new tools and AI apps that seem to land every other week. Easy Tech Tuts is where I write up whatever I've just worked out: I do the task in the real product, record the screen, and turn it into the guide I wish I'd found first.