Easy Tech Tuts
How To Transfer GoDaddy Domain To Hostinger 2026 Easily
By Impran M N
Moving a domain between registrars sounds risky and rarely is, because a registrar transfer changes who bills you for the name — not where the name points. Get the DNS right beforehand and your website and email keep running throughout.
What actually derails these transfers is the checklist at the start: a domain still locked at GoDaddy, an authorisation code that expired while you were reading the next step, or a registration that's under 60 days old and therefore ineligible no matter what you do. Hostinger states all three requirements on its transfer page, and this guide works through them in the order that avoids a rejected transfer and a wasted week.
01Confirm the domain is actually eligible
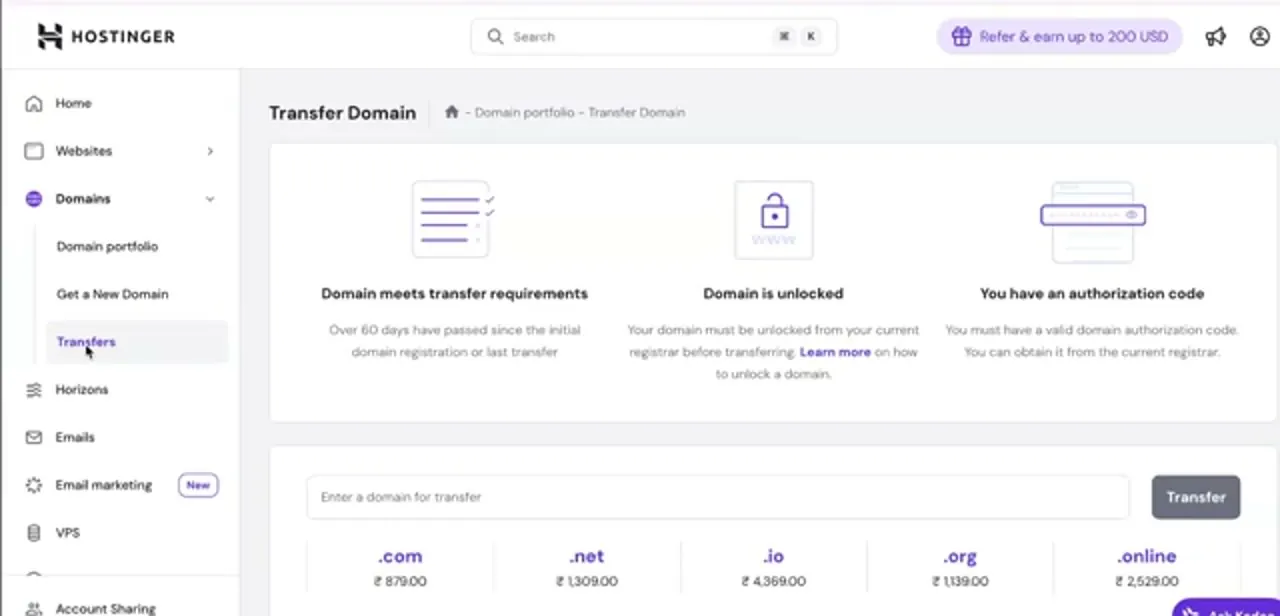
Three conditions have to be true before anything else is worth doing. The domain must be more than 60 days past its initial registration or its last transfer — an ICANN rule, not a Hostinger one, and there is no way around it.
It must be unlocked at the current registrar. And you must hold a valid authorisation code from GoDaddy.
Hostinger lays out all three at the top of its transfer page, which makes it a useful checklist to read before you touch anything. Also check the expiry date: transferring adds a year to the registration, so a domain expiring in a few days is better renewed at GoDaddy first than transferred in a panic.
02Log in to GoDaddy and open your domain
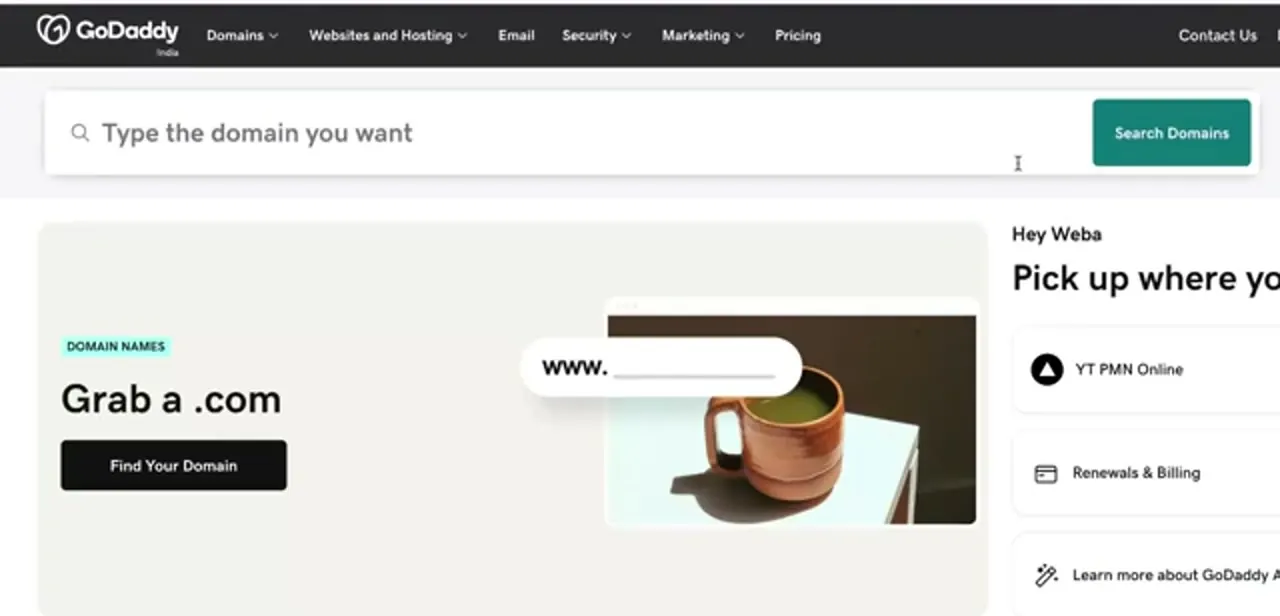
Sign in at GoDaddy and go to Domains, then your domain portfolio, and open the specific name you're moving. You need to be the account owner or have full domain permissions — delegate access with limited rights won't expose the settings you're about to change.
While you're here, check the contact email listed on the domain, because GoDaddy sends the transfer authorisation there and it's very often an old address nobody reads any more. Fix it now if it's wrong; an unread approval email is the single most common reason a transfer times out.
03Unlock the domain and turn off WHOIS privacy
In the domain's settings, find the domain lock (GoDaddy labels it Domain Lock or Transfer Lock) and switch it off. Locking exists to stop unauthorised transfers, so leaving it on will cause your request to be rejected without much explanation.
In the same panel, turn off WHOIS privacy or Domain Protection temporarily — privacy services mask the registrant email, which can block the verification message from reaching you. Both settings can be switched back on at Hostinger once the transfer finishes, and Hostinger includes free WHOIS privacy on most domains, so you're not giving anything up permanently.
04Get the EPP authorisation code
Still in the domain's settings, request the transfer authorisation code — GoDaddy variously calls it the EPP code, auth code, or authorisation code, and they all mean the same thing. It's emailed to the registrant address rather than shown on screen in most cases, which is why fixing that email address first mattered.
Copy it exactly, including case, and be aware the code can expire or be regenerated; if you request a second one, the first stops working. Have Hostinger's transfer page already open when you request it so you can paste it straight in rather than letting it go stale in an inbox.
05Record your current DNS records before you move
This is the step most guides skip and the one that causes actual downtime. Open GoDaddy's DNS management for the domain and save a copy of every record — A records, CNAMEs, and especially MX records for email and any TXT records holding SPF, DKIM, or domain verification strings.
A registrar transfer does not automatically carry custom DNS records across, and losing your MX records means email stops arriving with no obvious cause. Screenshot or paste them somewhere you'll find them, then recreate them at Hostinger after the transfer or point Hostinger's nameservers at the same values.
06Start the transfer from Hostinger's Transfers page
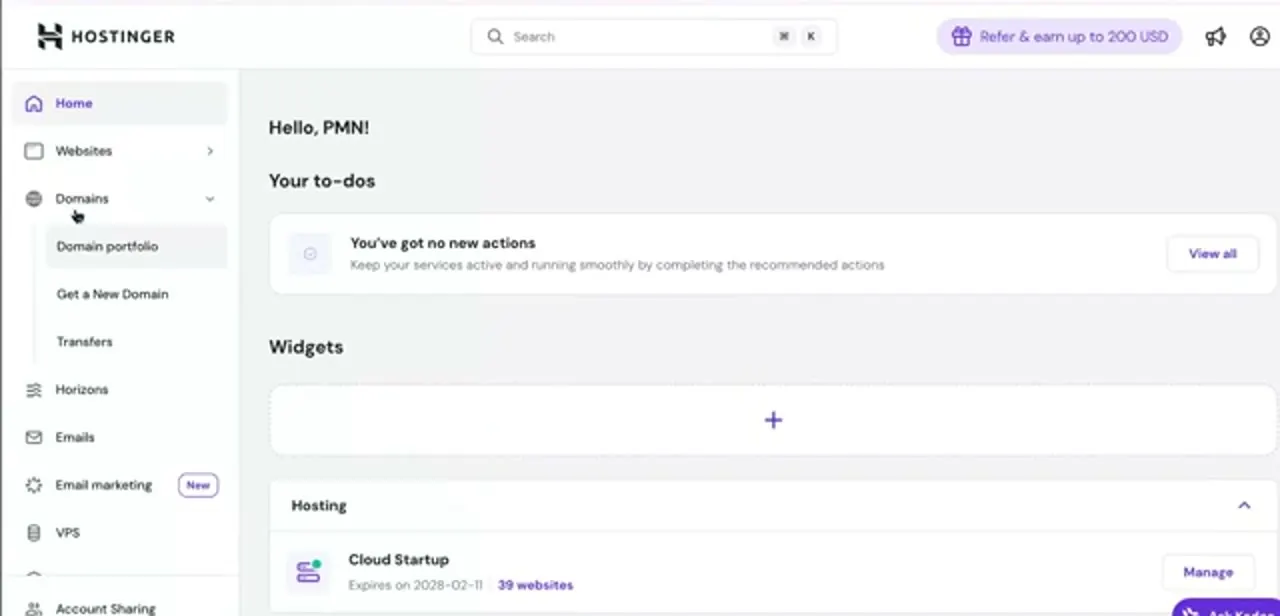
In hPanel, open Domains and choose Transfers. The page opens with the three requirements restated across the top — 60 days elapsed, domain unlocked, authorisation code in hand — and below them a single field where you type the domain and press Transfer.
Pricing per extension is listed underneath, and this is worth reading before you commit: the transfer fee includes an additional year of registration, so you're buying a year rather than paying a pure moving charge. Enter the domain, paste the EPP code when prompted, and complete the payment.
07Approve the request and watch it complete
Once submitted, GoDaddy emails the registrant asking to confirm the release. Approving it there is what turns a five-to-seven day wait into something that often finishes within a day — ignore it and the transfer sits in limbo until the automatic release window elapses.
Track the status in Hostinger's Transfers section rather than refreshing your email. When it completes, check three things: the domain appears in your Hostinger domain portfolio, the DNS records you saved earlier are in place, and your site and email still work. Then re-enable domain lock and WHOIS privacy at Hostinger to protect the name you just moved.
Frequently asked questions
Why won't Hostinger accept my domain for transfer?
Almost always one of the three stated requirements: fewer than 60 days since registration or the last transfer, the domain still locked at GoDaddy, or an authorisation code that's wrong or has expired.
How long does a GoDaddy to Hostinger transfer take?
Typically five to seven days, but approving the confirmation email GoDaddy sends the registrant usually collapses that to a day or less. Without approval it waits out the full automatic release period.
Will my website or email go down during the transfer?
Not if you prepare. A registrar transfer changes who bills you, not where the domain points — but custom DNS records don't always carry across, so save your A, CNAME, MX and TXT records first and recreate them at Hostinger.
Do I have to disable WHOIS privacy?
Usually yes, temporarily. Privacy services mask the registrant email that the verification message is sent to. You can switch privacy back on at Hostinger once the transfer completes.
Do I lose the time left on my current registration?
No. The transfer fee adds a year to the existing registration rather than resetting it, so the remaining time on your GoDaddy registration carries over.
About the author

Impran M N
I've been hooked on technology for as long as I can remember — especially the new tools and AI apps that seem to land every other week. Easy Tech Tuts is where I write up whatever I've just worked out: I do the task in the real product, record the screen, and turn it into the guide I wish I'd found first.