Easy Tech Tuts
How to Create SVG Files With Canva Easily 2026
By Impran M N
SVG files stay crisp no matter how much you resize them, which makes the format a go-to for logos, icons, and other branding graphics that need to work at both business-card and billboard size. This guide walks through creating a design in Canva and exporting it as an SVG, including exactly where that option is hiding in the download menu. It's a useful skill for small business owners and marketers who need scalable graphics without opening a dedicated vector design program.
01Start from a template that suits vector export
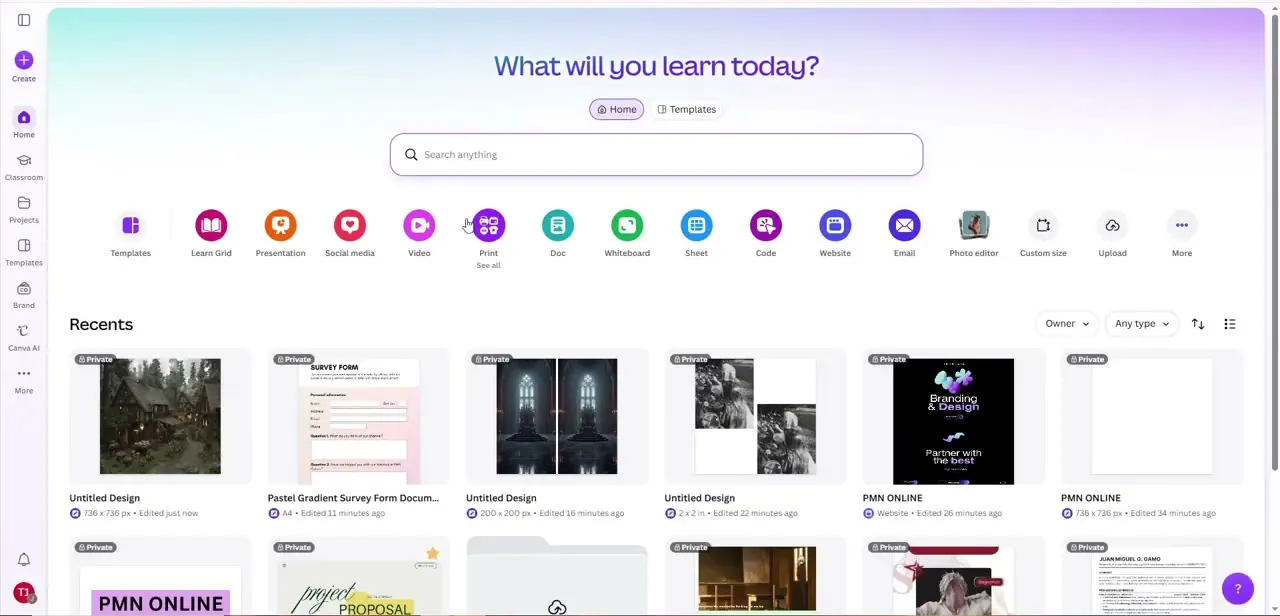
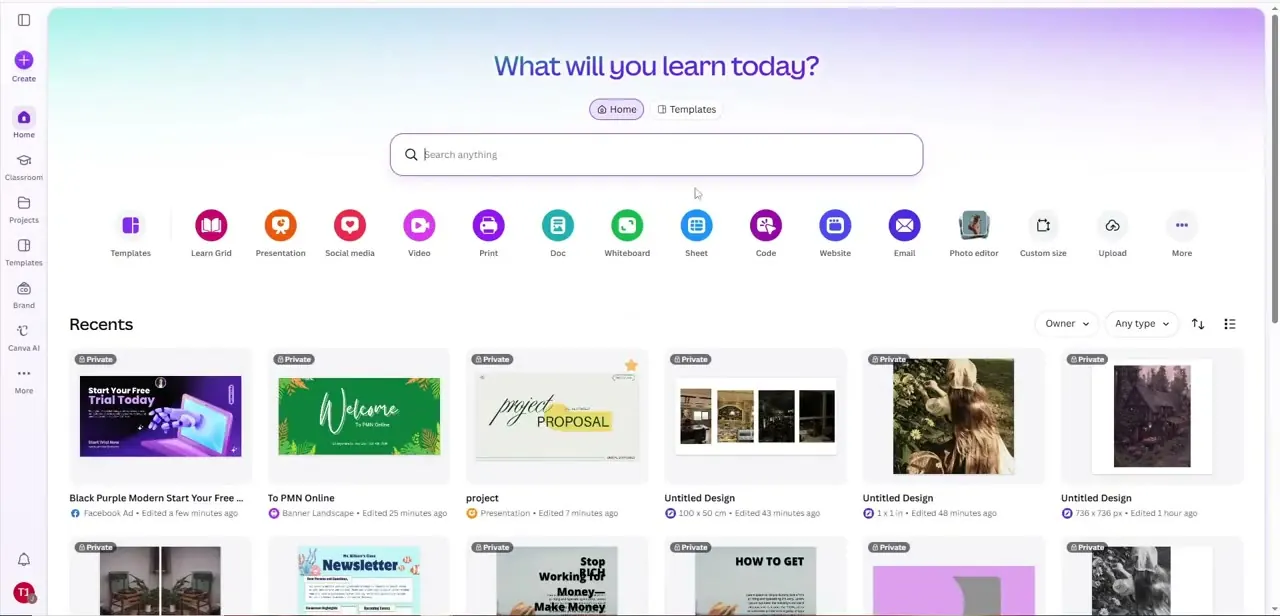
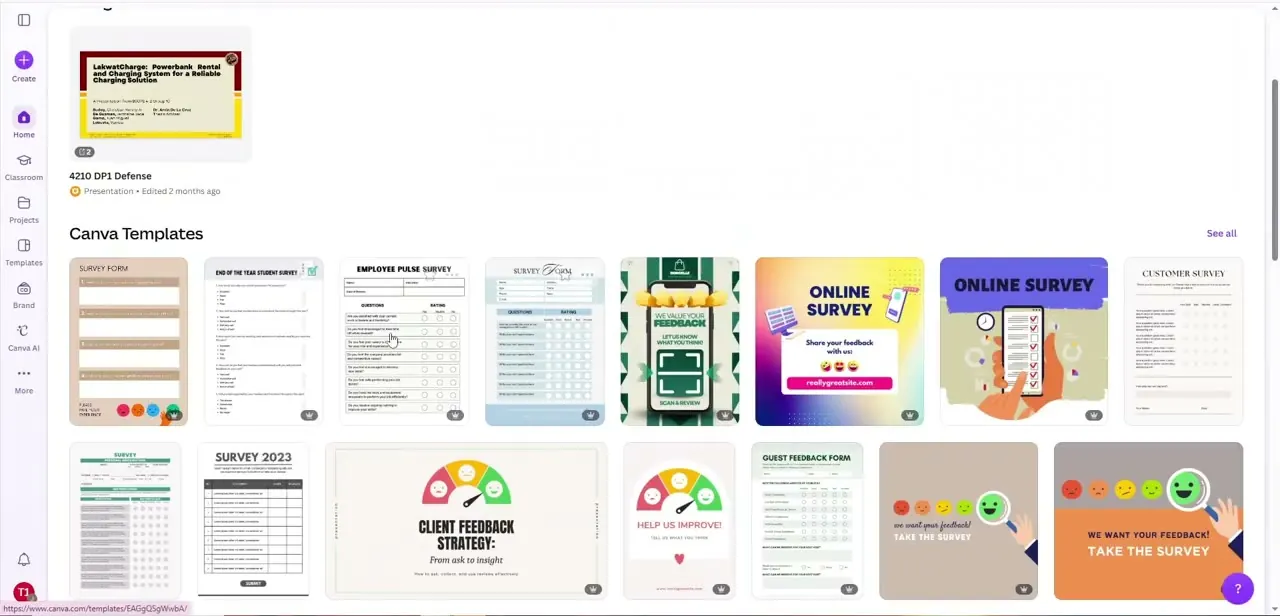
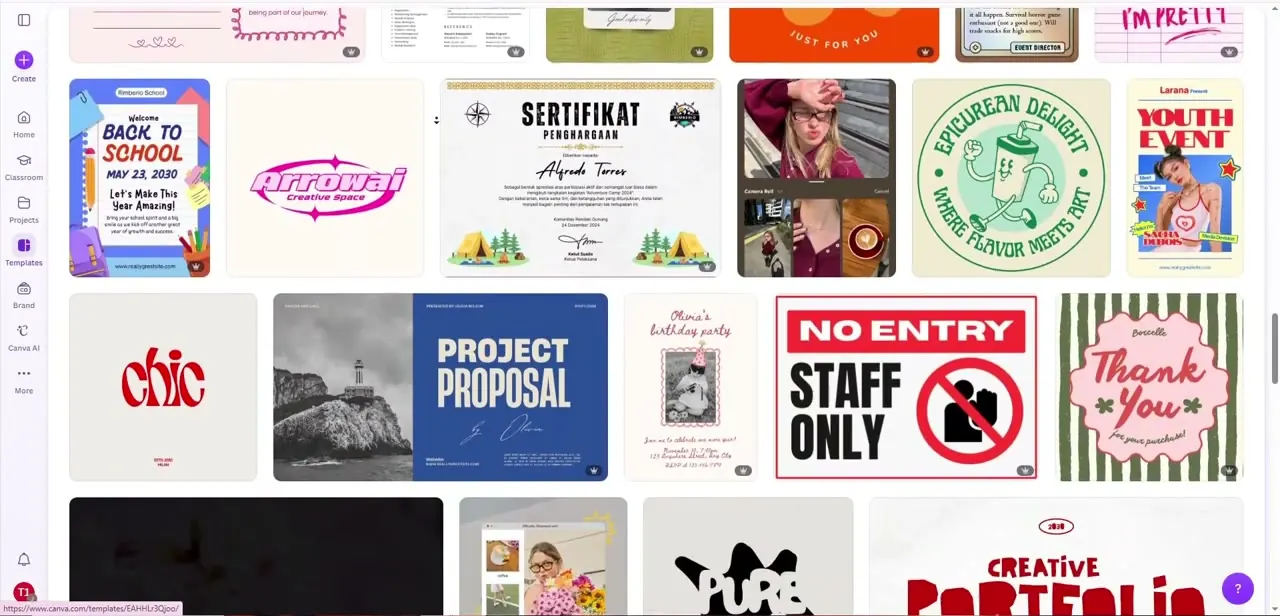
Canva's template gallery mixes everything from simple flat-color badges and wordmarks to photo-heavy collages and textured illustrations. For SVG work, lean toward the simpler end — flat shapes, icons, and typographic designs export as clean scalable vectors, while anything built around a photograph or a complex gradient effect will still download as SVG but won't actually behave like a true vector once you try to resize or edit it elsewhere. Scroll through a few template categories with that distinction in mind before you commit to one.
02Build out your design
Once you've opened a template or started a blank canvas at your target size, adjust the shapes, text, and colors the same way you would for any Canva design — click an element to select it, then use the toolbar to restyle it. Keep the layer count reasonable; a design built from a handful of clean shapes and one or two text elements will export and scale far more predictably than one stacked with photos, shadows, and overlapping effects.
03Open Share to reach the download options
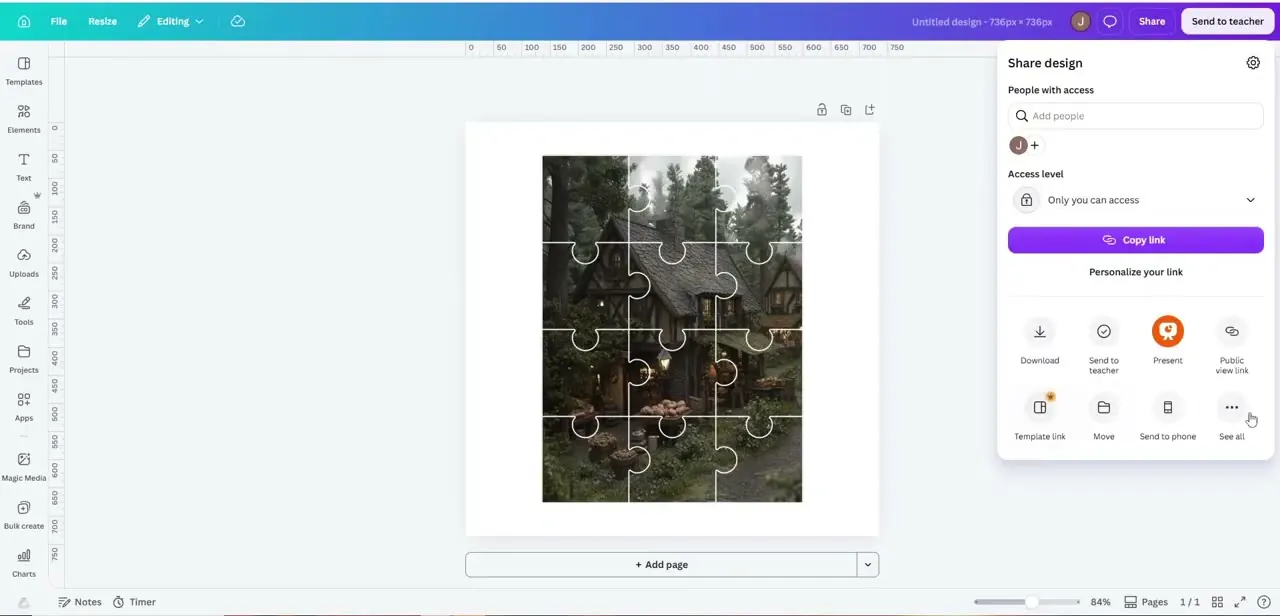
With the design finished, click Share in the top right corner of the editor. This opens a panel focused on collaboration links and access first, but the option you actually want for exporting is the Download icon inside that same panel, tucked among choices like Present, Public view link, and Send to phone. It's easy to expect a dedicated "Export" button elsewhere in the interface, so knowing Download lives inside Share saves a few seconds of hunting.
04Select SVG as the file type
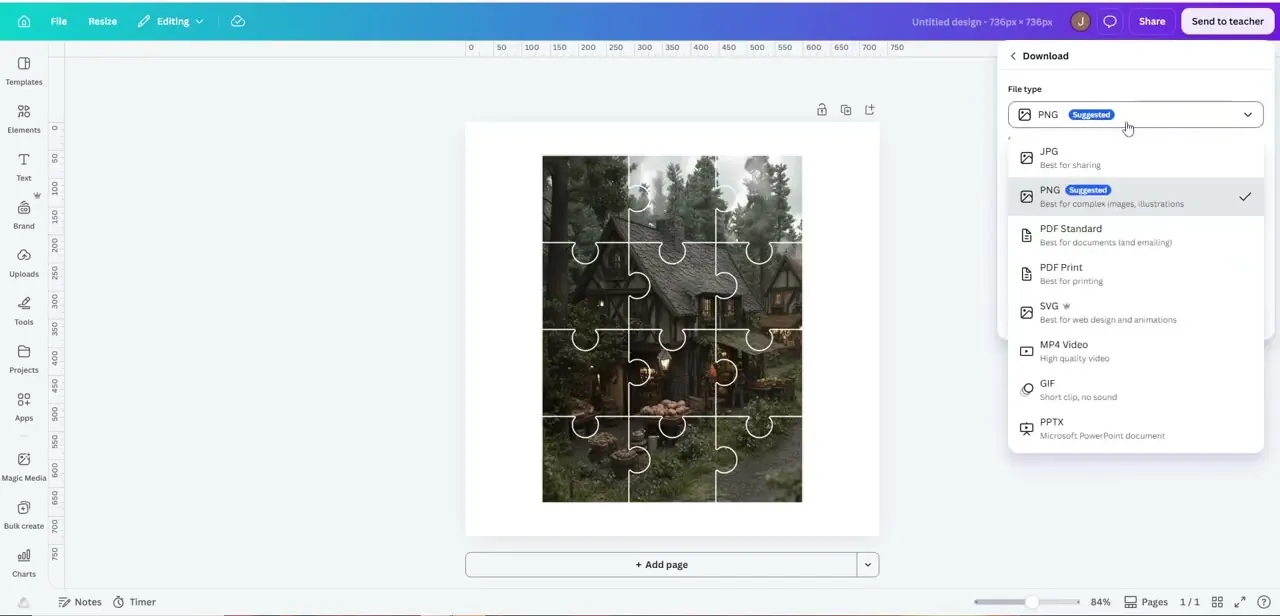
Clicking Download opens a File type dropdown defaulting to PNG, but the list also includes JPG, PDF Standard, PDF Print, MP4, GIF, PPTX, and — what you're after — SVG, labeled "Best for web design and animations." Select it and Canva packages the design as scalable vector data rather than a fixed-resolution image. Note that Canva flags SVG with a small icon distinct from the others, which is worth noticing since it's easy to scroll past and grab PDF Print by mistake if you're moving quickly.
05Check what actually exported as vector
After downloading, open the SVG in a browser tab or a vector editor and zoom in well past 100 percent. Flat shapes and text should stay perfectly sharp; anything that was a photo or a heavily blended effect in the original design will often show up as an embedded raster image inside the SVG wrapper rather than true vector paths, meaning it will still pixelate if scaled up too far. This is the practical difference between a design that merely downloads as an .svg file and one that behaves like a real vector graphic.
06Put the file to use
A clean SVG export is ready to drop into a website's code, a print shop's file requirements, or another design tool without worrying about resolution. Use it for logos that need to appear at wildly different sizes — a favicon and a storefront sign from the same file — or for icon sets where every instance needs to stay pixel-sharp regardless of how a page or app scales it.
Frequently asked questions
Do all Canva elements support SVG export?
Not cleanly. Flat shapes and text export as true vector paths, but photos and some complex effects get embedded inside the SVG as raster images, so they won't scale losslessly even though the file extension is .svg.
Is SVG export available on Canva's free plan?
SVG generally appears in the file type list for most designs regardless of plan, but availability can vary by the specific elements used, so it's worth checking the Download panel for your particular design before assuming.
Why would I use SVG instead of PNG for a logo?
SVG files scale to any size without losing quality, while a PNG becomes blurry or pixelated once you enlarge it well beyond its original resolution — a real problem for logos that need to work small and large.
Can I edit an SVG file after exporting it from Canva?
Yes, for the vector portions — SVG preserves shape and path data that opens cleanly in vector software outside Canva. Any embedded photo content stays a flat image, though, and won't gain new vector editability.
How do I know if my Canva design will actually scale well as SVG?
Judge it by what it's made of: designs built from flat shapes and typography scale perfectly, while anything built around a photograph or heavy texture will still download as SVG but won't gain true vector scalability.
About the author

Impran M N
I've been hooked on technology for as long as I can remember — especially the new tools and AI apps that seem to land every other week. Easy Tech Tuts is where I write up whatever I've just worked out: I do the task in the real product, record the screen, and turn it into the guide I wish I'd found first.