Easy Tech Tuts
How to Connect WordPress to Github Easily 2026
By Impran M N
Editing theme and plugin files straight on a live WordPress site with no history of what changed is how small mistakes turn into a broken homepage at 2am. Connecting the site to GitHub fixes that: every change gets tracked, a bad edit rolls back in seconds, and updates come from a repository push instead of dragging files over FTP.
It's most worth doing for custom-coded themes and plugins; a stock theme with no edits doesn't gain much from being versioned. This guide uses WP Pusher, the connector plugin most WordPress users reach for, instead of raw server-side Git commands, so it works whether you're on shared cPanel hosting, Cloudways, or a local environment.
01Start from your WordPress dashboard
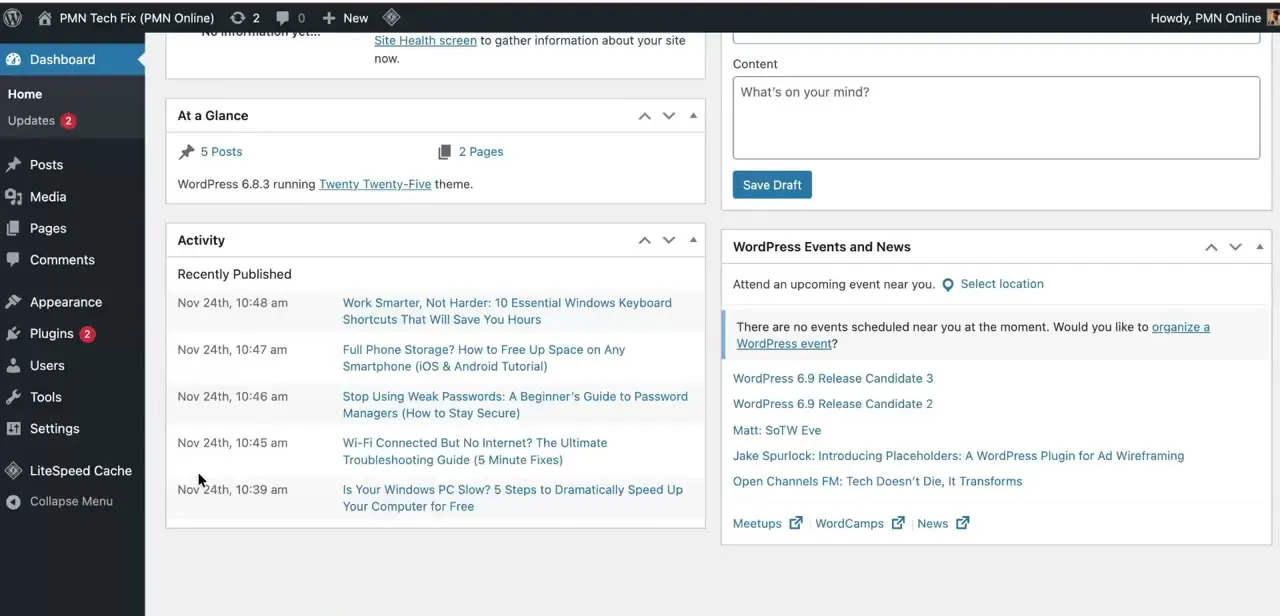
Log into wp-admin and take stock of what you're about to put under version control: active theme, installed plugins, and the general shape of the site under Appearance and Plugins in the left-hand menu. This is also the point to confirm you have admin access, since connecting to GitHub means installing a plugin, which needs the Plugins screen. You don't need SSH or SFTP credentials for the method in this guide; WP Pusher's documentation states it works without either, on any host where the standard WordPress theme and plugin installer works.
02Create a GitHub repository for the site
On github.com, create a new repository to hold your theme or plugin code, private if the code isn't meant to be public. Name it something recognizable months later, like the site's domain or client name, and add a short README describing what it deploys to.
You don't need to upload anything yet; an empty repository is enough to connect to in the next step. Decide now whether you're tracking a single theme folder, a plugin, or the whole wp-content directory, since that scope is harder to change once files are pushed.
03Install WP Pusher and check whether you need a paid license
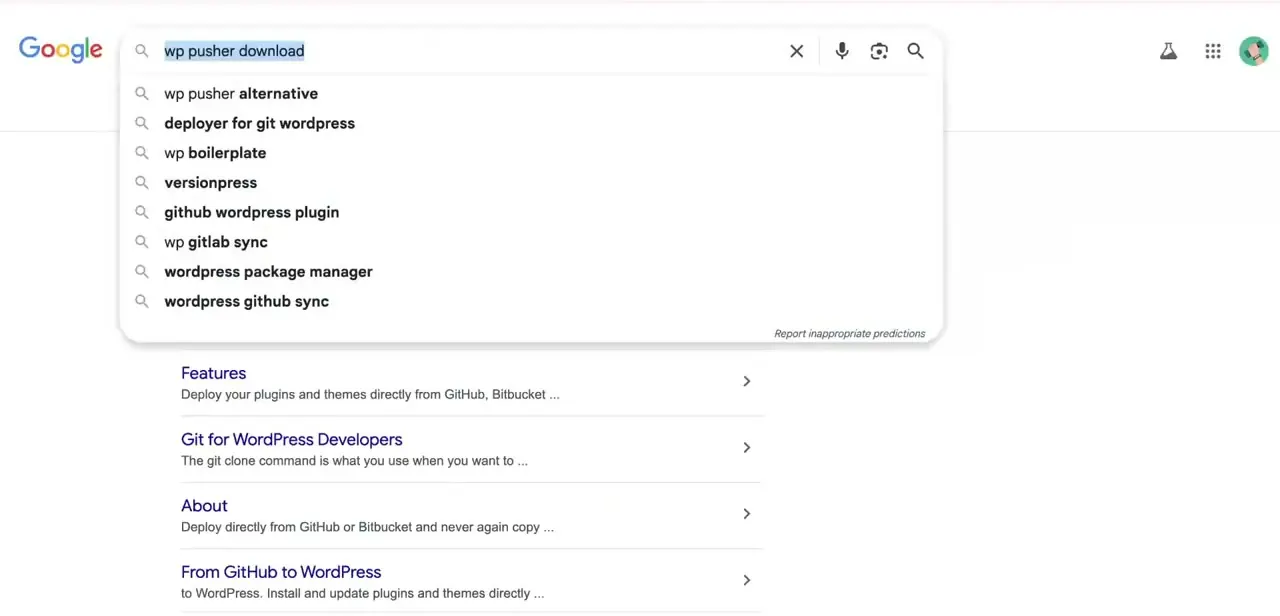
Download WP Pusher from wppusher.com, then install it in WordPress the normal way, through Plugins > Add New > Upload Plugin. WP Pusher is free for deploying from public repositories.
A paid license is required for private repositories, and separately for Push-to-Deploy (automatic deployment on every push), even on a public repo. If either applies to you, pick a plan before going further; there's no partial free tier for those two features.
04Get a GitHub token, if you need one
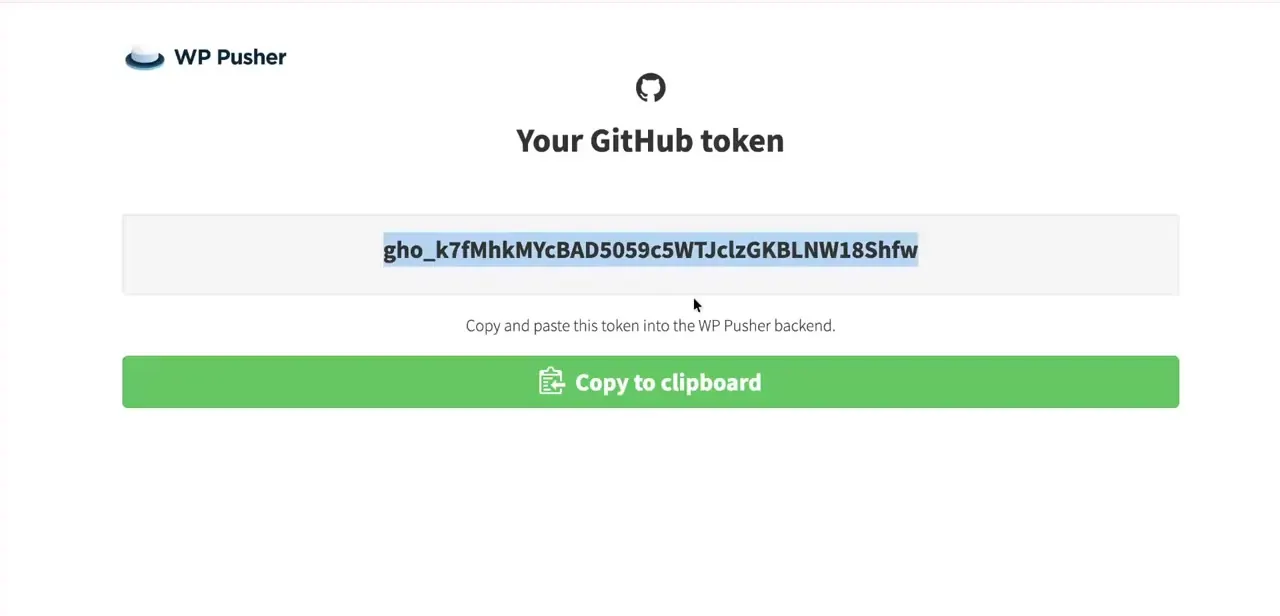
A token isn't required to install from a public repository with no Push-to-Deploy. It is required for a private repository and for Push-to-Deploy on any repository.
From the GitHub section of WP Pusher's settings, click "Obtain a GitHub token" and WP Pusher will request one on your behalf with the access it needs; you can also generate your own token manually in GitHub and paste it in, scoped only to the repositories WP Pusher should reach. Either way, GitHub shows the token once, so copy it straight into WP Pusher's settings field instead of closing the tab and hunting for it again. Treat it like a password: it grants real access to your repositories.
05Point WP Pusher at the repository and enable deployment
Under WP Pusher > Install Plugin/Theme, enter the repository as username/repository-name, or use the "Pick from GitHub" button. Leave the branch field blank to install from master, or name a specific branch or tag; add a subdirectory path if the plugin or theme code doesn't sit at the repo root.
WP Pusher pulls the repository's current contents down as the initial install; after that, updates come from a fresh push, not a manual upload. Turn on Push-to-Deploy if you want a push to trigger an automatic live deploy, and confirm both your license and token cover it, since this is one of the two features the free tier doesn't include. Test it on a staging site before trusting it against production.
06Fix the permission and token errors that come up early
The most common snag is a permissions error: WP Pusher can't write to wp-content because the file owner on the server doesn't match the user PHP runs as, which your host's support can usually fix in one ticket. The second is a token that's expired, scoped too narrowly, or missing on an account that needs one, which shows up as an authentication failure when WP Pusher tries to reach the repo; regenerating the token in GitHub, or confirming your license is active if you're using Push-to-Deploy, resolves it. If files pull down but the site doesn't reflect the change, clear any caching plugin before assuming the deploy failed.
| Plan | Price | Sites | Private repos & Push-to-Deploy |
|---|---|---|---|
| Free | $0 | Unlimited public-repo installs | Not included |
| Freelancer | $99/year | 5 sites | Included |
| Agency | $199/year | 20 sites | Included |
| Big Agency | $499/year | 100 sites | Included |
From wppusher.com, checked September 2026. All paid plans carry a 30-day money-back guarantee; prices and tier limits are set by WP Pusher and can change.
When it doesn't work
WP Pusher can't write files during install or deploy
Why: The file owner on the server doesn't match the user PHP runs as, so WP Pusher lacks write access to wp-content.
Fix: Ask your host's support to fix the file-ownership mismatch; it's usually a single ticket.
Authentication fails when WP Pusher tries to reach the repository
Why: The GitHub token has expired or was scoped too narrowly for the repository.
Fix: Regenerate the token in GitHub (or via WP Pusher's "Obtain a GitHub token" button) and paste the new one into WP Pusher's settings.
Push-to-Deploy doesn't fire after a git push
Why: Push-to-Deploy needs a paid WP Pusher license and a valid token even when the repository is public; the free tier doesn't include it.
Fix: Confirm the license is active and Push-to-Deploy is switched on for that install, not just the initial pull.
Files pull down from GitHub but the live site looks unchanged
Why: A caching plugin is still serving the old version.
Fix: Clear the site's cache before assuming the deploy itself failed.
Frequently asked questions
Do I need to know Git commands to connect WordPress to GitHub?
No. WP Pusher handles pulling and deploying through a settings screen, so you don't run git commands on the server yourself.
Is WP Pusher free?
Only for public repositories without Push-to-Deploy. Private repository access and Push-to-Deploy both require a paid license, starting at $99/year for 5 sites.
Does this work with any WordPress hosting provider?
Yes, as long as the host allows writing to wp-content. WP Pusher doesn't need Git, SSH or FTP on the server, so it works on cPanel hosting, Cloudways, and even inexpensive shared hosting, plus local environments like LocalWP or XAMPP.
Can I automatically deploy changes from GitHub to my live site?
Yes, through Push-to-Deploy, but it requires a paid WP Pusher license and a token even on a public repository. Test the pipeline on staging before trusting it on a live site.
What if I get permission errors when pushing files?
That usually means WP Pusher can't write to wp-content because of a file-ownership mismatch on the server. Your host's support can typically fix this in one ticket.
Where do I get the GitHub token WP Pusher asks for?
Click "Obtain a GitHub token" in WP Pusher's GitHub settings and it requests one for you, or generate your own token manually in GitHub scoped to the relevant repositories. GitHub shows it once, so copy it into WP Pusher's settings field right away.
Sources and last check
Click paths and screenshots come from a walkthrough recorded in July 2026. The cost claims, GitHub token requirements, Push-to-Deploy licensing, and the no-SSH/no-FTP claim were checked against WP Pusher's own knowledge base, FAQ and homepage in September 2026. The earlier draft implied WP Pusher was simply free once installed and that SSH/SFTP credentials might be needed; both are corrected here: public-repo pulling is free, but private repos and Push-to-Deploy need a paid license, and WP Pusher explicitly doesn't require server-side SSH, FTP or Git.
About the author

Impran M N
I've been hooked on technology for as long as I can remember — especially the new tools and AI apps that seem to land every other week. Easy Tech Tuts is where I write up whatever I've just worked out: I do the task in the real product, record the screen, and turn it into the guide I wish I'd found first.