Easy Tech Tuts
How to Connect WordPress to Cloudflare, Install, Setup & Use Easily 2026
By Impran M N
Cloudflare sits in front of a WordPress site and takes over the jobs your host shouldn't have to handle alone: caching pages at the edge, absorbing traffic spikes, and forcing HTTPS across every page. None of that happens automatically just because your domain resolves — you have to add the site to a Cloudflare account, point your registrar's nameservers at it, and then bridge WordPress itself to that account with the official plugin and an API token. This guide walks through each of those pieces in order, including where the setup actually happens inside both the Cloudflare dashboard and the WordPress admin.
01Start from your Cloudflare account home
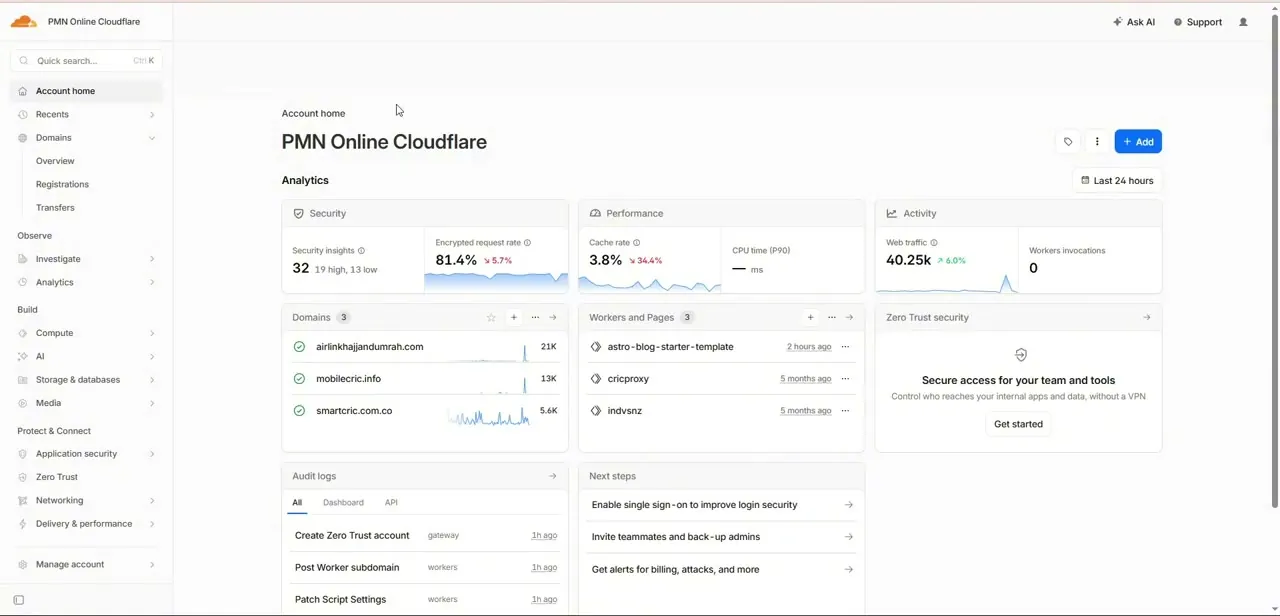
Log into Cloudflare and you land on Account home, which lists every domain already connected along with quick stats — security insights, cache rate, and web traffic for the last 24 hours. If this is your first site, that Domains panel will be empty, which is your cue to add one. This dashboard is also where you'll come back to later for DNS and caching settings once WordPress is talking to Cloudflare, so it's worth getting familiar with the sidebar layout now.
02Add your WordPress domain to Cloudflare
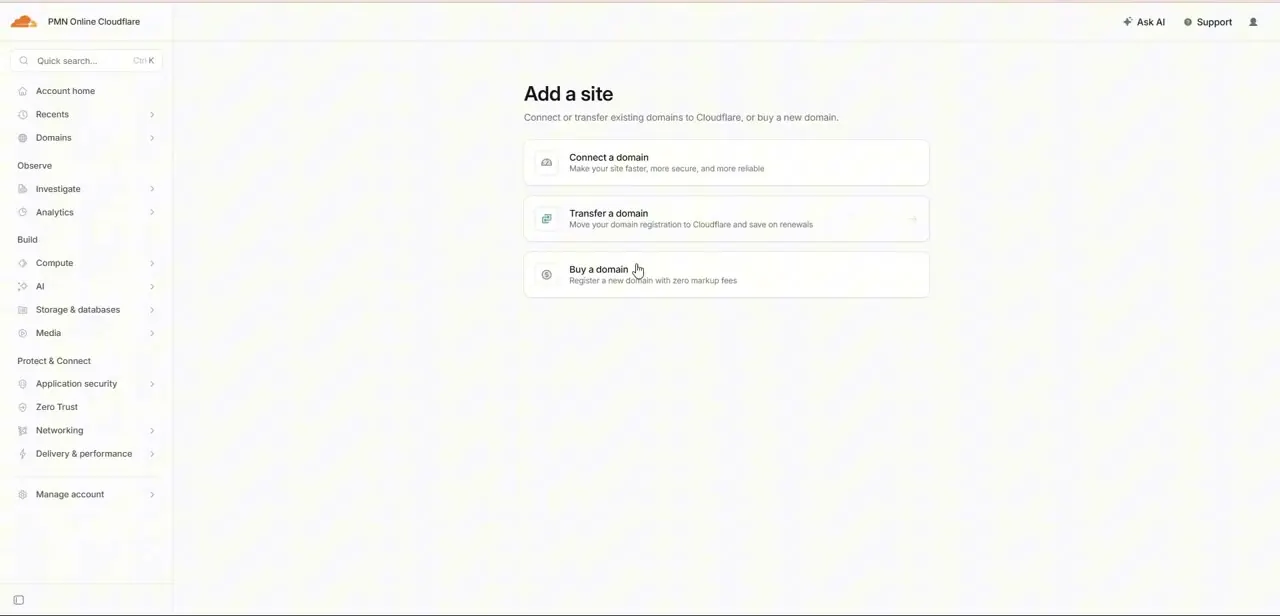
From Domains in the sidebar, choose to connect a domain rather than transfer or buy one — you're keeping your existing registrar, just routing DNS through Cloudflare. Type in your WordPress site's domain and Cloudflare scans your current DNS records automatically, then offers a free plan to start on. Review the imported records before continuing; a missed record here is the most common reason a site breaks briefly during migration.
03Update your nameservers at the registrar
Cloudflare gives you two new nameservers to replace whatever your registrar currently has on file. Log into wherever you registered the domain — that's often a different company than your WordPress host — and paste the new nameservers into its DNS or nameserver settings. This is the step that actually reroutes traffic through Cloudflare, and it can take anywhere from a few minutes to 24 hours to fully propagate, so don't be alarmed if the change isn't instant.
04Generate a WordPress-scoped API token
Back in Cloudflare, open your account profile and create an API Token rather than using your global API key — scoping it to just what the WordPress plugin needs (zone read and cache purge permissions, typically) limits the damage if the token ever leaks. Copy the token immediately after generating it, since Cloudflare only shows the full value once.
05Install the official plugin in WordPress
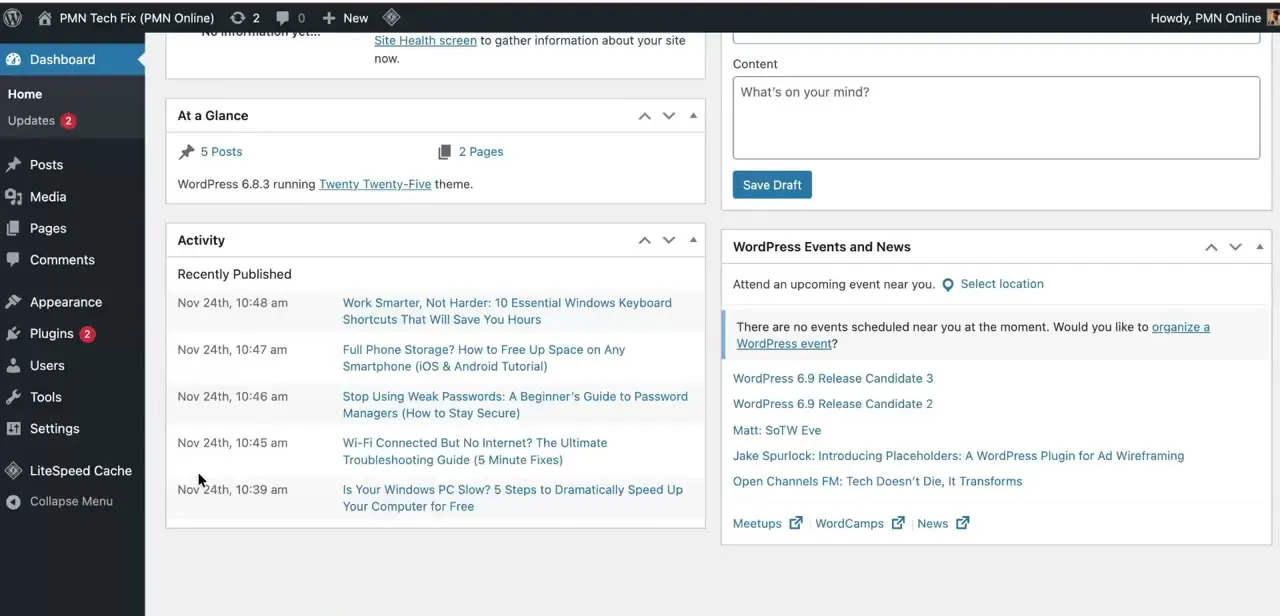
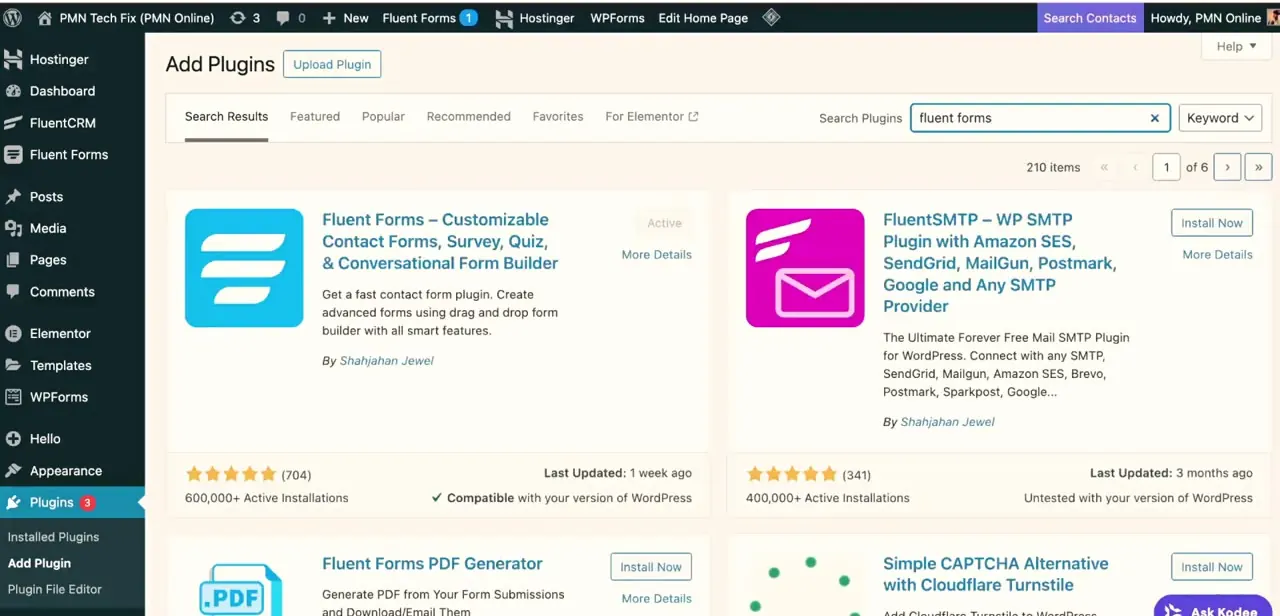
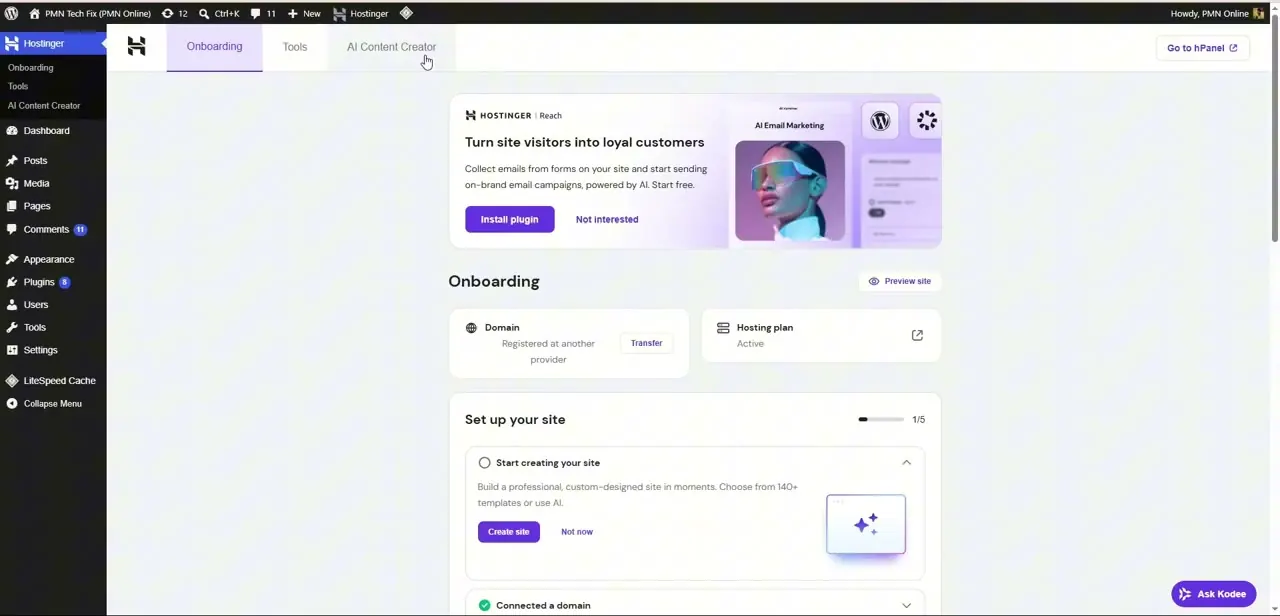
Log into your WordPress admin — note this is the same dashboard whether you access it directly or through your hosting provider's own onboarding panel, as many hosts like Hostinger wrap it in their own interface. From Plugins, search for the official Cloudflare plugin, install it, and activate it. If your host's onboarding flow is still asking you to pick a theme or finish site setup, you can safely skip past those prompts to get to the Plugins menu.
06Connect the token and apply recommended settings
Open the Cloudflare plugin's settings page inside WordPress and paste in the API token you generated. Once it authenticates, the plugin exposes an "Apply Recommended Settings" button — click it to enforce strict SSL and pick up Cloudflare's suggested performance defaults in one pass instead of configuring each setting manually. Finish by toggling on the plugin's automatic cache-purge option, so publishing or editing a post clears the cached version at the edge instead of leaving visitors looking at stale content.
Frequently asked questions
Do I need the official Cloudflare plugin, or can I just switch nameservers?
Switching nameservers alone routes your DNS through Cloudflare, but the plugin adds WordPress-specific integration, like automatic cache purging when you update content.
What does 'Apply Recommended Settings' actually change?
It applies a set of Cloudflare-suggested performance and security defaults, including enforcing strict SSL modes for your site, in a single click instead of configuring each option by hand.
Will connecting Cloudflare slow down my WordPress admin dashboard?
No, Cloudflare's caching is generally configured to bypass the WordPress admin area so you can still manage your site normally.
Can I use Cloudflare with WordPress without an API token?
Basic DNS-level protection works without the plugin, but the WordPress-specific features like automatic cache purging require the API token connection.
Why generate a scoped API token instead of using my global API key?
A scoped token limits what it can access — typically just zone reads and cache purges for the WordPress plugin — so if it's ever exposed, the damage is contained instead of exposing your whole Cloudflare account.
About the author

Impran M N
I've been hooked on technology for as long as I can remember — especially the new tools and AI apps that seem to land every other week. Easy Tech Tuts is where I write up whatever I've just worked out: I do the task in the real product, record the screen, and turn it into the guide I wish I'd found first.