Easy Tech Tuts
How to Make Uneven Columns in Google Docs
By Impran M N
Google Docs defaults to equal-width columns the moment you turn on multi-column layout, which is fine for a simple newsletter but wrong for a brochure with a wide feature section next to a narrow sidebar, or a comparison page where one side needs more room than the other. The override lives a click deeper than the basic Columns menu, in a dialog most people never open. This guide walks through unlocking variable widths, typing exact measurements for each side, and using breaks and the ruler to keep the layout under control once it's applied.
01Open the document you want to reformat
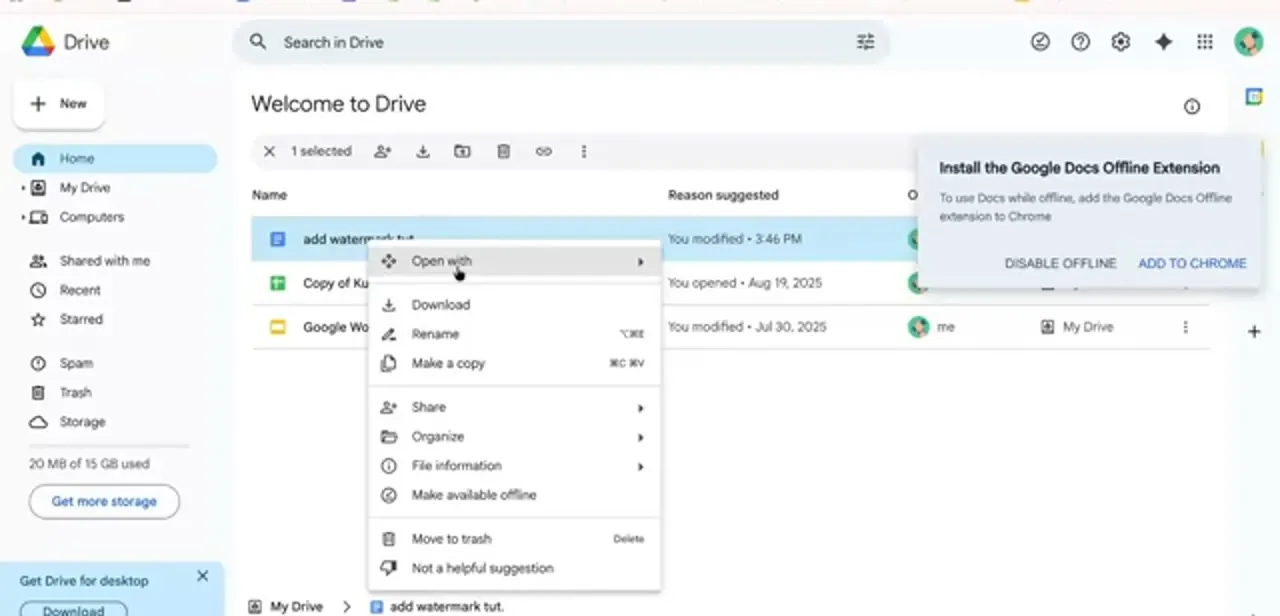
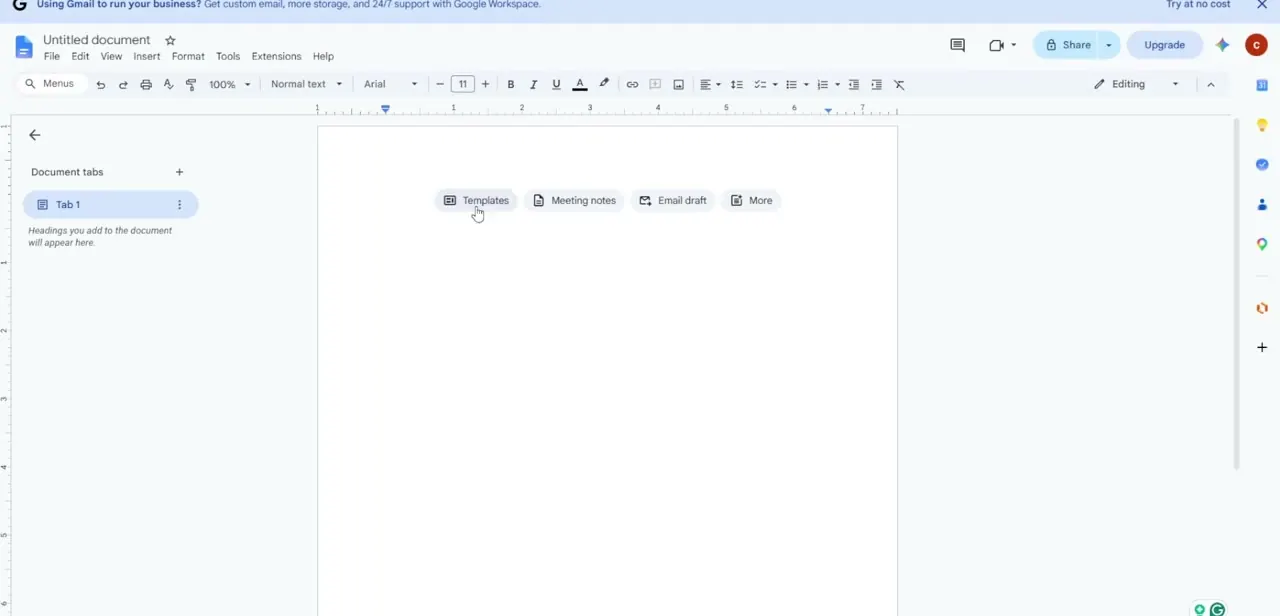
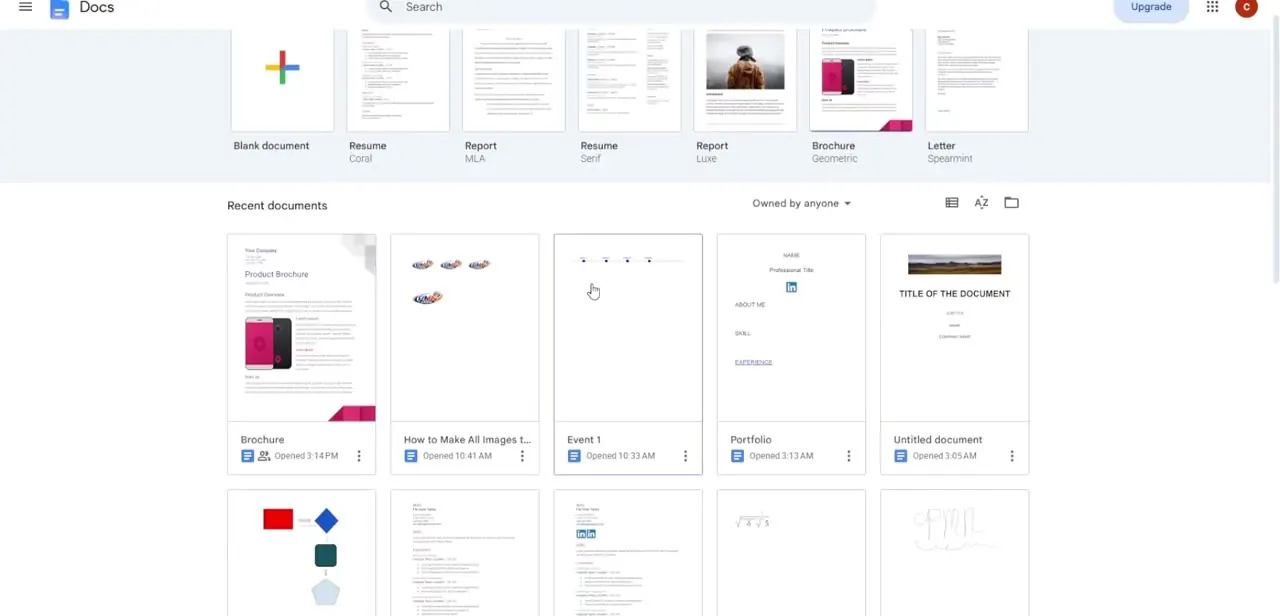
Start from your Google Docs home screen, where recent documents and starter templates are listed, and open the file that needs the column treatment. If you're building this layout from scratch, a blank document works too — the column settings apply to whichever paragraphs you have selected, so you can format part of a page differently from the rest once you're inside.
02Select your text and open the column options
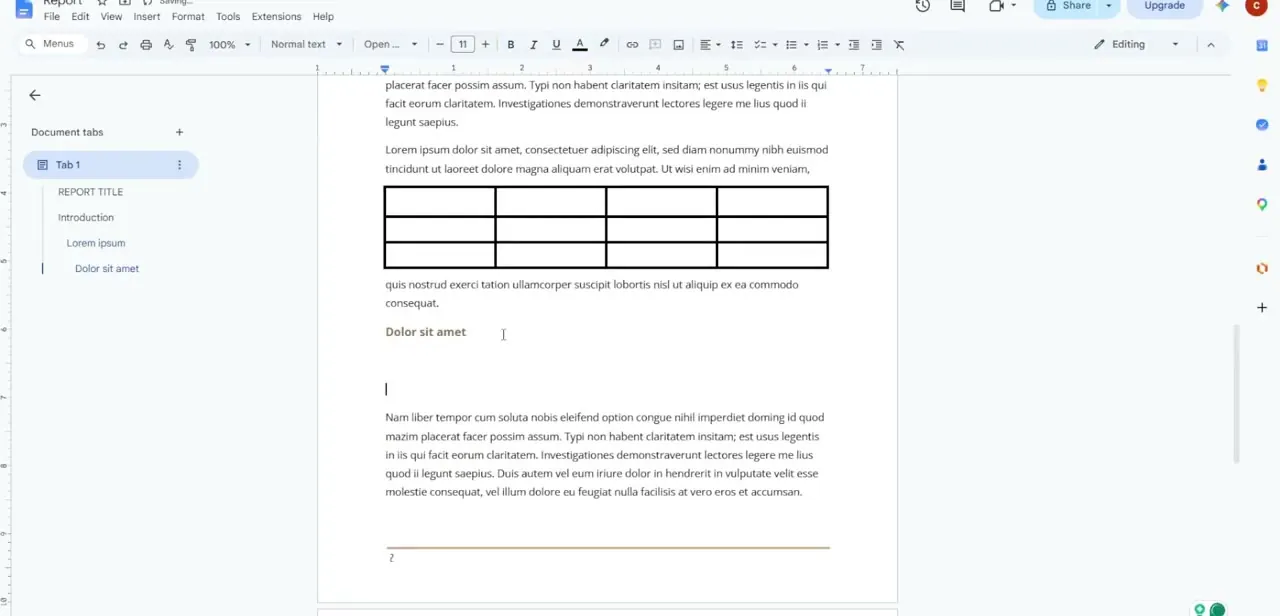
Highlight the paragraph or block of text you want to split into columns, then click Format in the top menu, hover over Columns, and click More options at the bottom of the flyout. The quick presets in that flyout only offer one, two, or three equal-width columns, so More options is the only path to anything asymmetrical — skipping it and clicking a preset locks you into equal widths with no way to adjust them afterward.
03Unlock variable widths
In the More options dialog, set the number of columns to two, then clear the checkbox labeled Equal column widths. This single checkbox is the difference between a symmetrical layout and a custom one — once it's unchecked, two separate width fields become editable instead of being locked together and updating in sync.
04Type precise widths for each column
With equal widths unlocked, enter inch values into each column's width field — for example, 4 inches for a wide feature column and 2 inches for a narrow sidebar, adjusting the spacing field between them to control the gap. Google Docs will warn you if your combined widths and spacing exceed the page's usable area, so leave a little room rather than maxing out every inch of the margin.
05Add a dividing line if the layout needs one
Check the Line Between Columns box in the same dialog if you want a visible vertical rule separating the two sections — useful for a comparison layout where readers need a clear boundary, less necessary for a magazine-style feature spread where whitespace alone does the job. Click Apply once everything is set, and Docs commits the formatting immediately to the selected text.
06Control where text breaks and fine-tune with the ruler
Once the uneven columns are live, place your cursor wherever you want a new column to start, click Insert, hover over Break, and choose Column Break to push everything after that point into the next column instead of letting it flow naturally. If you need to isolate the multi-column section to just one part of a longer document, wrap it in Section Breaks before and after, so the rest of the page stays single-column. For small visual adjustments afterward, drag the margin markers directly on the ruler at the top of the page rather than reopening the dialog each time.
Frequently asked questions
Can I apply uneven columns to just part of a page?
Yes, using Section Breaks before and after the block lets you isolate a multi-column layout to a specific portion of your document rather than the whole page.
How do I force text into the next column early?
Place your cursor where you want the break, then insert a Column Break from the Insert menu to push the remaining text into the next column.
Can I adjust column widths with my mouse instead of typing values?
Yes, once columns are applied, the interactive ruler at the top of the page lets you drag margin markers to adjust widths visually.
Does this work the same on mobile?
Advanced column formatting, including unequal widths, is only available through the desktop web version of Google Docs — it's not exposed in the mobile app.
Why can't I set different widths using the quick Columns preset?
The presets in the Format > Columns flyout only offer equal-width layouts; you have to open More options to unlock the Equal column widths checkbox and type custom values.
About the author

Impran M N
I've been hooked on technology for as long as I can remember — especially the new tools and AI apps that seem to land every other week. Easy Tech Tuts is where I write up whatever I've just worked out: I do the task in the real product, record the screen, and turn it into the guide I wish I'd found first.