Easy Tech Tuts
How to Create a Daily and Weekly Planner in ClickUp Easily 2026
By Impran M N
Keeping track of daily priorities and weekly goals in one place gets easier when your task manager can double as a planner. Rather than building a planner list from a blank screen, ClickUp ships a ready-made Weekly Planner template that gives you the whiteboard layout, list, and board views in one click. This guide walks through finding that template, applying it to a new list, and reading the built-in setup guide so you know what each piece is for before you start layering on custom fields and recurring tasks.
01Open the Template Center from your list
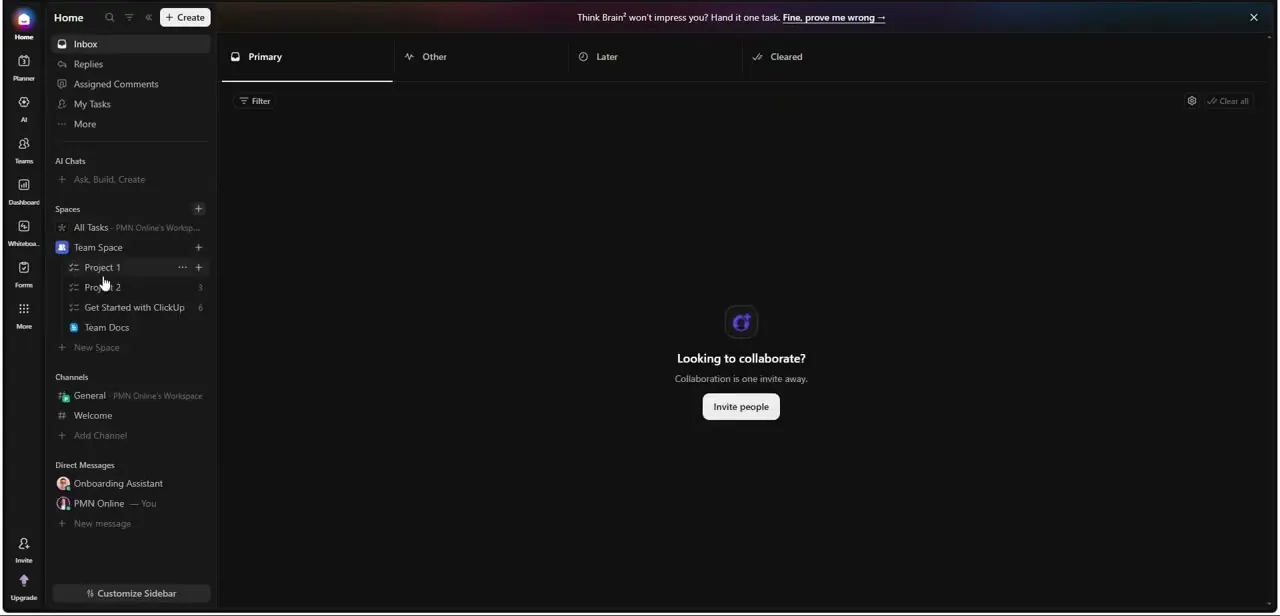
Inside any Space, click the three-dot menu next to a list (or the + next to your Spaces) and choose Templates to open the Template Center. It opens on the Featured tab with a search bar at the top and a filter panel down the left for narrowing by Template Type, like List, Space, or Whiteboard, and by Complexity, from Beginner to Advanced. You don't need to build a planner from scratch here — ClickUp maintains hundreds of ready-made templates across categories like Marketing, Personal Use, and Operations, and planning is one of the best-covered categories.
02Search for the Weekly Planner template
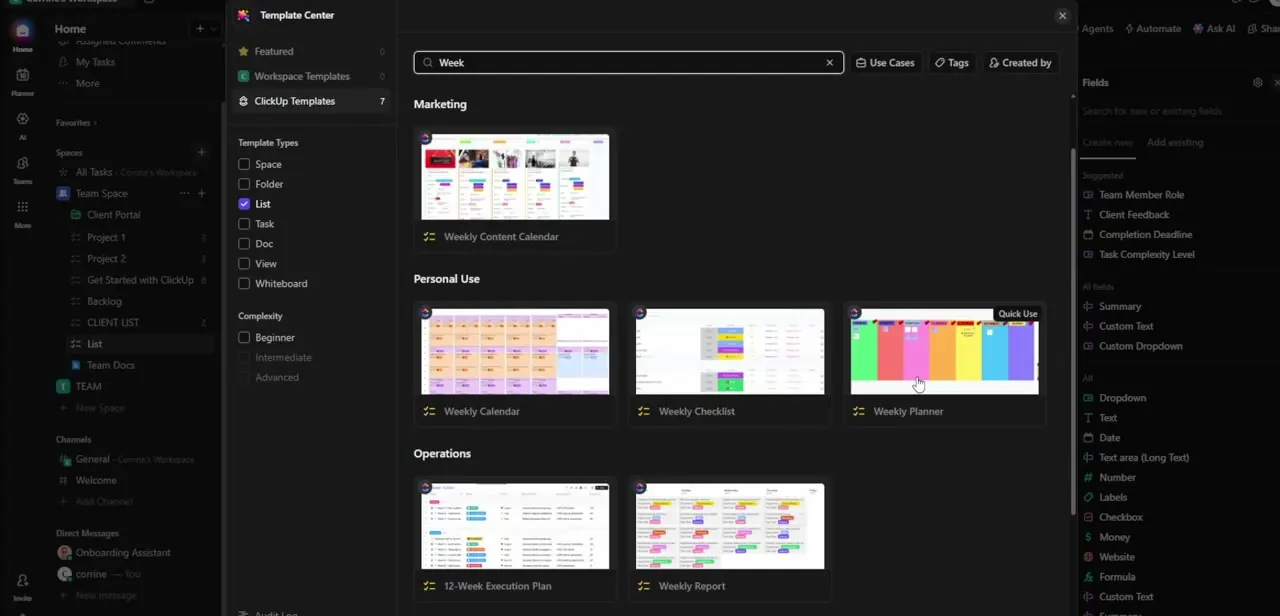
Type "week" into the search box and the results narrow to a handful of relevant templates grouped by category: a Weekly Content Calendar under Marketing, and under Personal Use, a Weekly Calendar, a Weekly Checklist, and the Weekly Planner itself, marked with a "Quick Use" badge. The Weekly Planner thumbnail shows a colorful day-by-day grid, which is the whiteboard layout you'll actually be working from once it's applied. Operations has its own overlapping options, like a 12-Week Execution Plan and a Weekly Report, worth a glance if your planner needs to double as a status document for a team.
03Apply the template to a new list
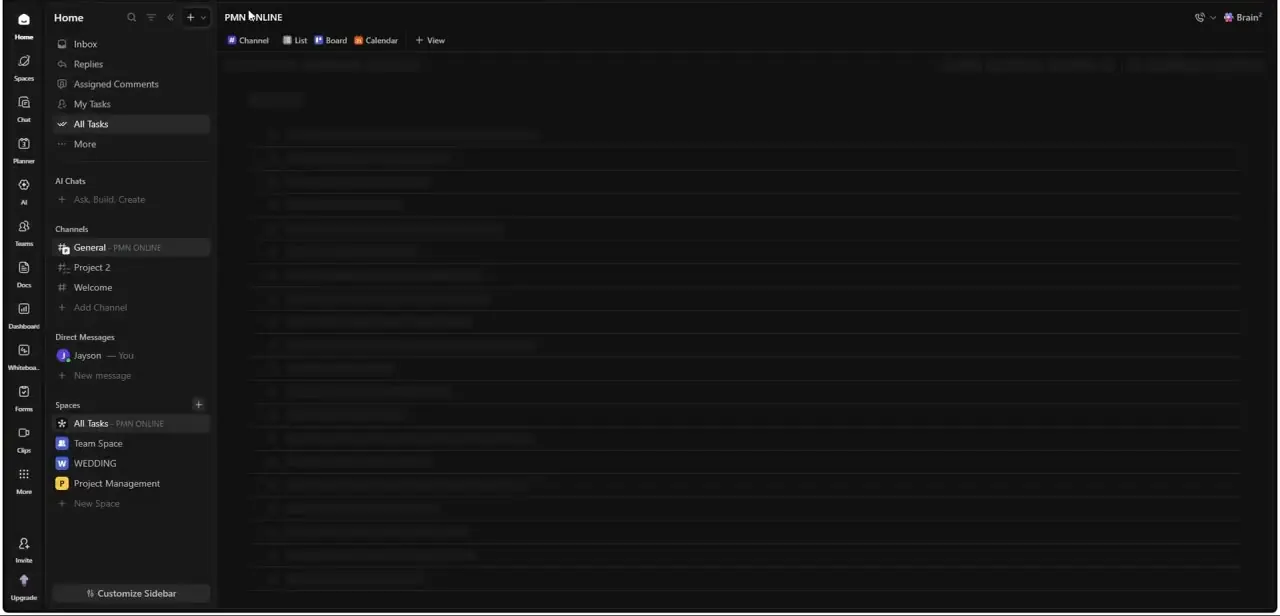
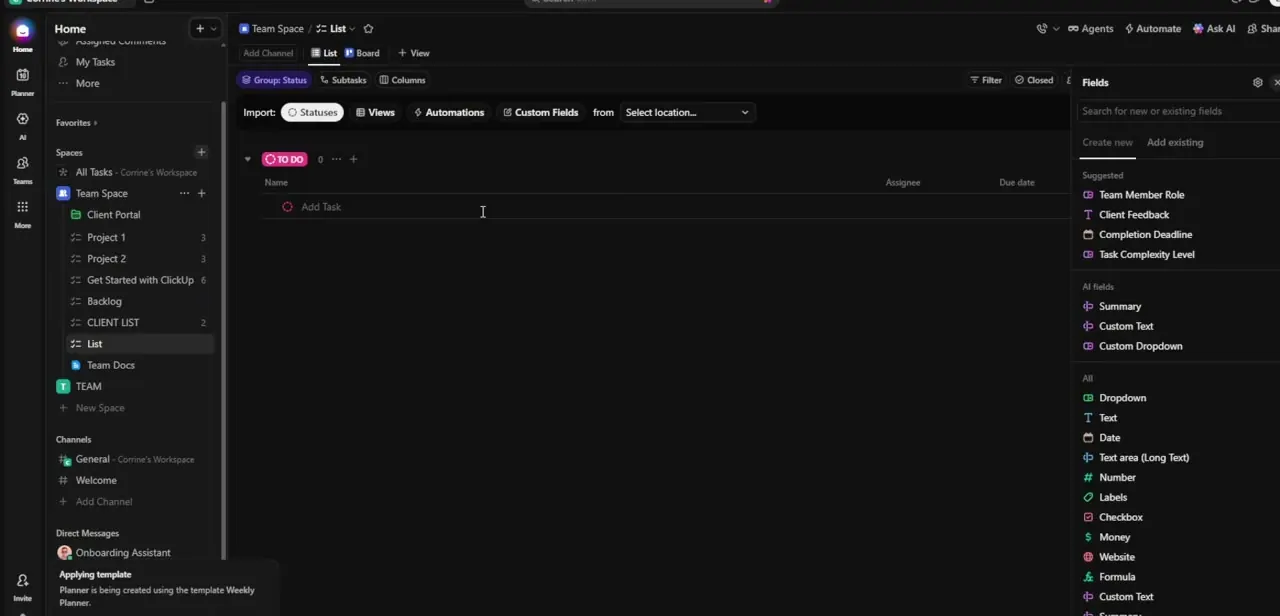
Clicking Quick Use on the Weekly Planner template creates a new list — in this case named Planner — with a default To Do status column and an Add Task row ready to go. This is the same list creation flow as starting one manually, except ClickUp pre-loads the structure, statuses, and views the template author built rather than leaving you with an empty grid. A small toast in the corner confirms the planner is being generated from the Weekly Planner template while it finishes setting up in the background.
04Read the Getting Started Guide first
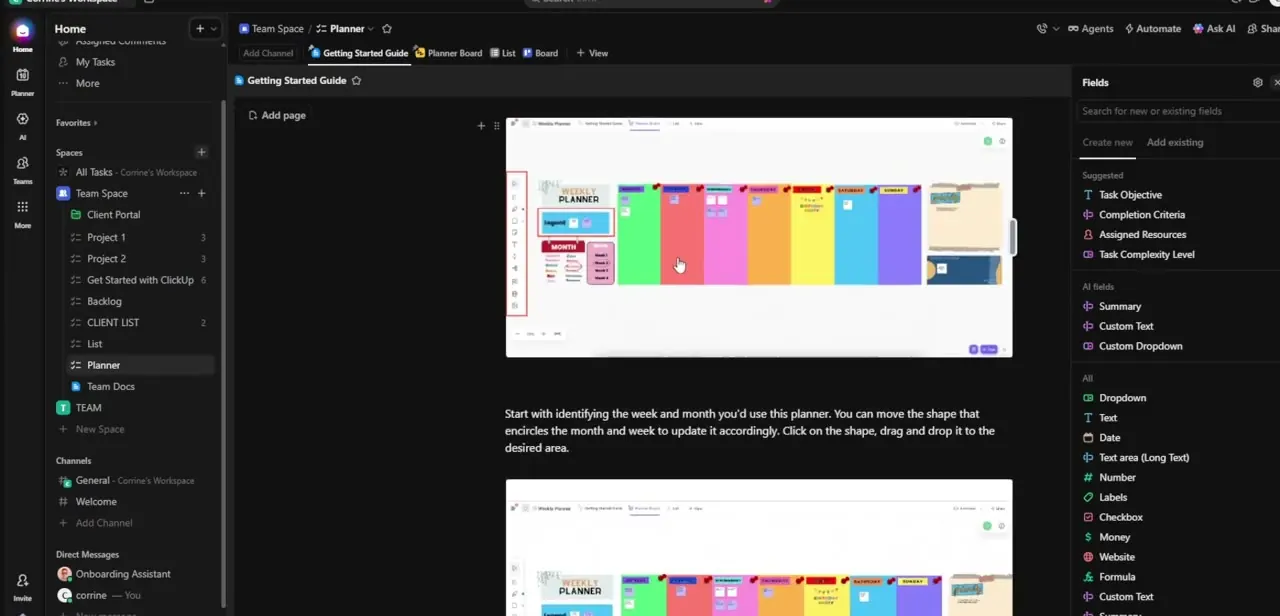
Most ClickUp templates come with a Getting Started Guide doc, and the Weekly Planner is no exception — it's the first tab next to your list and board views. It walks through the whiteboard piece of the template step by step with annotated screenshots, starting with how to identify the current week and month using a shape you drag onto the calendar grid. Reading this before you touch anything saves time, because the whiteboard has draggable labels, color-coded day columns, and legend shapes that aren't obvious from looking at the board alone.
05Add custom fields for priority and time
Once the base structure is in place, open the Fields panel on the right side of the list view to layer on the details the template doesn't include by default. Create a Dropdown field for priority tiers, a Number or Money field for estimated time weight, and another Dropdown for life or project categories so you can separate work tasks from personal ones. These fields show up as sortable columns in List view and as filterable tags in Board view, which is what makes the same planner usable from more than one angle.
06Set up recurring tasks for daily and weekly routines
Open any task, click the date field, and look for the recurrence option to define how often it repeats — daily for a morning check-in, weekly for a Sunday review, or a custom interval for anything in between. ClickUp regenerates the task automatically on schedule instead of leaving a stale, unchecked item sitting in your list. This is the piece that turns a one-time planner into something you don't have to rebuild every Monday, and it's worth setting up for two or three routines before you start filling in one-off tasks.
07Switch views to match how you're planning
The template ships with both a List and a Board view alongside the whiteboard, and switching between them changes how the same tasks feel to work with. List view is best for a fast scan of everything due this week sorted by your custom fields, while Board view turns those same tasks into draggable cards you can move between status columns as the day progresses. Use the Advanced Filtering options in either view to isolate a single day or category when the full list gets noisy.
Frequently asked questions
Do I have to build the planner from scratch in ClickUp?
No. ClickUp includes a ready-made Weekly Planner template under Personal Use in the Template Center — search "week" and apply it with Quick Use to get a whiteboard, list, and board view instantly.
Can I use the same planner for both personal and work tasks?
Yes. Adding a custom Dropdown field for category lets you tag tasks as personal or work related and filter your view based on what you're focused on.
Will recurring tasks automatically reappear each week?
Yes. Once you set a recurrence rule on a task's date field, ClickUp regenerates it automatically based on the schedule you define, no manual recreation needed.
Do I need a paid ClickUp plan for a planner like this?
Core features used here — templates, custom fields, calendar and board views, and recurring tasks — are available on ClickUp's free plan, though usage limits vary by tier.
What's the Getting Started Guide doc for?
It's a template-specific walkthrough that ships alongside the Weekly Planner list, explaining how to use the whiteboard's draggable week and month shapes before you start editing anything.
About the author

Impran M N
I've been hooked on technology for as long as I can remember — especially the new tools and AI apps that seem to land every other week. Easy Tech Tuts is where I write up whatever I've just worked out: I do the task in the real product, record the screen, and turn it into the guide I wish I'd found first.