Easy Tech Tuts
Asana Tutorial for Beginners, How to use Asana for Project & Task Management
By Impran M N
Asana is a project and task management tool designed to help teams organize work, assign responsibility, and track progress in one place. For a brand-new user the interface can look busier than it needs to be — sidebar, tabs, filters, views — so this guide focuses on the handful of screens you'll actually live in during your first week: creating a project, filling it with tasks and sections, checking your own workload from My tasks, and adding the fields that turn a plain to-do list into something a team can report on. Nothing here requires a paid plan; everything shown is available on Asana's free trial.
01Start from Browse projects
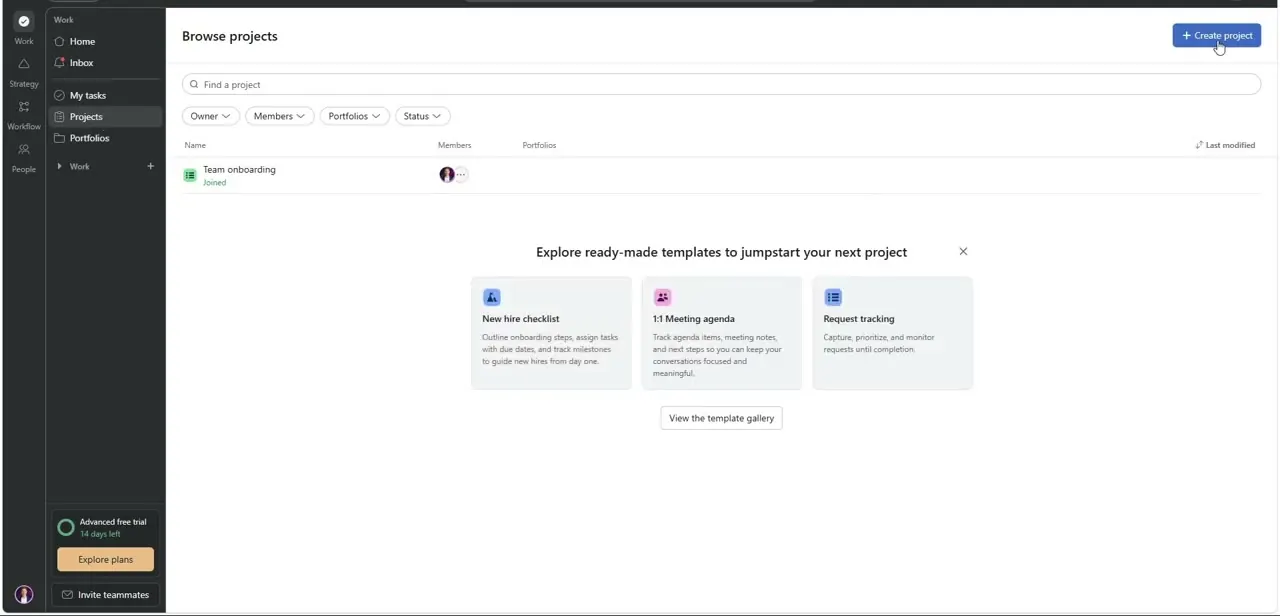
Once you're logged in, the Projects tab in the left sidebar takes you to Browse projects, which lists every project you're a member of along with its owner and portfolio. A brand-new workspace usually has one starter project already in it — often a sample onboarding checklist Asana creates for you to poke around in. The Create project button sits in the top right and is the fastest way in; below it, Asana also surfaces a few ready-made templates like a new hire checklist or a meeting agenda tracker, which are worth a look if you'd rather start from a structure than a blank page.
02Build the task list with sections
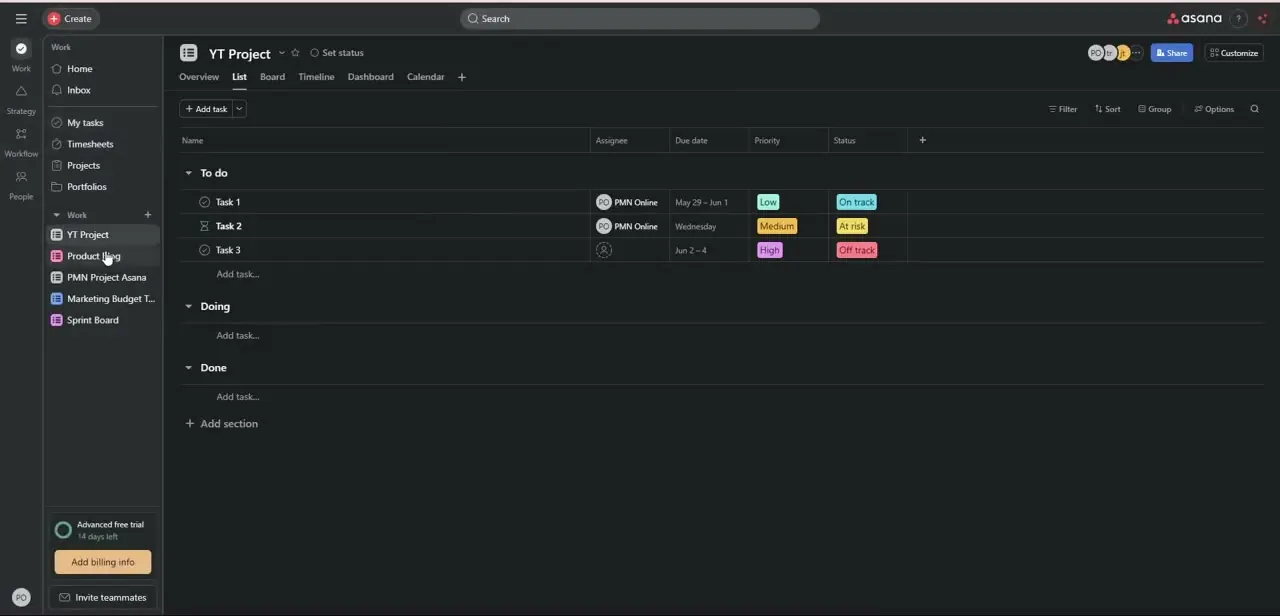
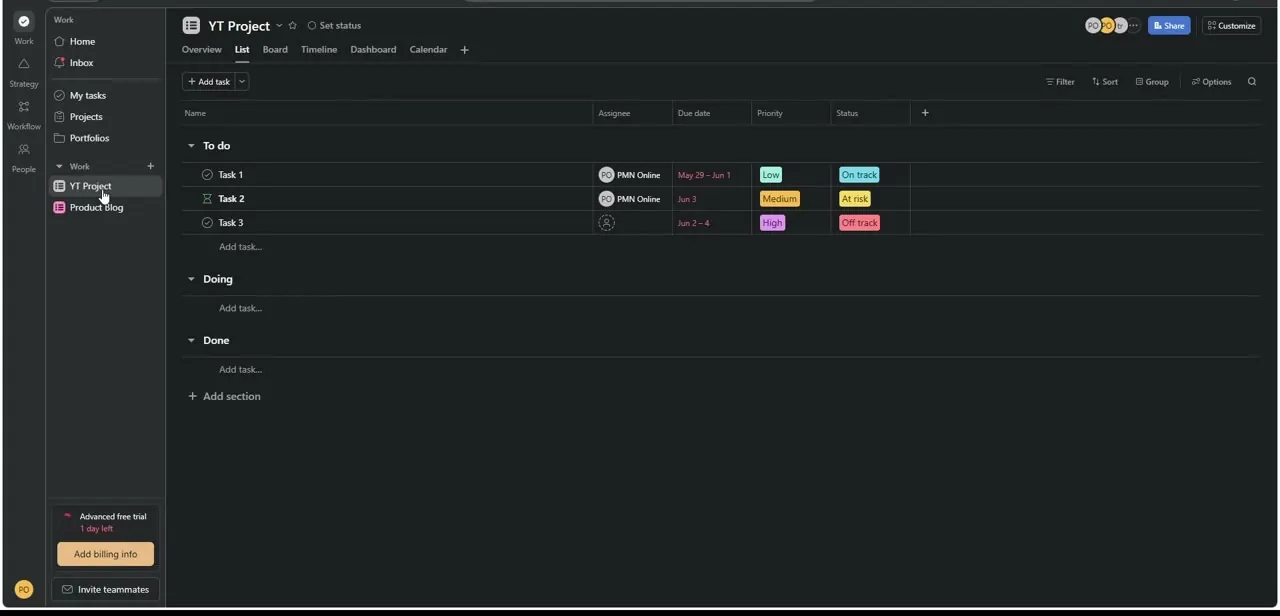
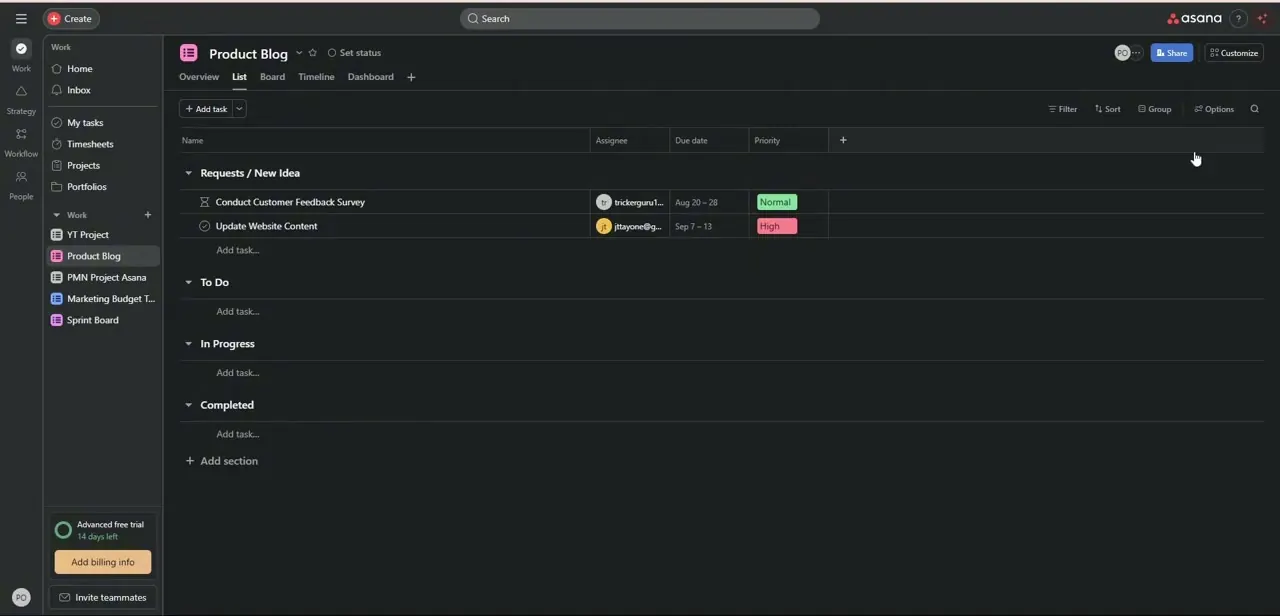
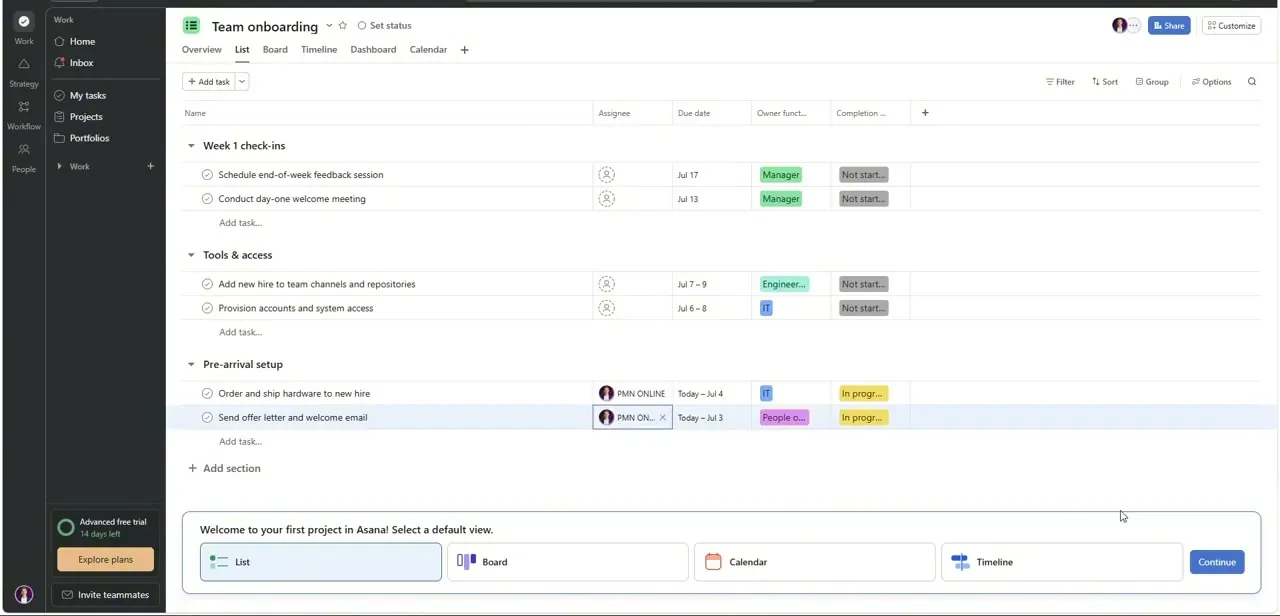
Open a project and you land on its List view, which is the default and the one most beginners should stick with first. Tasks are grouped into sections — think of them as labeled buckets like "Week 1 check-ins" or "Tools & access" — and each task carries its own row of columns: Assignee, Due date, and any custom fields you've added.
Typing a task name and pressing Add task keeps things moving fast; you fill in the details afterward. The first time you set up a project, Asana also prompts you to pick a default view for the team — List, Board, Calendar, or Timeline — which just decides what people see when they open it, not how the data is stored.
03Check your workload in My tasks
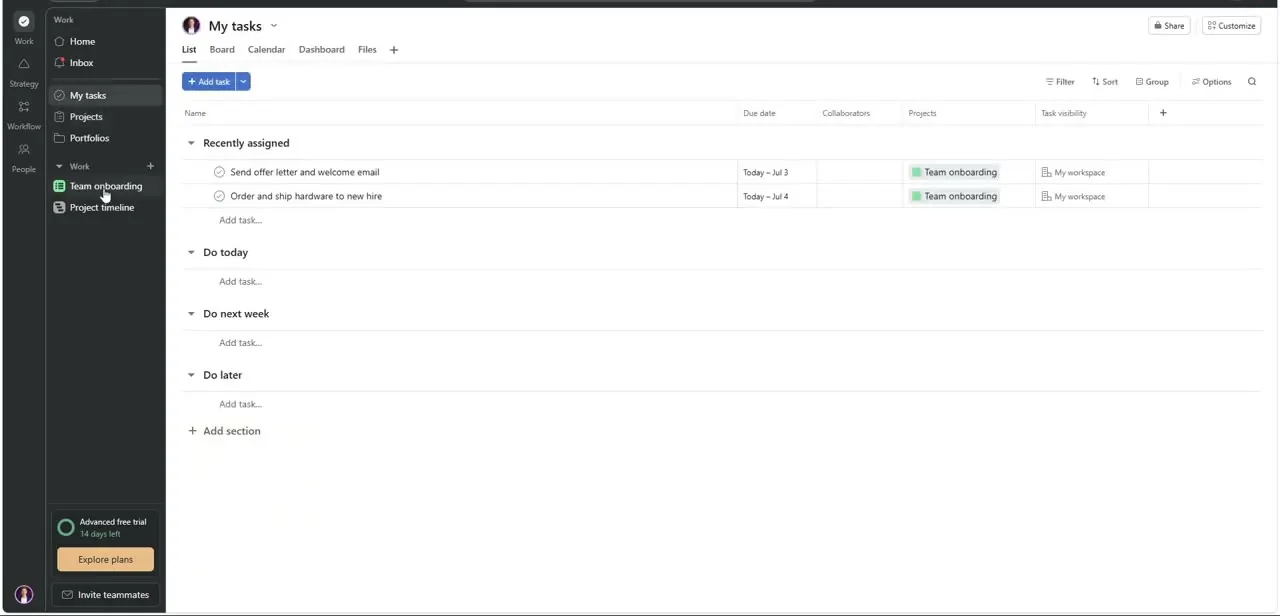
My tasks, in the sidebar under Home, pulls together everything assigned to you across every project into one personal list. It's automatically grouped into Recently assigned, Do today, Do next week, and Do later, which gives you a rough priority order without any setup on your part. This is the screen to open each morning instead of hunting through individual projects — if a task's due date changes or someone assigns you something new, it shows up here immediately, and each row still tells you which project it came from.
04Add custom fields like Status
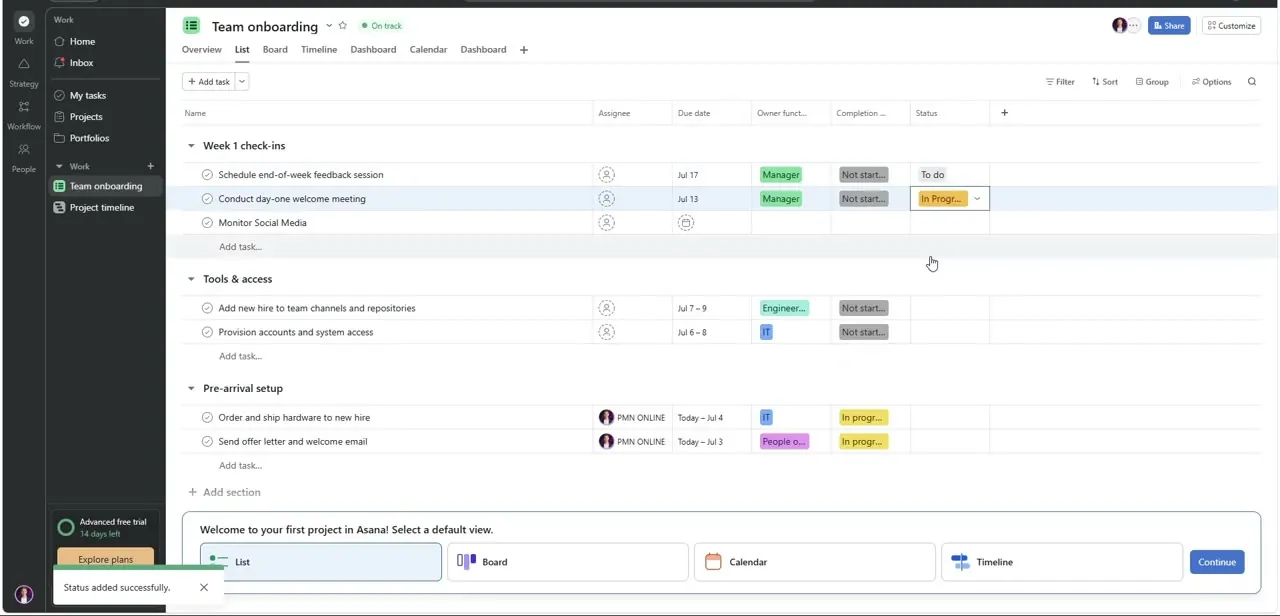
Columns beyond Assignee and Due date aren't fixed — click the + at the end of the column header row to add a custom field. Status is one of the most useful early additions: it lets you mark a task To do, In Progress, or Complete with a colored tag instead of relying on the checkbox alone, which matters once a project has more than a few tasks and you want to scan progress at a glance. Fields you add apply to the whole project, and Asana confirms the change with a small toast in the corner so you know it saved.
05Assign owners and set due dates
Every task benefits from an assignee and a due date, even in a small team — an unassigned task is the single most common reason work quietly stalls. Click into the Assignee cell to search teammates by name, and the Due date cell to open a calendar picker; you can set a date range instead of a single day for multi-day work, which is what lets Asana render the task correctly later in Timeline view. Sections can also carry their own owner-function tags, as seen in the sample onboarding project, which is a lightweight way to show which role — Manager, IT, Engineer — is responsible for a batch of tasks without assigning every single one individually.
06Switch views without changing your data
Along the top of any project sit tabs for List, Board, Timeline, Calendar, and Dashboard, plus a + to add more. These are different lenses on the exact same tasks, not separate copies — moving a task's due date in Calendar view updates it everywhere else too. Board view turns your sections into Kanban-style columns you can drag cards between, which teams coming from Trello tend to reach for first, while Timeline lays tasks out against a calendar bar chart and is worth turning on as soon as a project has dependencies between tasks.
Frequently asked questions
Is Asana free to use?
Yes, Asana has a free plan for individuals and small teams with basic List, Board, and Calendar views. The trial shown in this walkthrough unlocks paid features like Timeline and advanced fields for a limited period before reverting to the free tier.
What's the difference between a project and a section?
A project is the overall container (like "Team onboarding"), while sections are groupings inside it (like "Week 1 check-ins" or "Tools & access") that organize related tasks together.
How do I see only the tasks assigned to me?
Open My tasks from the sidebar. It automatically pulls in every task assigned to you across all projects and groups them by urgency — Recently assigned, Do today, Do next week, and Do later.
Can I add my own columns to a project?
Yes. Click the + at the end of the column headers in List view to add a custom field such as Status, Priority, or a text field, and it applies across the whole project.
Does switching between List, Board, and Timeline change my tasks?
No. All views read from the same underlying tasks, so a change you make in one view — like updating a due date — shows up immediately in the others.
About the author

Impran M N
I've been hooked on technology for as long as I can remember — especially the new tools and AI apps that seem to land every other week. Easy Tech Tuts is where I write up whatever I've just worked out: I do the task in the real product, record the screen, and turn it into the guide I wish I'd found first.