Easy Tech Tuts
How to Use Zapier and QuickBooks, Connect & Integrate Easily 2026
By Impran M N
Zapier connects to QuickBooks Online the same way it connects to hundreds of other apps: as a trigger you can watch, or an action you can fire. This guide focuses on the trigger side — setting QuickBooks Online as the app a Zap watches for changes, such as a new account appearing in your chart of accounts — then narrowing what actually moves forward with a filter step. It's the foundation any QuickBooks automation is built on, whether the end goal is a Slack alert, a spreadsheet row, or another accounting action entirely.
01Check your existing integrations from the QuickBooks dashboard
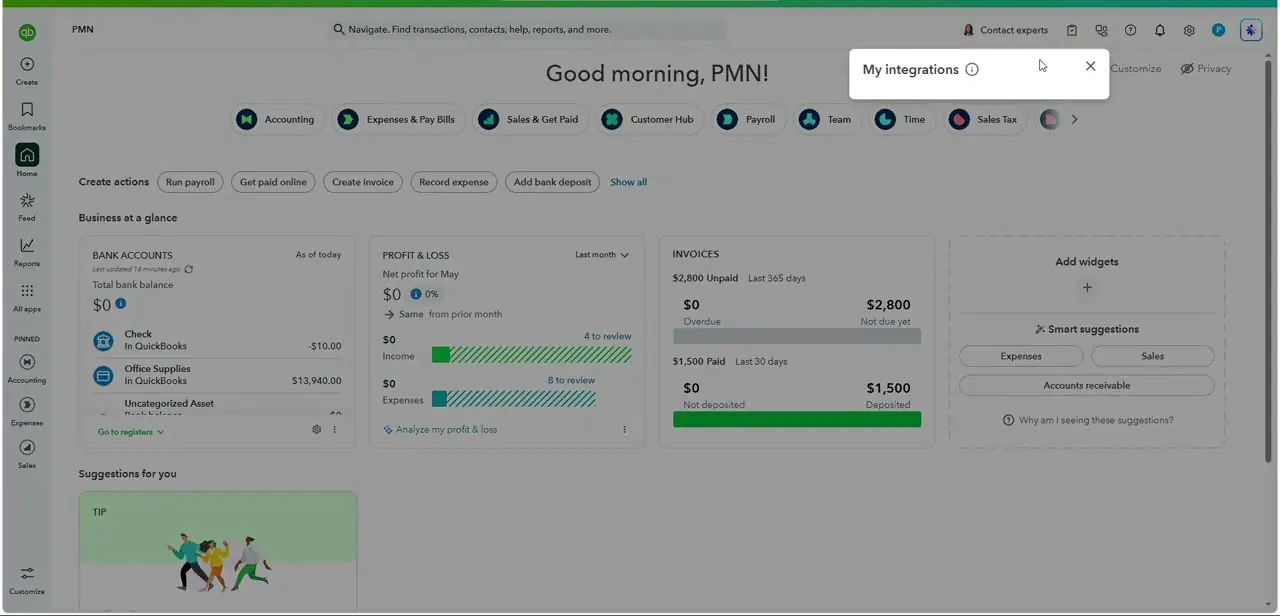
Before building anything in Zapier, it's worth glancing at QuickBooks Online's own dashboard — the profile menu in the top right includes a My Integrations panel that lists what's already connected to your company file. This is a good sanity check if you're troubleshooting later, since a duplicate or conflicting integration here can cause a new Zap to behave unpredictably. The main dashboard itself, with its bank accounts, profit and loss, and invoice widgets, is also the place you'll come back to in order to confirm a Zap actually did what it was supposed to.
02Start a Zap and set QuickBooks Online as the trigger app
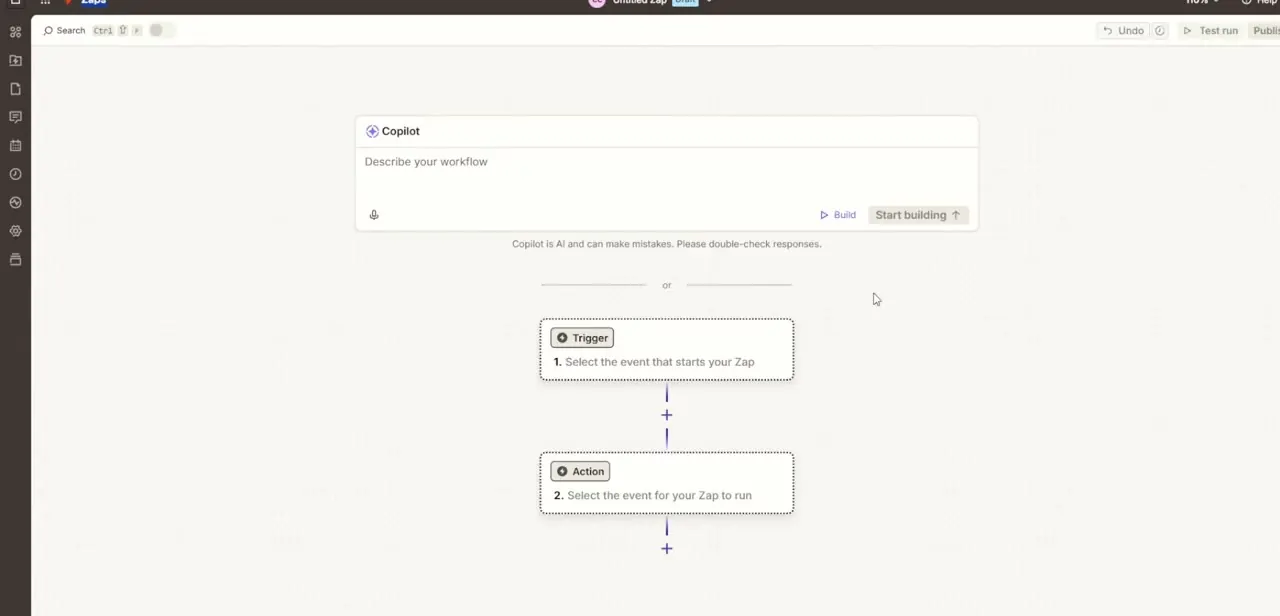
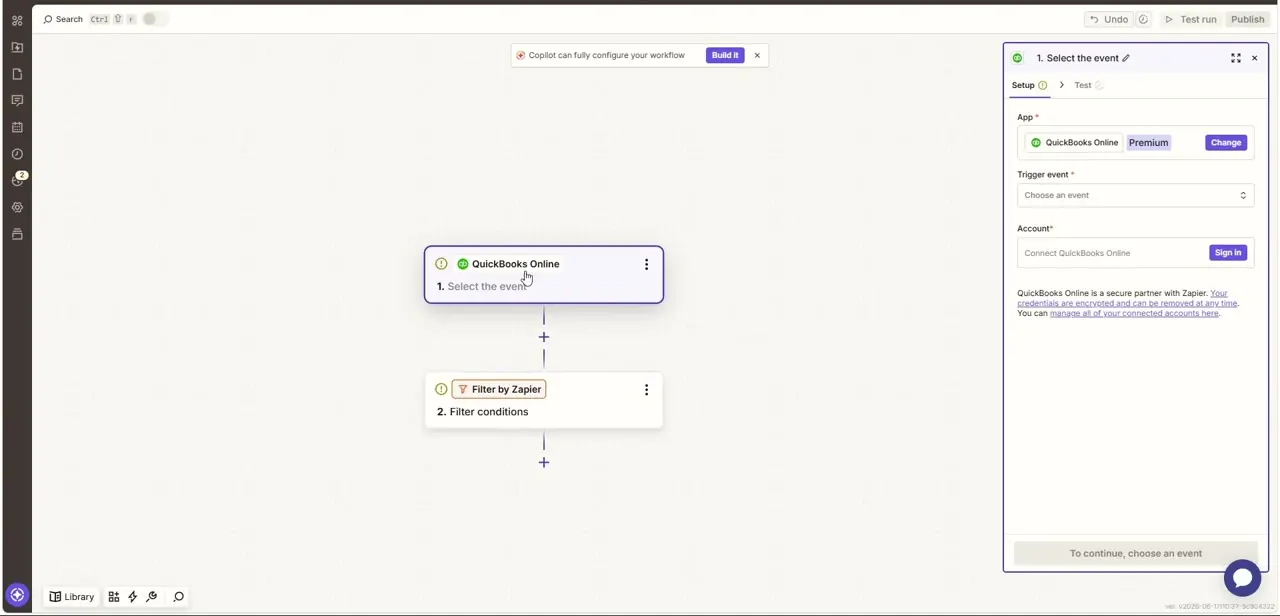
In Zapier, create a new Zap and search for QuickBooks Online as the first step's app. Zapier flags whether you're on a plan tier that supports it — QuickBooks Online shows up here tagged Premium — so confirm your Zapier plan covers it before building further. Under Trigger event, you'll find options like New Account among others; picking one determines exactly what condition in QuickBooks will kick off the rest of the workflow.
03Connect your QuickBooks account
Click Sign In next to the Account field to open QuickBooks' own authorization screen, where you log in and grant Zapier permission to read your company file's data. This uses Intuit's standard OAuth flow, so your QuickBooks password is never entered inside Zapier itself. Once authorized, the account field shows your connected company, and the step's status updates to reflect that Zapier is actively linked rather than just configured.
04Test the trigger against real records
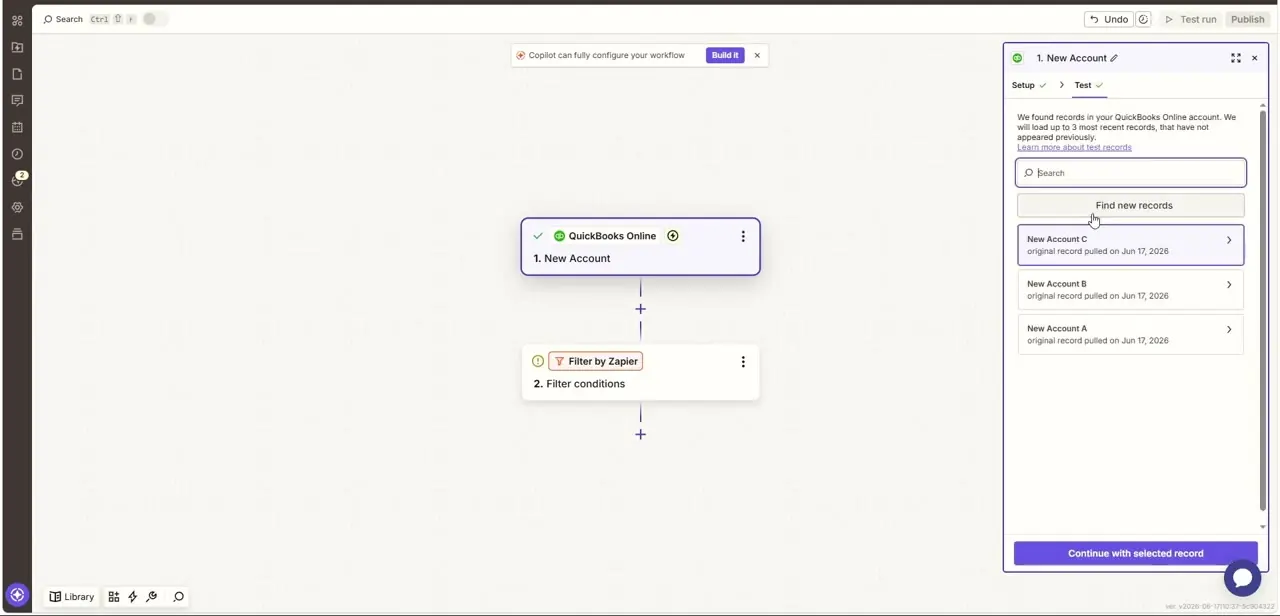
Switch to the Test tab and click Find New Records to have Zapier pull sample data from your actual QuickBooks account. It's the fastest way to confirm the trigger is watching the right thing — if you set the event to New Account, you should see real accounts from your chart of accounts listed here, each with the date the record was originally pulled. Select one and continue, which lets you reference its fields later in the workflow instead of guessing what data shape to expect.
05Add a filter to control what continues
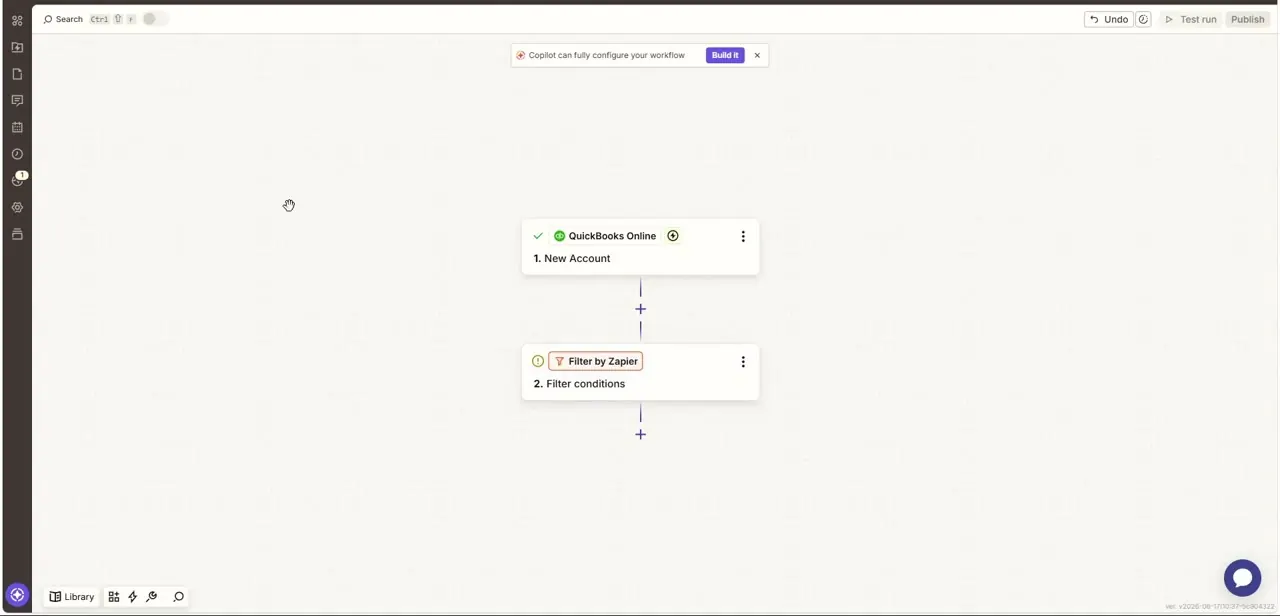
Below the QuickBooks trigger, a Filter by Zapier step lets you set conditions that stop the Zap from running on records you don't care about — for example, only continuing if an account's type or balance matches something specific. This matters because a trigger like New Account can fire on records you don't actually want to act on, and a filter is far simpler than building conditional logic into every downstream step. Configure the filter's conditions, then the trigger step shows a green checkmark once both setup and test are complete.
06Add your next action and publish
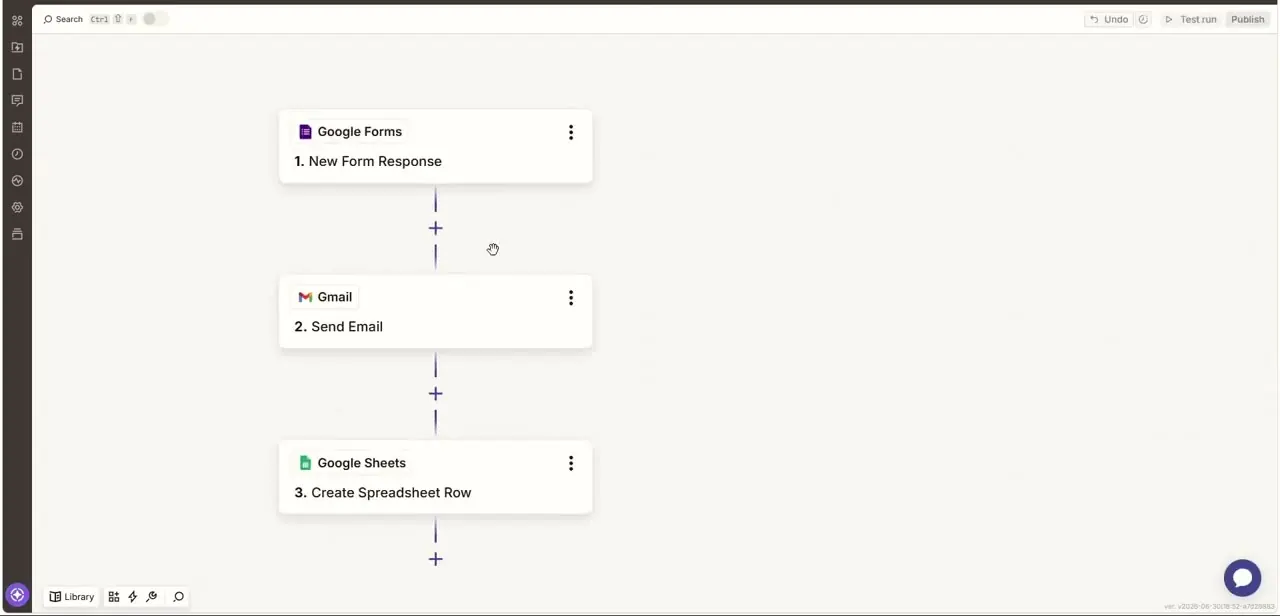
With the trigger tested and the filter conditions set, add whatever action should happen next — creating a record in another app, sending a notification, or even a second QuickBooks action elsewhere in your stack. Run a full test through every step before publishing, then flip the Zap on from the top-right Publish control. From here, QuickBooks Online will keep feeding real account changes into the workflow without anyone checking manually.
Frequently asked questions
Do I need coding skills to set this up?
No — Zapier's trigger, filter, and action steps are all built for no-code use, mostly picking options from dropdowns and connecting accounts through standard sign-in screens.
Why does Zapier show QuickBooks Online as a Premium app?
Some app integrations, including QuickBooks Online, require a paid Zapier plan tier — check the badge next to the app name when you select it to confirm your plan supports it.
What does the Filter by Zapier step actually do?
It stops the Zap from continuing unless the record matches conditions you set, which keeps a broad trigger like New Account from firing your automation on records you don't want to act on.
How do I know the trigger is watching the right data?
Use the Test tab's Find New Records option to pull real sample records from your QuickBooks account before building the rest of the Zap — it's the clearest way to confirm the trigger event is correct.
What happens if I turn the Zap off later?
Turning it off simply stops new automated runs going forward — any records already processed while it was live are unaffected.
About the author

Impran M N
I've been hooked on technology for as long as I can remember — especially the new tools and AI apps that seem to land every other week. Easy Tech Tuts is where I write up whatever I've just worked out: I do the task in the real product, record the screen, and turn it into the guide I wish I'd found first.