Easy Tech Tuts
How to Use Webflow Templates Easily 2026
By Impran M N
Starting a Webflow project from a template turns a blank canvas problem into an editing problem, which is a much easier place to work from. Instead of building responsive grids and a class system from nothing, you're picking a design that already works and reshaping it around your own brand and content. This guide walks through browsing the marketplace, cloning a template into your own account, and the specific settings you touch first once it lands in the Designer — global styles, placeholder content, and the site name itself.
01Browse the template marketplace
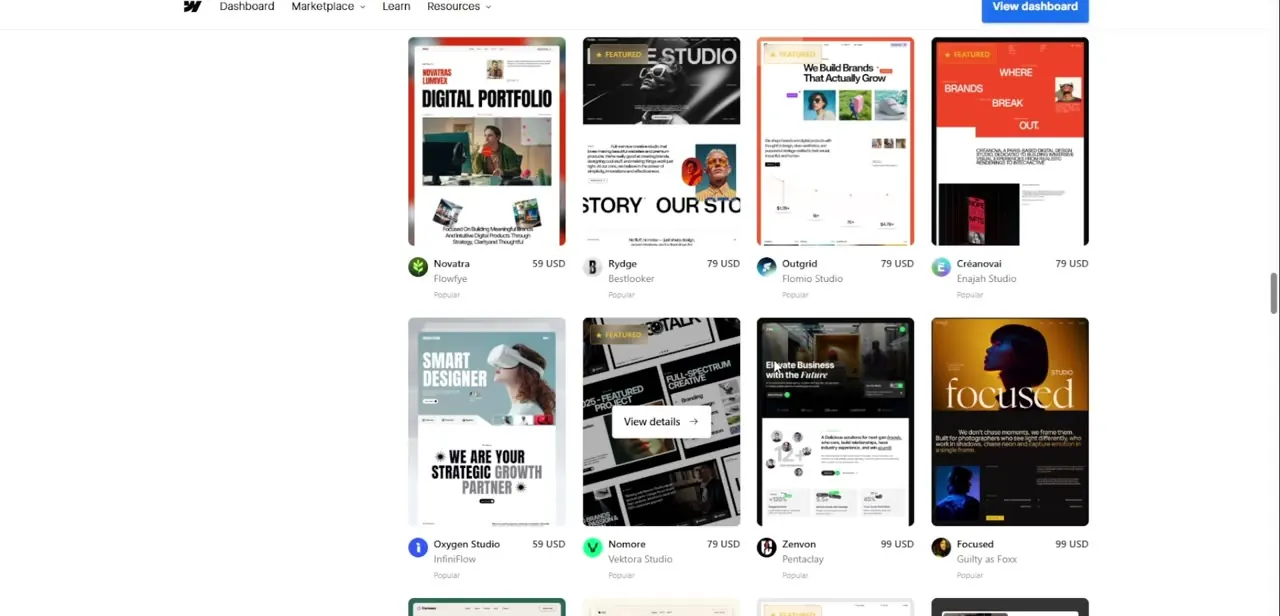
From the Webflow dashboard, open Marketplace to see the full catalog laid out as a grid of live preview thumbnails, each tagged with its designer, price, and a Popular or Featured badge where it applies. Prices run from free up through premium layouts in the $79-plus range, and hovering a card gives you a quick View details link before committing to anything. This view is worth a slow scroll rather than grabbing the first thing that looks close — the difference between a template that fits your content and one that fights it shows up fast once you start editing.
02Open the in-Designer Templates picker
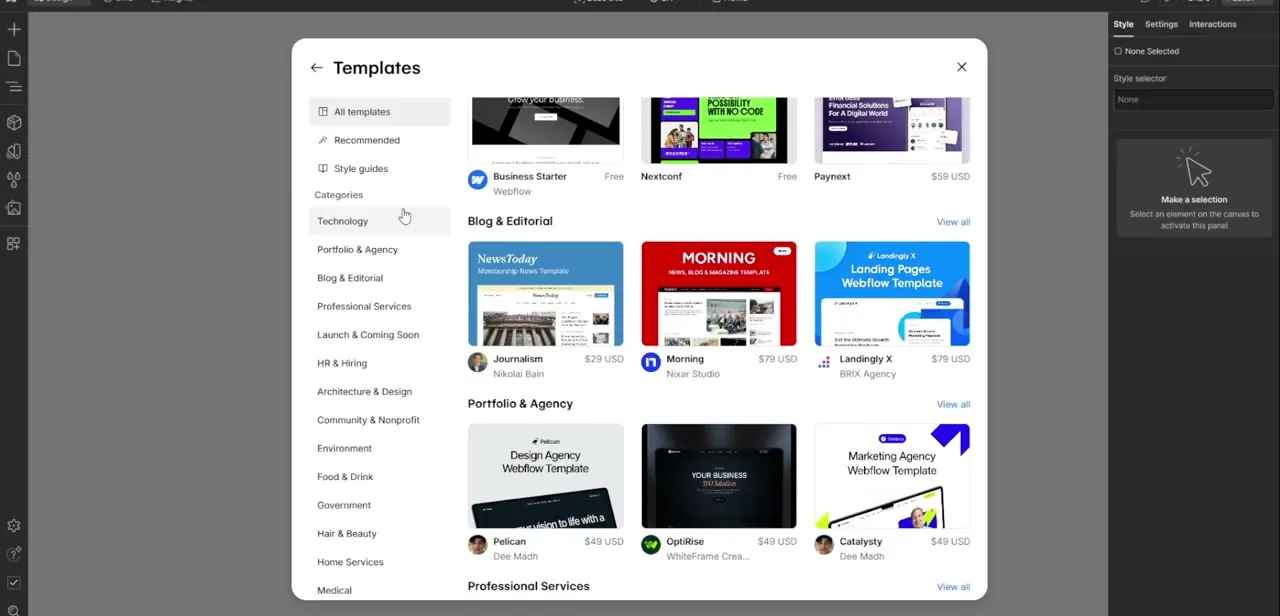
If you're starting a new site rather than browsing standalone, the Templates modal inside the dashboard offers the same catalog organized differently — a left-hand sidebar splits it into All templates, Recommended, and Style guides, then a long list of industry categories like Technology, Portfolio & Agency, Blog & Editorial, and Professional Services. Each category groups a handful of templates with a View all link if you want to go deeper. This is the faster route if you already know roughly what kind of site you're building, since you can jump straight to the relevant category instead of scrolling the full marketplace.
03Clone the template and name your site
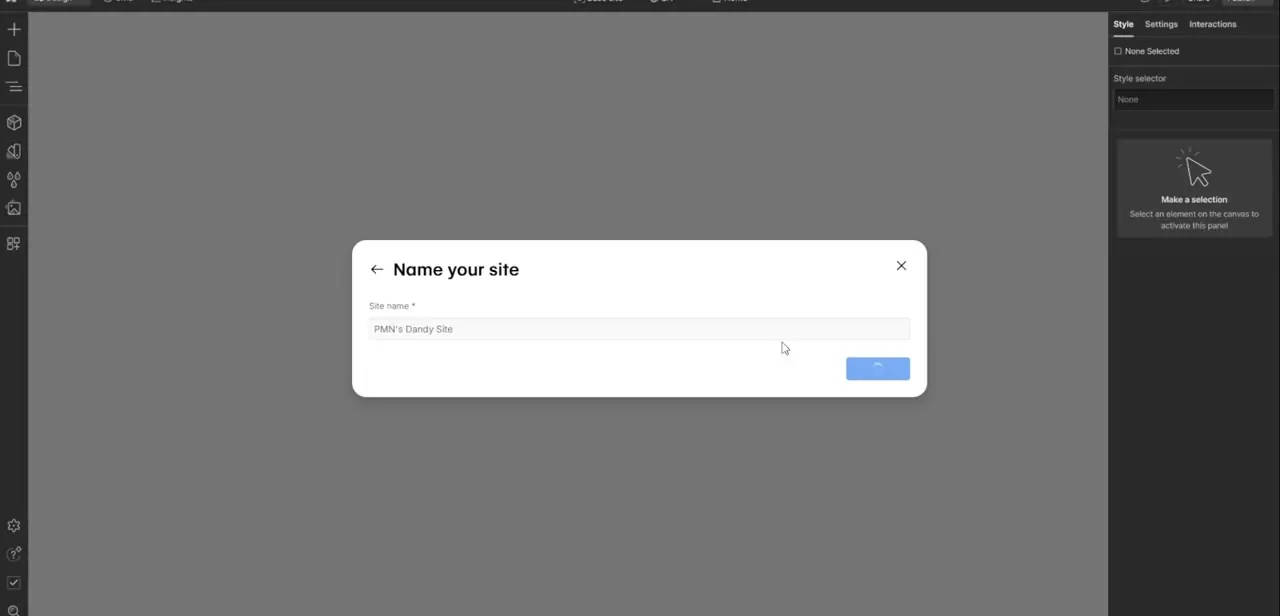
Selecting a template — free or purchased — starts the clone process, and the first thing Webflow asks for is a site name, prefilled with something generic that you'll want to replace immediately. This name becomes part of your workspace and default subdomain, so it's worth setting it to something recognizable now rather than renaming it later once other settings reference it. Confirming here creates a full, independent copy of the template in your account that behaves exactly like a project built from scratch.
04Open the cloned project and get oriented
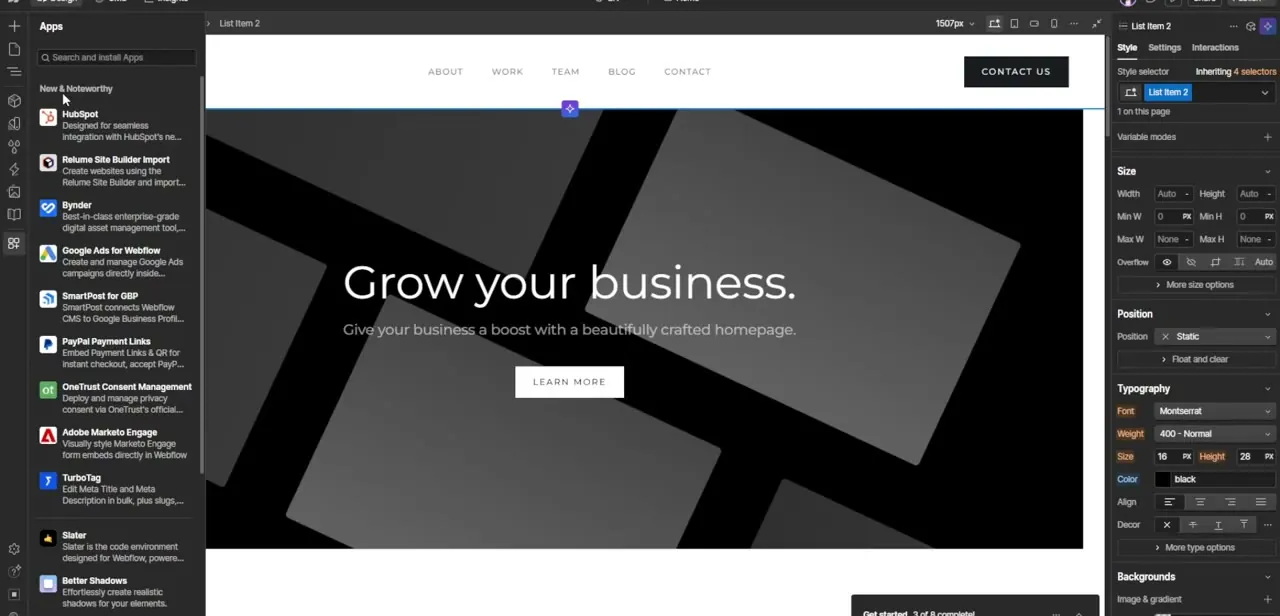
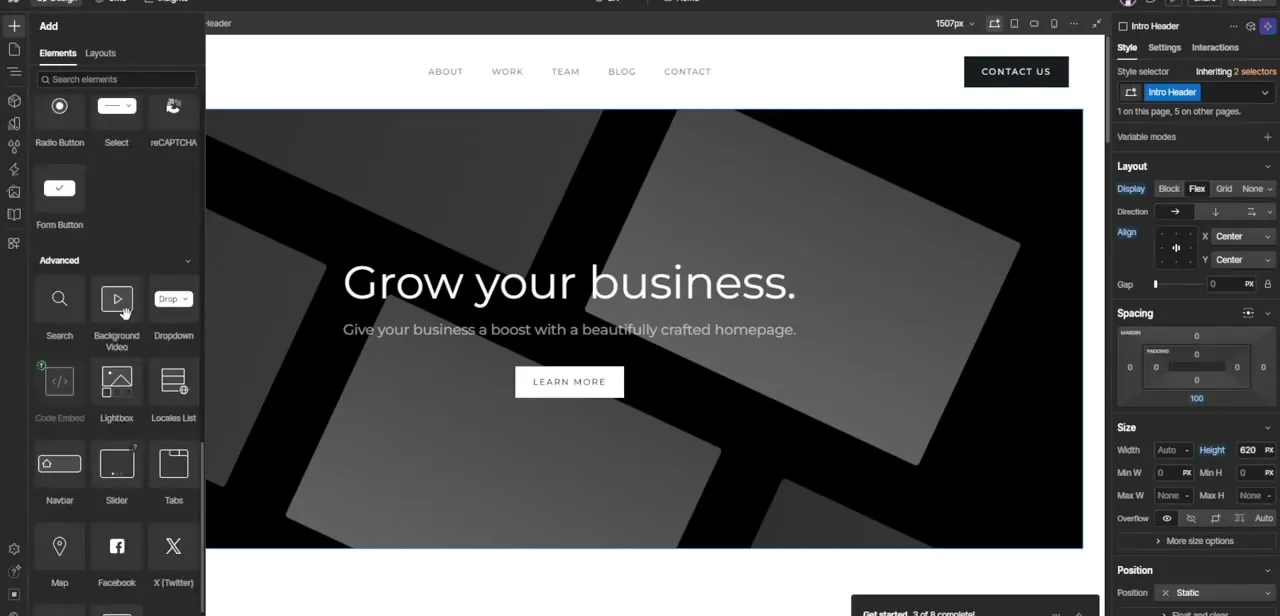
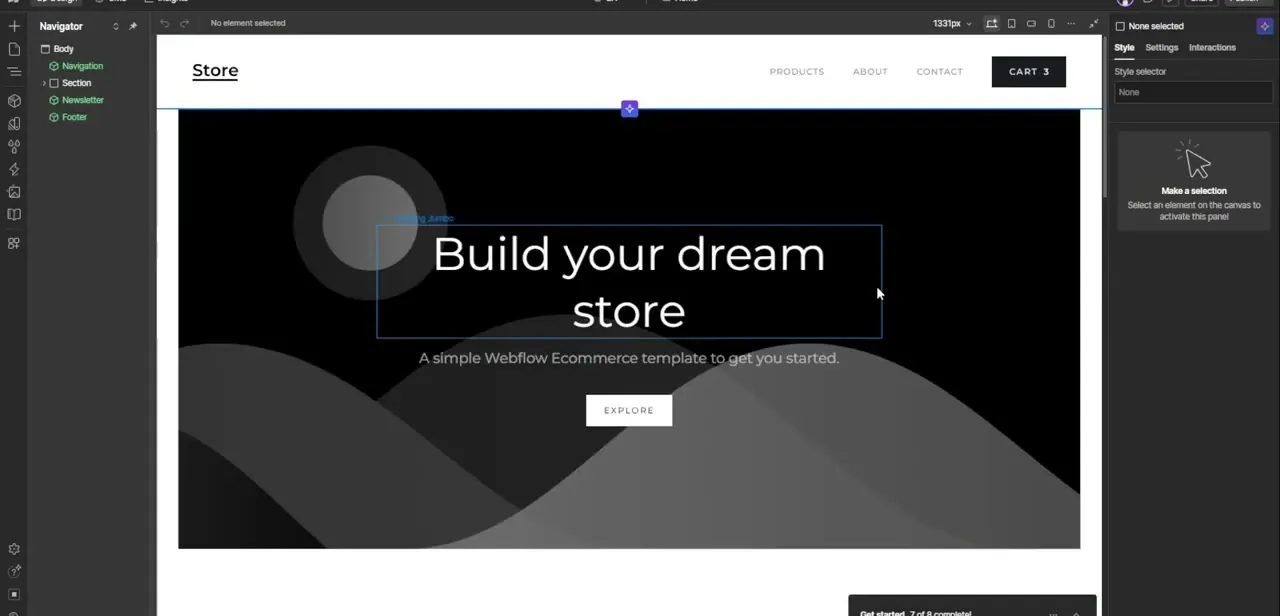
Once the clone finishes, Webflow drops you straight into the Designer with the template fully built out — navigation, hero section, and page structure all in place and editable. Take a pass through the Navigator panel on the left first to understand how the designer organized their sections and classes before you start changing anything; templates from different designers structure their layers differently, and five minutes of orientation here saves confusion later. Click into the main heading or hero text to confirm you can select and edit it cleanly, which is a good first sanity check that the clone came through intact.
05Update global styles to match your brand
Open the project's style guide or global classes and change the core brand elements — heading fonts, body text, button colors, and any color variables the template defined — before you touch individual sections. Templates are usually built around a small set of reusable classes specifically so that a handful of global edits ripple across the whole site instead of requiring you to restyle every section by hand. Doing this before you replace content also means you're previewing your actual brand colors and fonts as you write, not the designer's placeholder palette.
06Replace placeholder content and images
Work through each page swapping the template's stock photography and lorem ipsum text for your real copy and imagery, paying attention to image aspect ratios since templates often crop images tightly and a mismatched replacement can distort the layout. If the template includes CMS collections — blog posts, portfolio items, product listings — check how the fields are structured before adding your own entries, since renaming or removing a field the layout depends on can break the display.
07Check responsive breakpoints and publish
Switch through the tablet, mobile landscape, and mobile portrait views before publishing, since content swaps and font changes can shift spacing in ways that only show up at smaller widths. Fix anything that overlaps or overflows, update each page's SEO title and meta description while you're in there, and then publish. A template gets you most of the way to a finished site fast, but the responsive pass is the step that keeps it looking intentional rather than obviously templated.
Frequently asked questions
Do I need to pay for every Webflow template?
No — the marketplace mixes free and premium templates, with premium ones typically offering more advanced layouts, richer CMS structures, or ecommerce setups already built in.
Can I change a template's layout structure completely?
Yes. Once cloned, it's a normal Webflow project, so you can rearrange sections, delete elements, or restructure pages just like a site built from scratch.
Will editing a template break its responsive design?
It can if you're not careful, especially after swapping images or lengthening text, so check each breakpoint after major changes to confirm spacing and alignment still hold up.
How do I update the SEO settings on template pages?
Open each page's settings panel and update the meta title and description fields — templates ship with placeholder SEO text that needs to be replaced before launch.
What's the difference between browsing the marketplace and the in-Designer Templates modal?
They pull from the same catalog, but the in-Designer modal groups templates by category with a Recommended tab, which is faster when you already know the type of site you're building.
About the author

Impran M N
I've been hooked on technology for as long as I can remember — especially the new tools and AI apps that seem to land every other week. Easy Tech Tuts is where I write up whatever I've just worked out: I do the task in the real product, record the screen, and turn it into the guide I wish I'd found first.