Easy Tech Tuts
How to Export Webflow Code and Host It Online Easily 2026
By Impran M N
Exporting a Webflow project into plain HTML, CSS, and JavaScript is the escape hatch for anyone who wants their design without an ongoing Webflow hosting bill — but the export panel itself has a catch that trips up a lot of people the first time they try it. This guide walks through opening the Export Code dialog, understanding what you actually get on your current plan, and moving the result onto a static host. It also covers the two things that quietly stop working the moment you leave Webflow's platform: forms and CMS content — so you're not surprised by a broken contact form on launch day.
01Open the Export Code panel and check what your plan allows
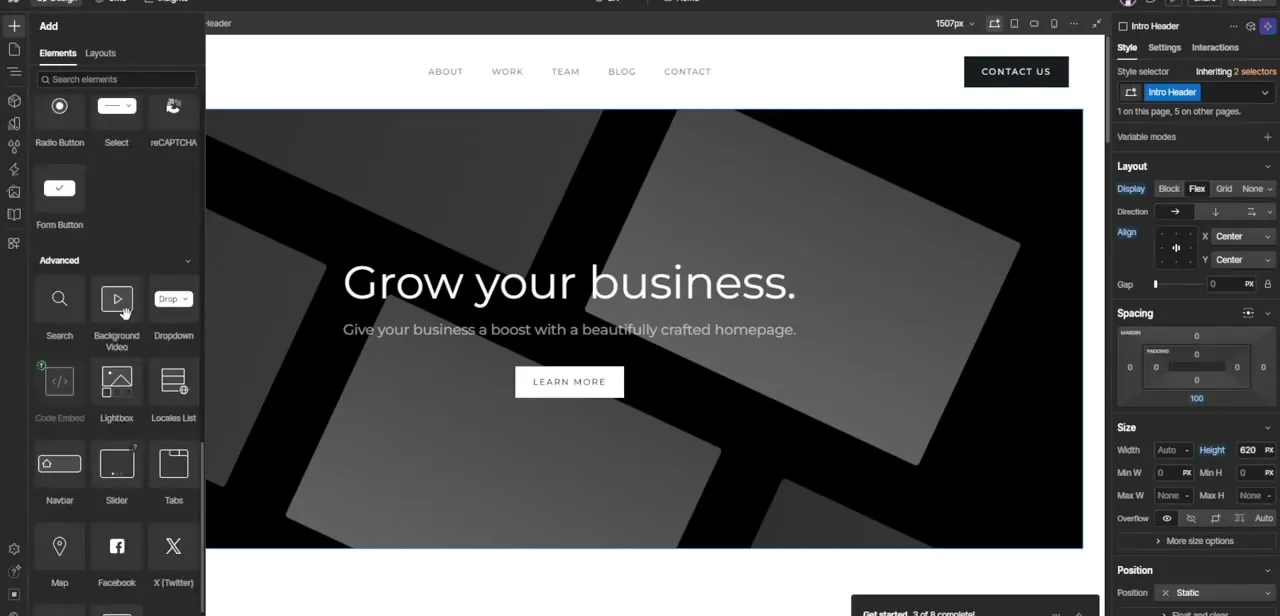
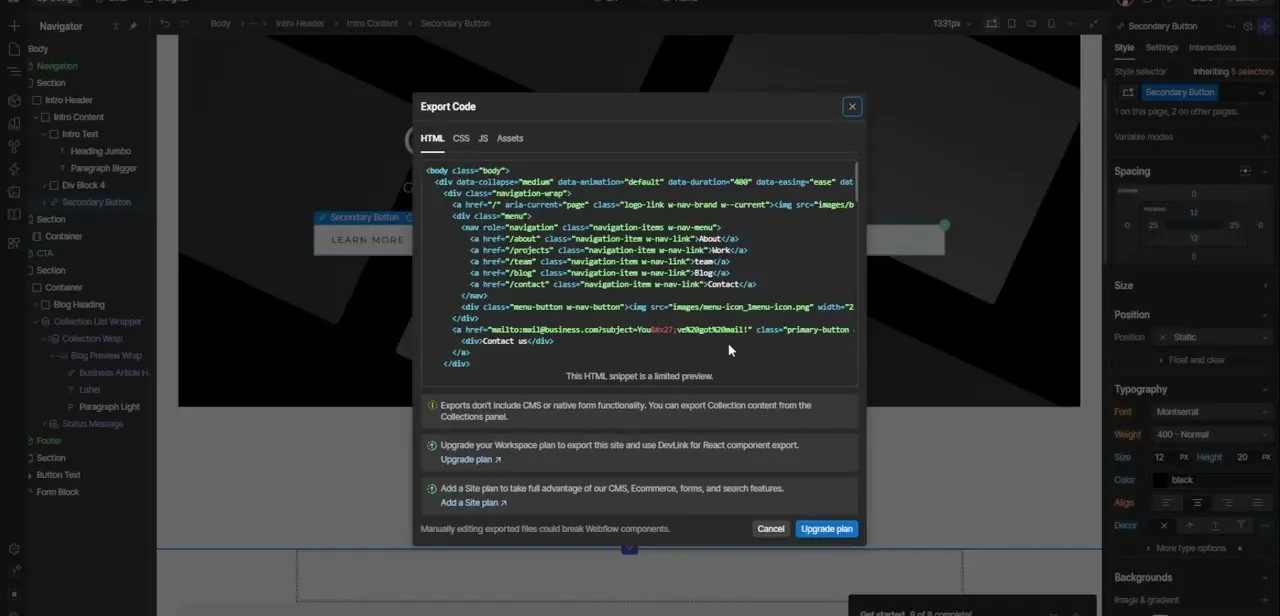
In the Designer, select an element or open the site-level menu to trigger Export Code, which opens a dialog with tabs for HTML, CSS, JS, and Assets. The HTML tab shows your actual markup — navigation links, class names like w-nav-link and w-button, and the structure Webflow generated from your visual layout, which is clean and semantic rather than the bloated output some visual builders produce.
Read the notice below the code before you plan your workflow around it, though: on a workspace without the right plan, what you're seeing is explicitly labeled a limited preview, not the full downloadable package. The dialog spells out two upgrade paths — a Workspace plan for full code export and DevLink React components, and a Site plan for CMS, ecommerce, forms, and search — so check which one applies before assuming you can download today.
02Download the export and check the folder
Once you're on a plan that supports full export, downloading gives you a zip with separate folders for CSS, JS, and images alongside your HTML pages. Open it and skim for anything obviously missing — a stylesheet that didn't generate, an image folder that's empty, a script reference pointing somewhere that doesn't exist. Catching this before you deploy saves a round of debugging on the live host later, where errors are harder to trace back to the source.
03Pick a static host and upload the files
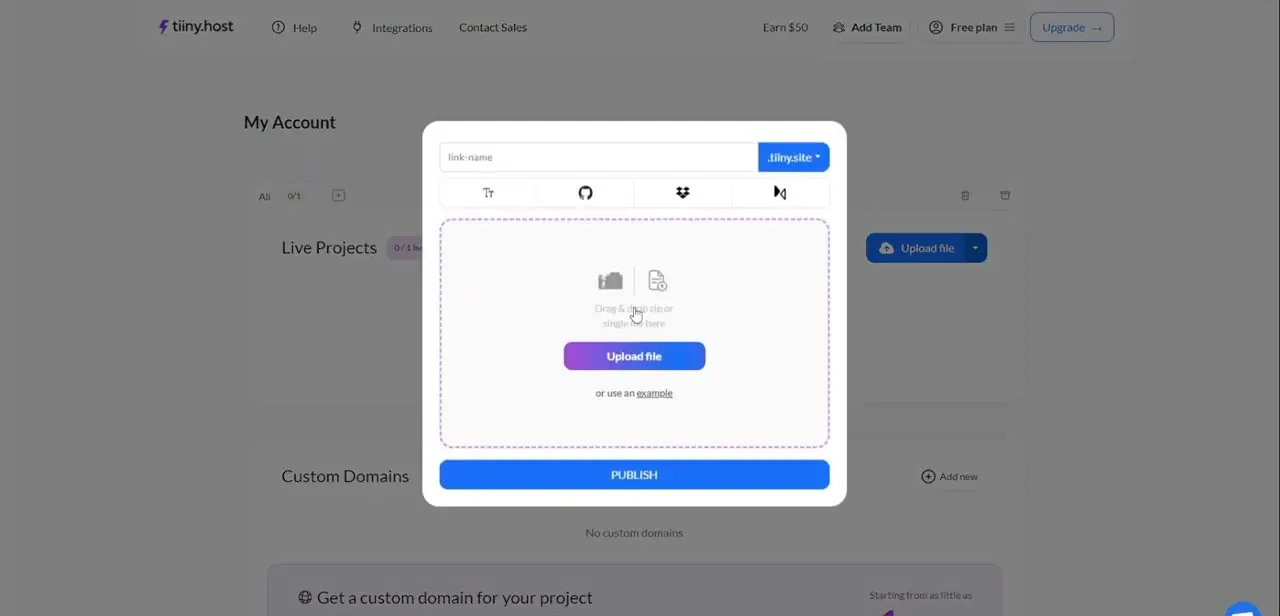
Any host built for static files works: Netlify, Vercel, GitHub Pages, or something simpler like a drag-and-drop uploader such as Tiiny Host, which accepts a folder or a zip and gives you a live link almost immediately. The upload screen typically shows a drop zone alongside integration shortcuts for services like GitHub or Dropbox, plus a spot to claim a custom subdomain before you go live. Whichever you choose, the workflow is the same shape — drop the exported folder in, wait for the deploy to finish, and get back a URL.
04Point your custom domain at the new host
Once the files are live on a temporary subdomain, add your real domain through the host's custom domain settings and update your DNS records at your registrar to match. This step is identical to pointing any domain at any new host, and it's worth doing a test deploy on the free subdomain first so you're not debugging DNS and broken assets at the same time.
05Replace forms and dynamic features that no longer work
This is the step most people forget until launch day: Webflow's native form submissions, CMS collections, and interactions that rely on Webflow's backend do not function on exported static files, because there's no Webflow server behind them anymore. Point any forms at an external handler like Formspree or your static host's own form service, and if your site leaned on CMS collections for blog posts or products, plan to rebuild that content as static pages or wire up a headless CMS instead. Skipping this check is the single most common reason an exported site looks perfect but quietly stops taking form submissions.
Frequently asked questions
Will my Webflow forms still work after export?
No. Native Webflow forms rely on Webflow's own backend, so once the site is static you need to point form submissions to an external service like your host's form handler or a service such as Formspree.
Is exporting code available on every Webflow plan?
No — the Export Code dialog itself shows a limited preview on lower-tier plans and requires a Workspace plan upgrade to download the full HTML, CSS, and JS package.
Will my responsive layout still work after export?
Yes, the exported CSS preserves your breakpoints, so your responsive design renders the same outside Webflow.
What happens to CMS content when I export?
It doesn't come with the export. Webflow's CMS collections rely on Webflow's own database, so dynamic content needs to be rebuilt as static pages or connected to a different backend after you move off the platform.
Can I still edit the site visually after exporting?
No — once exported, the code is static. Future design changes need to happen back in Webflow with a fresh export, or directly in the downloaded code by hand.
About the author

Impran M N
I've been hooked on technology for as long as I can remember — especially the new tools and AI apps that seem to land every other week. Easy Tech Tuts is where I write up whatever I've just worked out: I do the task in the real product, record the screen, and turn it into the guide I wish I'd found first.