Easy Tech Tuts
How to Add Bullet Points in Webflow, Make Bulleted List & Insert Easily 2026
By Impran M N
Pasting raw bullet symbols into a text block breaks semantic HTML and looks inconsistent from one paragraph to the next. Webflow's native List element builds a proper structured list instead, made up of individual List Item blocks that each carry their own marker style and their own typography settings in the right-hand panel. This guide covers finding the List element in the Add panel, seeing how each list item's marker can be switched independently, and where the spacing and font controls live once your content is in place.
01Open the Add Elements panel
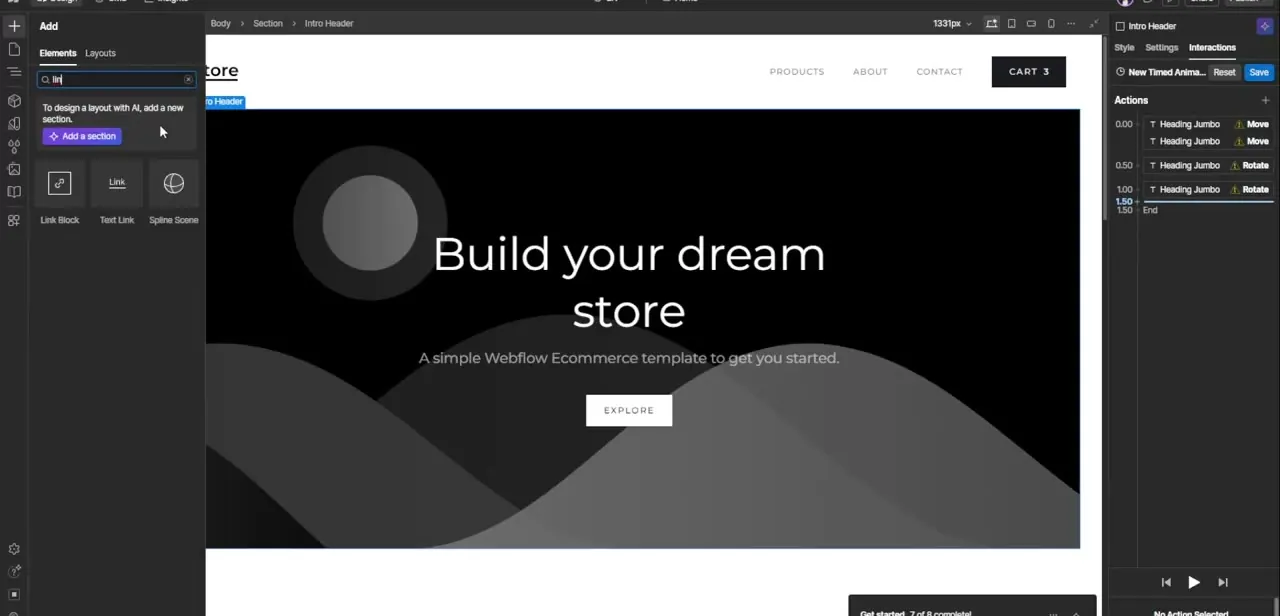
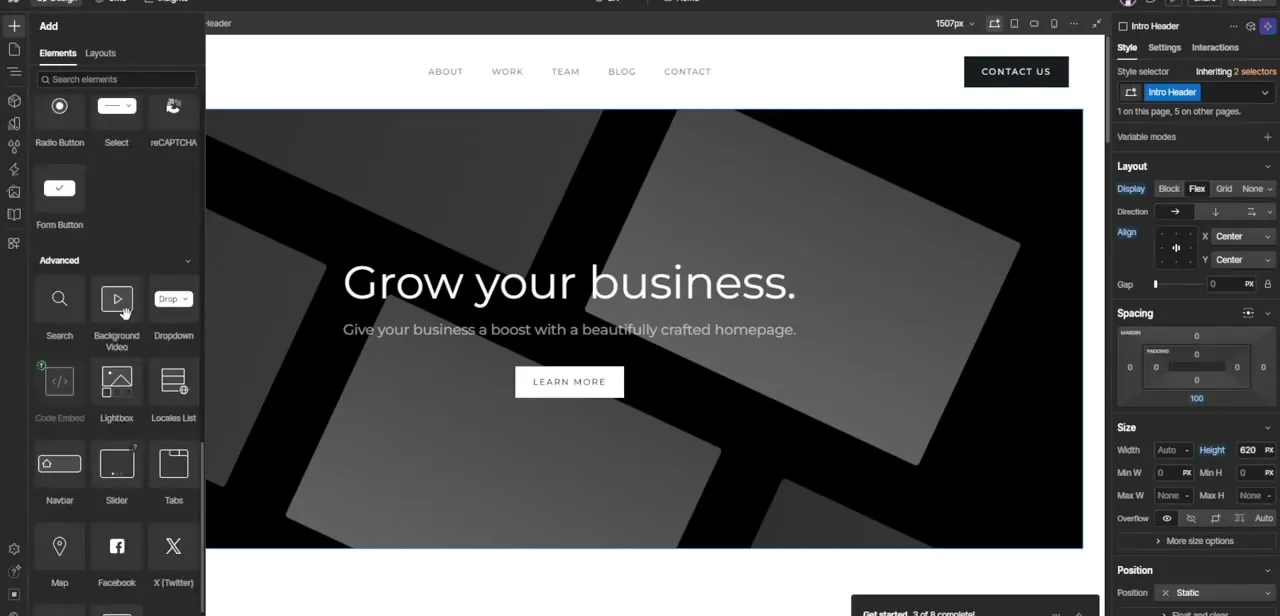
Click the plus icon in the left rail to open the Add panel, which splits into Elements and Layouts tabs. Elements is organized into sections like Basic, Advanced, and more, each showing a grid of draggable components with small preview icons and labels — Radio Button, Select, Form Button, Search, Dropdown, Code Embed, Navbar, and dozens more sit here alongside the List component you're looking for.
02Drag the List element onto your page
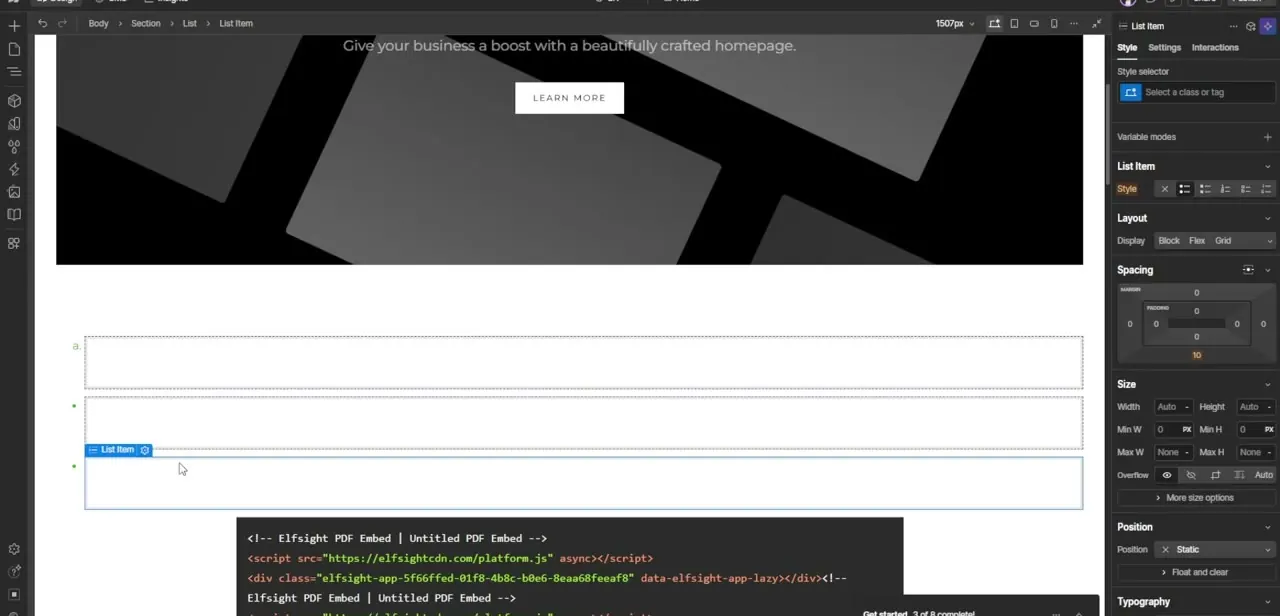
Dragging a List component onto the canvas creates a container made up of individual List Item blocks stacked vertically, each one an empty, dashed-outline box ready for text. Unlike typing bullet characters into a paragraph, every item here is its own structured element in the layer tree, addressable and styleable on its own.
03Click into each item and see its own marker
Selecting a single List Item shows a small marker to its left — depending on the style applied, that can render as a letter, a number, or a plain bullet dot, and each item can carry a different marker style from its neighbors. The right-hand panel's Style row for a selected List Item includes a set of icon buttons for switching between these marker types, so you're not locked into one bullet look for the whole list.
04See the same list with a different marker mix
Switching styles per item is exactly what produces a list where one entry shows a letter, the next a number, and another a plain dot — useful for demonstrating the range of built-in marker types even if a real page would normally keep one consistent style throughout. It's a good way to preview every option side by side before committing to one for your actual content.
05Set the typography for your list text
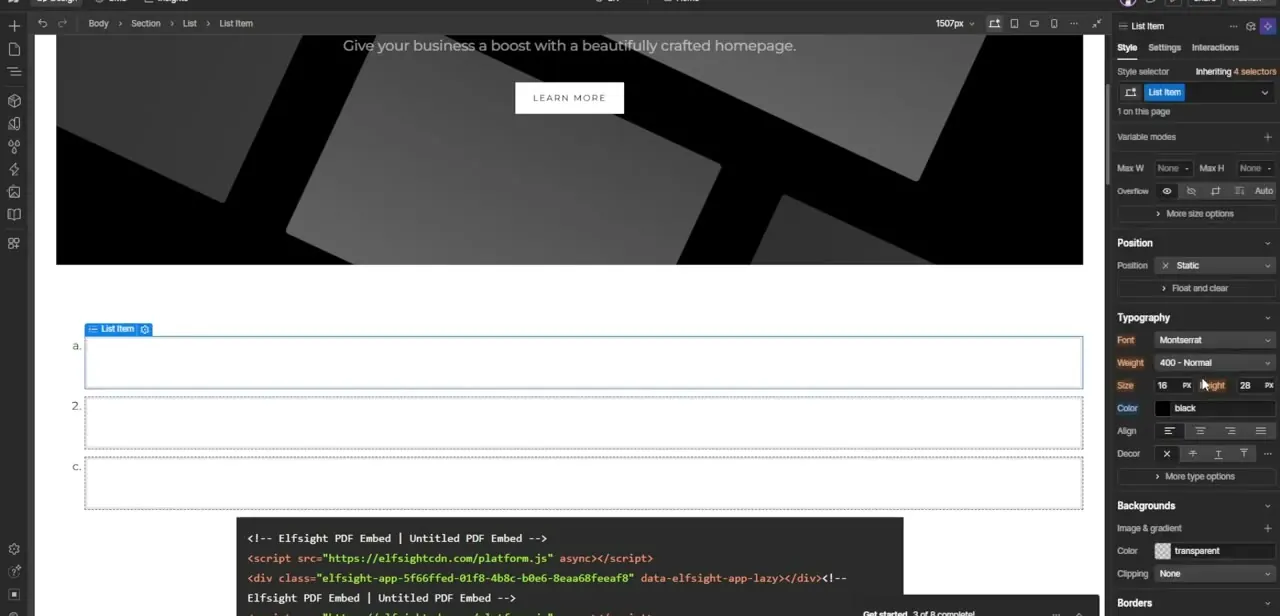
With a List Item selected, the panel's Typography section controls font, weight, size, line height, color, alignment, and decoration for that item's text — the same controls you'd use on any text block elsewhere on the page. Getting this right for one item and then copying the styling, or applying a shared class, is what keeps every bullet reading consistently rather than each one picking up whatever the page's default text style happens to be.
06Apply a class so every list matches
Once one list item looks right, give it a class in the Style Selector field at the top of the panel rather than leaving it unstyled. Any other list item you assign that same class to picks up the identical marker style, spacing, and typography automatically, which is what keeps bullet lists looking consistent across different blog posts or pages instead of restyling each one from scratch.
Frequently asked questions
Why use the List element instead of typing bullet characters into a paragraph?
The List element creates real structured List Item blocks, each individually selectable and styleable, rather than plain text characters that don't carry any semantic list structure.
Can each item in a list have a different bullet style?
Yes — the Style row in a selected List Item's settings panel includes icon buttons for switching that individual item's marker between bullet, number, and letter styles.
How do I keep list styling consistent across my whole site?
Assign a shared class to your list items in the Style Selector field so any list item using that class automatically inherits the same marker style, typography, and spacing.
Where do I change the font or size of my list text?
Select a List Item and open the Typography section in the right-hand settings panel — it has the same font, weight, size, and color controls used on any other text element.
Does the list layout adjust for mobile screens?
Test your list at different responsive breakpoints in preview mode to confirm marker alignment and spacing still read cleanly on smaller screens.
About the author

Impran M N
I've been hooked on technology for as long as I can remember — especially the new tools and AI apps that seem to land every other week. Easy Tech Tuts is where I write up whatever I've just worked out: I do the task in the real product, record the screen, and turn it into the guide I wish I'd found first.