Easy Tech Tuts
How to Add Dynamic Dropdown to Jotform Easily 2026
By Impran M N
A single flat dropdown falls apart the moment your options have sub-categories — think country, then state, then city, or product type, then specific model. Jotform's Dynamic Dropdowns widget fixes that by letting a second (or third) dropdown update automatically based on whatever the user picked first.
It's a widget, not a built-in field, so it lives in a different part of the builder than the standard dropdown, and the whole setup hinges on how you indent your list of values. This guide walks through finding the widget, wiring up nested choices, and confirming the cascade actually works before you publish.
01Open the form you want to edit
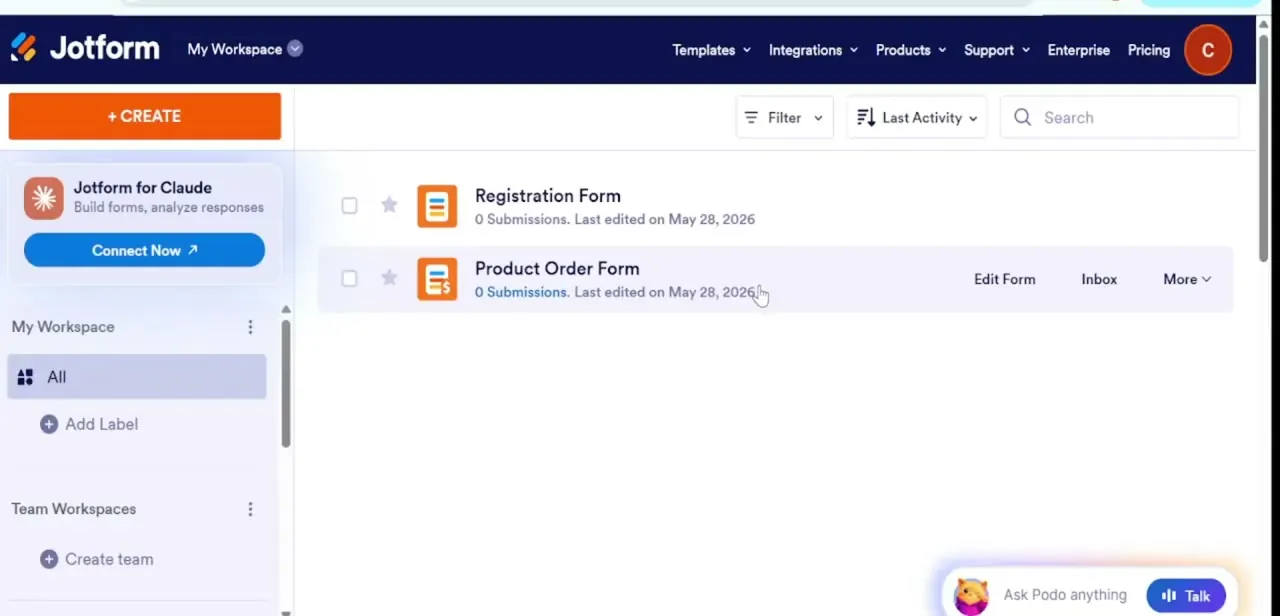
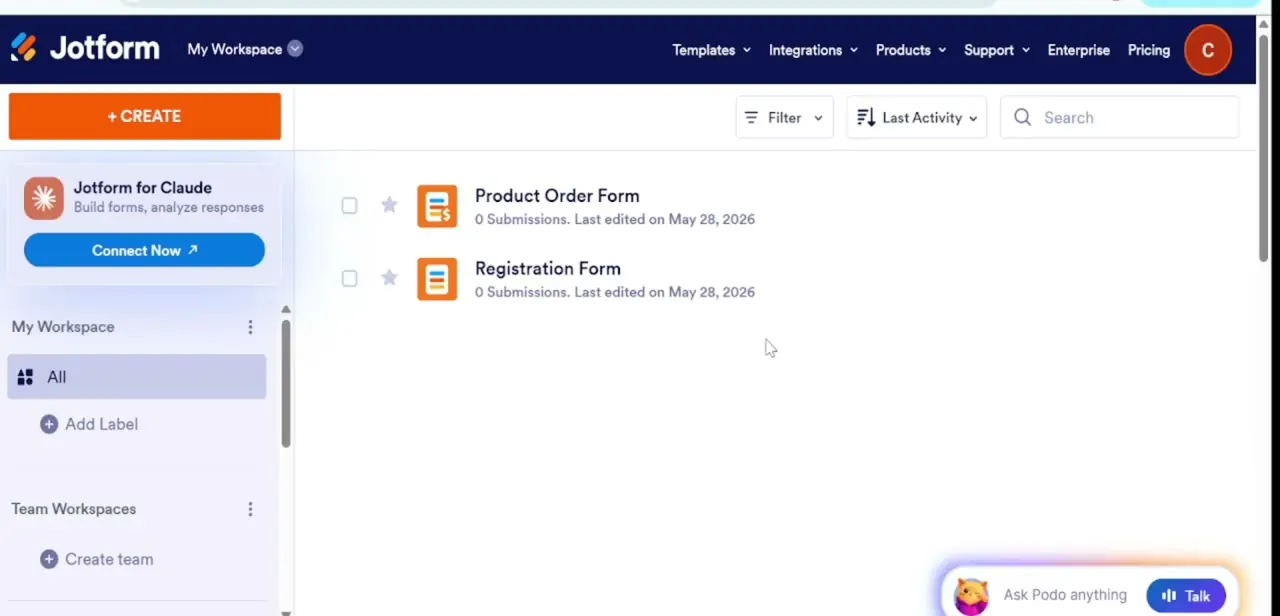
From My Workspace, every form you've built shows up as a row with its submission count and last-edited date — this is where you pick which form gets the dynamic dropdown. If you're starting fresh, hit Create in the top left instead. Either way, click through to land in the actual Form Builder rather than staying on this overview screen, since the widget only installs from inside a form's build view.
02Get into the Form Builder canvas
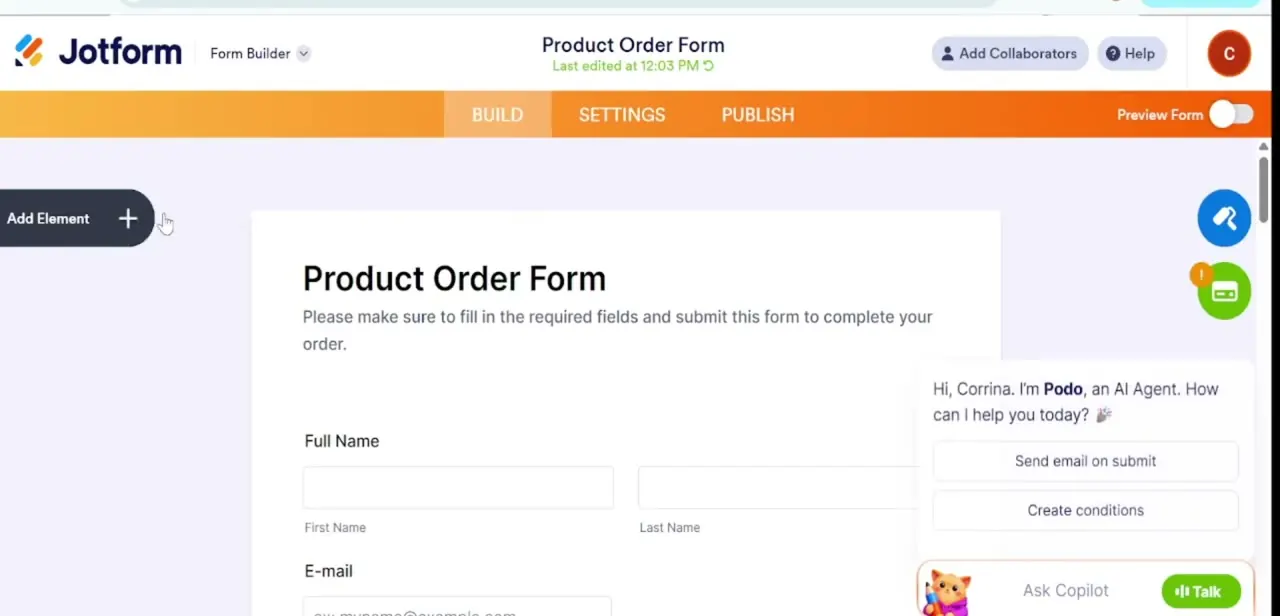
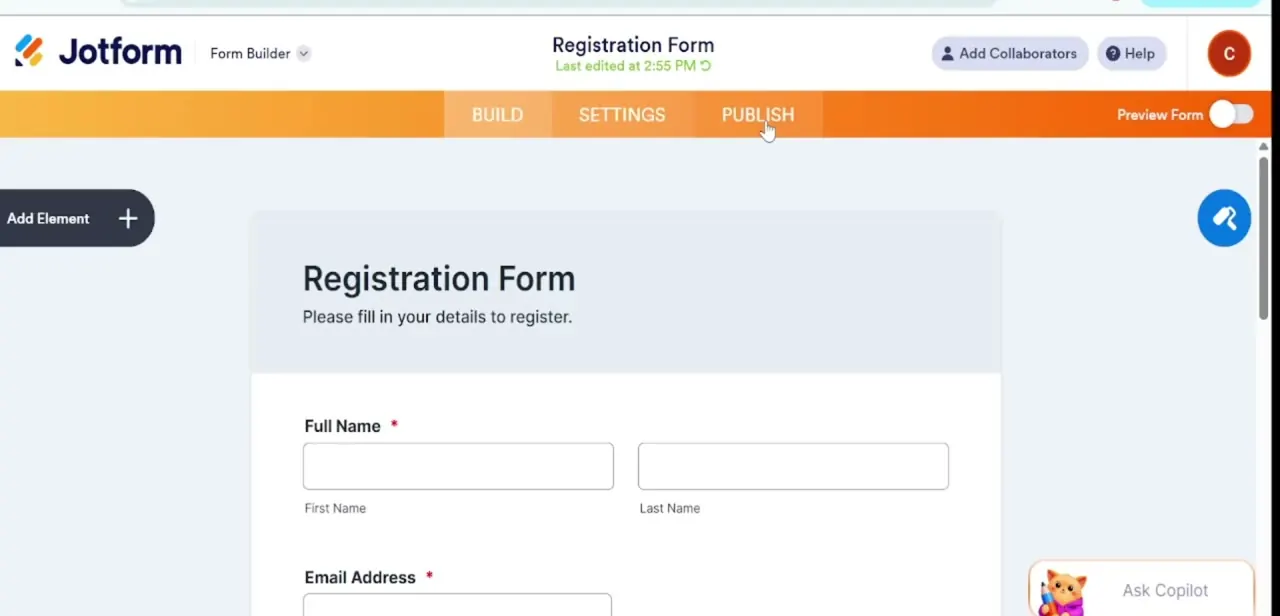
Once you're inside a form, you land on the BUILD tab with your fields laid out top to bottom and an Add Element button pinned to the top left. This is your working canvas for the rest of the setup — every field you already have (Full Name, Email Address, and so on) sits here, and the dynamic dropdown will slot in wherever you drop it next to them. Take a second to decide where in the form the dependent menus should logically sit before you go looking for the widget.
03Search the Widgets tab for Dynamic Dropdowns
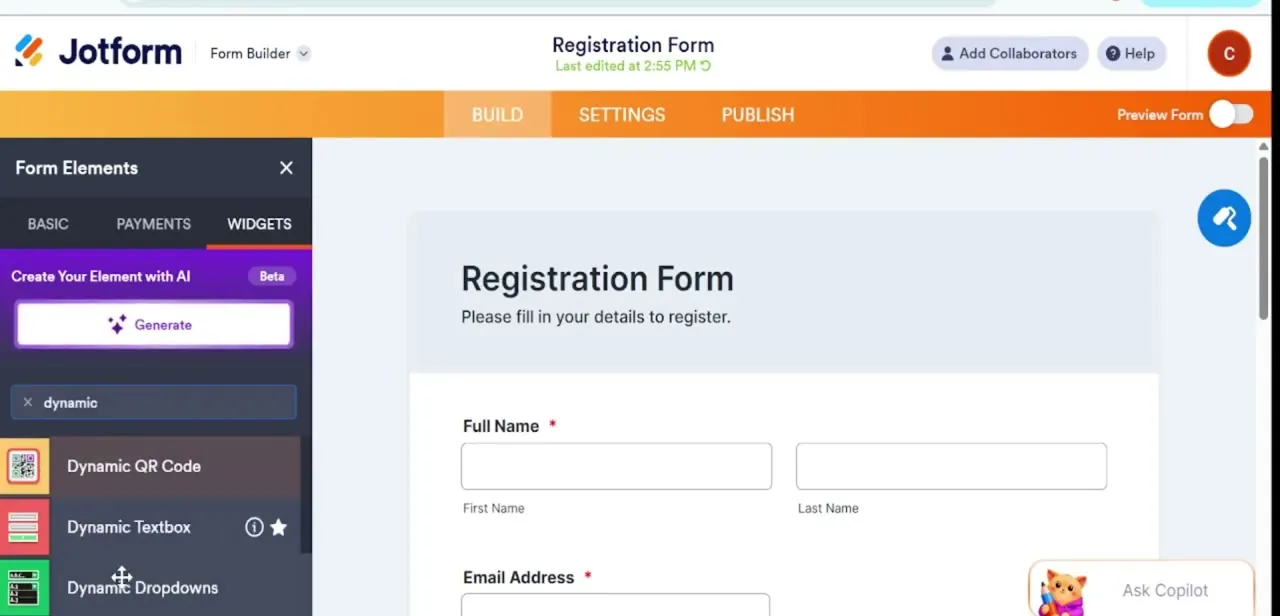
Click Add Element to open the Form Elements sidebar, then switch from Basic over to the Widgets tab — this is the part that trips people up, because Dynamic Dropdowns isn't a Basic field like Full Name or Email. Typing "dynamic" into the search box filters the widget list down fast, surfacing Dynamic QR Code, Dynamic Textbox, and the one you actually want, Dynamic Dropdowns. Confirm you've got the right one before dragging, since the names are similar enough to grab the wrong widget by accident.
04Drag the widget onto your form
With Dynamic Dropdowns visible in the sidebar, drag it directly onto the canvas at the point in your form where you want the cascading menus to appear. Jotform drops in a placeholder pair of dropdowns immediately — a parent and a child — which you'll configure next. Nothing is wired up yet at this stage; the widget just needs to exist on the form before you can teach it what options belong to what.
05Open Widget Settings and build your nested list
Click the widget to open its settings panel on the right, where you'll type out your full option list using indentation to define the parent-child relationship. A top-level item like "USA" sits flush left, and everything indented underneath it — its states or regions — becomes the child options that appear only when USA is selected. This indentation is the entire mechanism behind the widget, so keep your formatting consistent or the hierarchy will come out wrong.
06Set labels, placeholders, and the separator
Below the value list, rename the main label so it reflects what the field actually asks for, write a placeholder that hints at the expected format, and choose the separator symbol used to distinguish tiers if your data has more than two levels. These small details matter more than they look — a vague label on a nested dropdown confuses respondents faster than almost any other field type.
07Save and test the live cascade
Save your widget settings, then use Preview Form to interact with the dropdowns as a respondent would: pick a parent value and confirm the child list updates instantly to only the relevant options. Test on both desktop and a mobile viewport, since cascading widgets sometimes render tap targets differently on smaller screens. If a child list isn't updating, the fix is almost always a stray indentation error back in the settings panel.
Frequently asked questions
How many levels of nested dropdowns can I create?
The widget supports multi-level nesting through indentation, so you can build several tiers of parent-child options depending on your data structure.
Do I need coding knowledge to set up dynamic dropdowns?
No, the widget is configured through indented text values in the settings panel rather than any custom code.
Can I use dynamic dropdowns for location-based selections?
Yes, cascading dropdowns are commonly used for things like country, state, and city selections that depend on each other.
Why isn't my child dropdown updating when I change the parent?
This is usually caused by incorrect indentation in the nested values, so double-check that child options are properly indented under the right parent choice.
About the author

Impran M N
I've been hooked on technology for as long as I can remember — especially the new tools and AI apps that seem to land every other week. Easy Tech Tuts is where I write up whatever I've just worked out: I do the task in the real product, record the screen, and turn it into the guide I wish I'd found first.