Easy Tech Tuts
How to Use Looker Studio with Google Sheets Easily 2026
By Impran M N
Turning static spreadsheet rows into a live, shareable dashboard is possible without writing any code, using Google Looker Studio's native Sheets connector. This guide covers structuring your data, linking your spreadsheet, and adding visual charts to your report canvas.
01Organize your spreadsheet data
Structure your Google Sheets columns and headers cleanly so Looker Studio can map them correctly.
02Create a new report
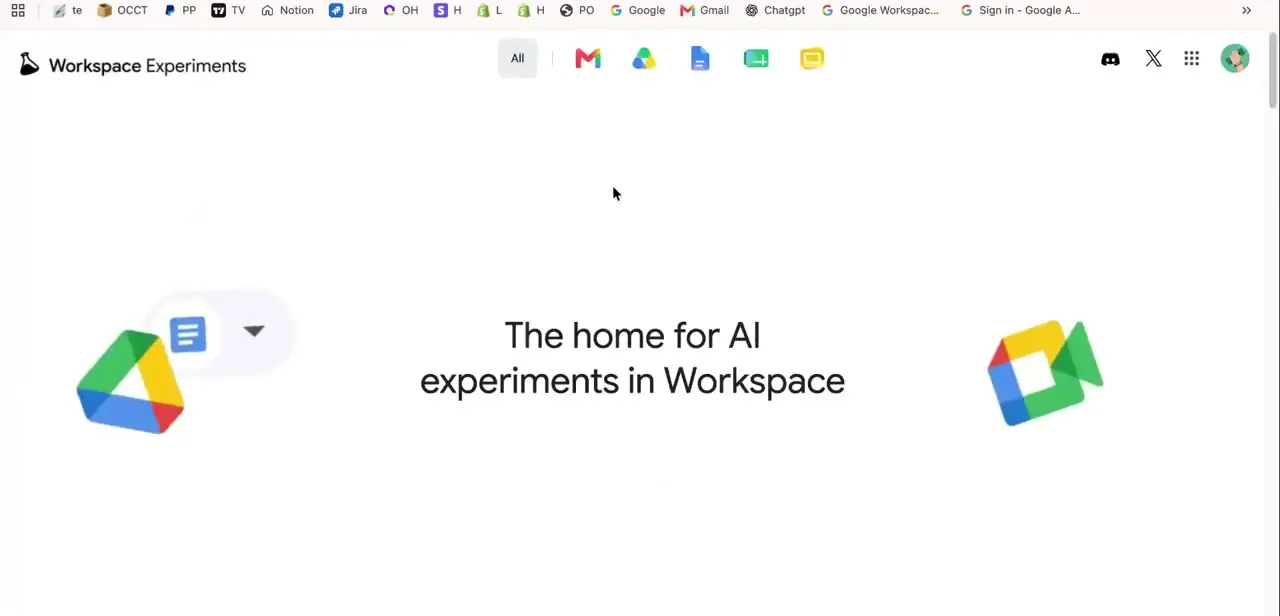
Open the Looker Studio home panel and start a new report instance.
03Select the Google Sheets connector
Choose the native Google Sheets data connector to link your spreadsheet.
04Authorize account access
Grant the necessary Drive permissions so Looker Studio can read your spreadsheet file.
05Choose your file and worksheet
Pick the specific spreadsheet file and worksheet tab you want to visualize.
06Add charts and scorecards
Review the detected dimensions and metrics, then add scorecards, bar charts, and timeline graphs to your canvas layout.
Frequently asked questions
Do I need to write any code to build the dashboard?
No, connecting Google Sheets to Looker Studio and adding charts is a no-code, drag-and-drop process.
Will my dashboard update automatically as the spreadsheet changes?
Yes, since the report is connected directly to your Google Sheets file, it can reflect updated data as your source spreadsheet changes.
What kind of charts can I add?
Looker Studio supports several visual types, including scorecards, bar charts, and timeline graphs, among others.
Can I share the finished dashboard with others?
Yes, Looker Studio reports can be shared as a live, viewable link similar to sharing a Google Doc or Sheet.
Watch the full walkthrough
The same steps, demonstrated on screen from start to finish.