Easy Tech Tuts
How to Create Multiple Workspaces in Trello Easily 2026
By Impran M N
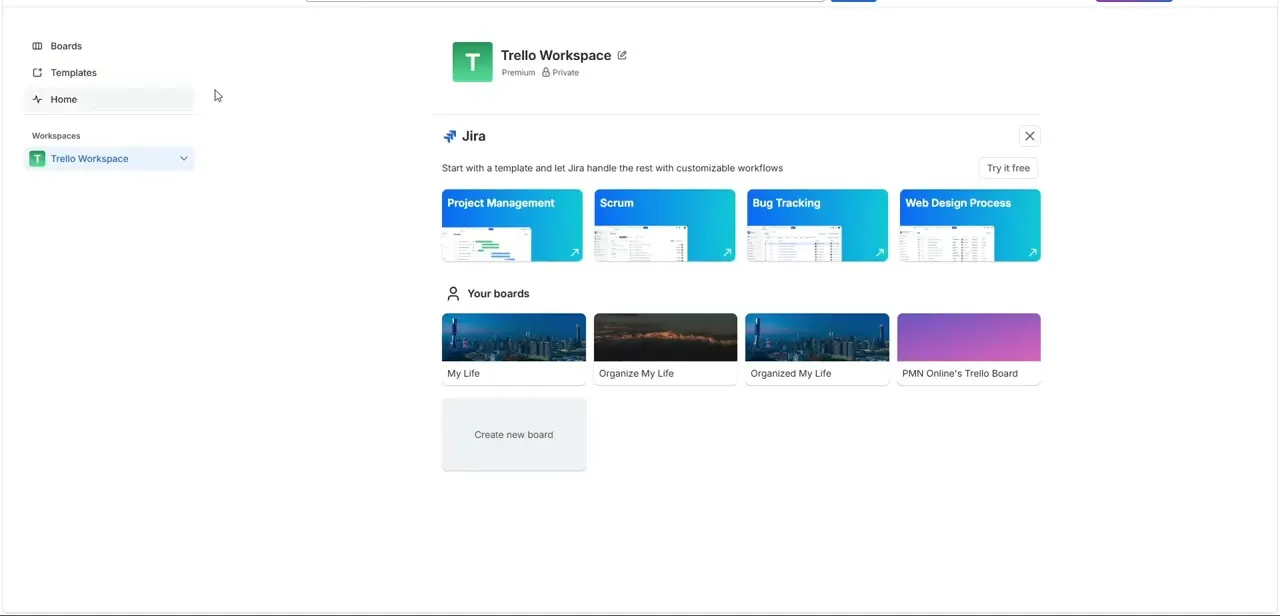
One Trello Workspace can get cluttered fast if you're juggling multiple clients, businesses, or departments. This guide covers spinning up a second Workspace with its own access permissions and privacy settings so your boards stay organized.
01Find the creation panel
From your account header, locate the command pathway for spawning a new workspace.
02Choose a workspace type
Select a functional industry field that best describes what this workspace will be used for.
03Write a workspace description
Add relevant context in the public description box so members understand its purpose.
04Set your privacy level
Choose between public, workspace-visible, or fully locked enterprise privacy settings depending on your needs.
05Invite collaborators
Generate a shareable onboarding link or enter team email addresses to add members.
06Skip invites if you're not ready
Use alternative commands to build and polish your workspace privately before inviting anyone.
Frequently asked questions
Why would I need more than one Trello Workspace?
Separate workspaces are useful for isolating client accounts, distinct businesses, or internal departments that shouldn't share visibility.
Can I control who sees each workspace?
Yes, you can choose between public, workspace-visible, or fully locked privacy configurations for each workspace.
Do I have to invite members right away?
No, you can bypass the invite step and build out your workspace privately before adding collaborators.
Can I brand each workspace differently?
Yes, custom branding logos can help distributed teams quickly identify which workspace they're working in.
Watch the full walkthrough
The same steps, demonstrated on screen from start to finish.