Easy Tech Tuts
How to Create a Jotform API Key Easily 2026
By Impran M N
Connecting a custom dashboard or automated webhook to Jotform starts with generating an API key from your account's developer settings. This guide covers navigating to the API tab, creating a new key, setting its access permissions, and following basic security practices for storing it.
01Open your Account Settings
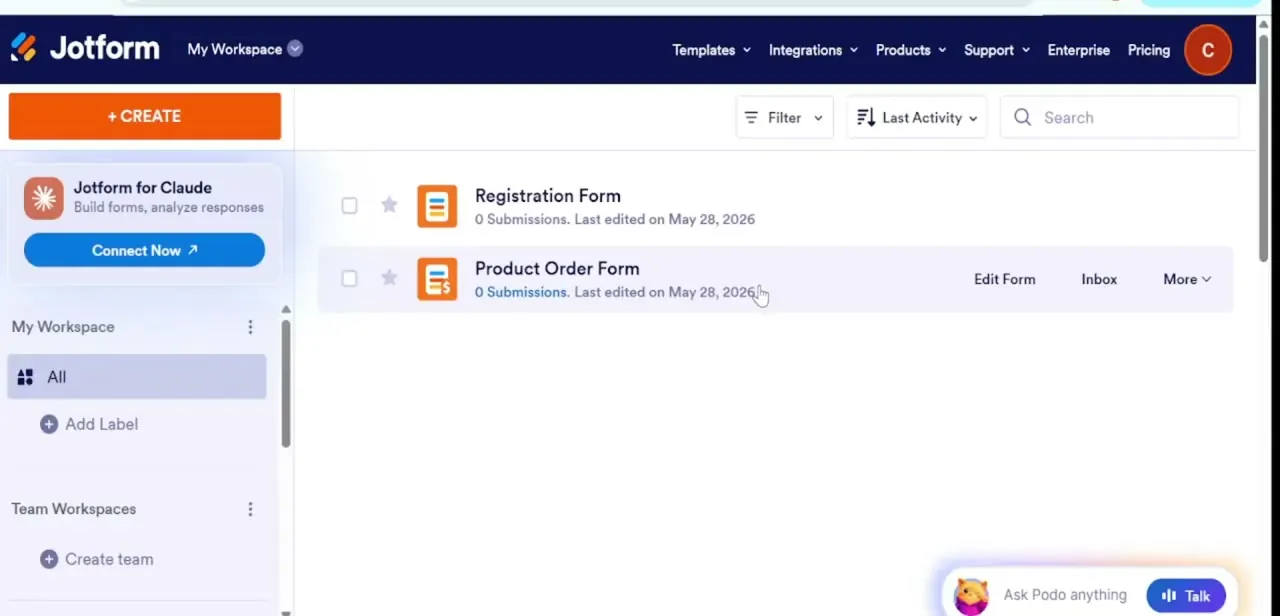
Click your profile avatar and select Settings from the dropdown account menu.
02Navigate to the API tab
Find the API tab within the left sidebar panel of your account settings.
03Create a new key
Click the Create New Key button on the central developer panel to generate your credentials.
04Name and set permissions
Edit the API key's label to keep your integrations organized, then toggle permission access between Read Only and Full Access.
05Copy and manage your key
Copy your active key securely and review integration best practices for clearing out old development testing keys.
Frequently asked questions
What's the difference between Read Only and Full Access permissions?
Read Only keys can retrieve form and submission data without making changes, while Full Access keys can also create, edit, or delete data through the API.
Can I have multiple API keys for different integrations?
Yes, creating separate, clearly labeled keys for each integration makes it easier to manage and revoke access individually.
Is it safe to share my Jotform API key?
No, treat your API key like a password and avoid sharing it publicly, since anyone with it could access your account's data through the API.
How do I revoke an API key I no longer use?
Return to the API tab in your account settings, find the key, and remove or deactivate it to cut off its access.
Watch the full walkthrough
The same steps, demonstrated on screen from start to finish.