Easy Tech Tuts
How to Use Grammarly in Google Docs Easily 2026
By Impran M N
Grammarly adds real-time grammar, spelling, and clarity checks right inside your Google Docs editing window, so you catch mistakes as you type instead of during a separate proofreading pass. This guide walks through installing the browser extension, finding the floating widget once it's live in a document, and using its settings panel to control exactly when and how it checks your writing. None of it requires touching Google's own admin settings — it all happens through the extension itself.
01Sign up for Grammarly
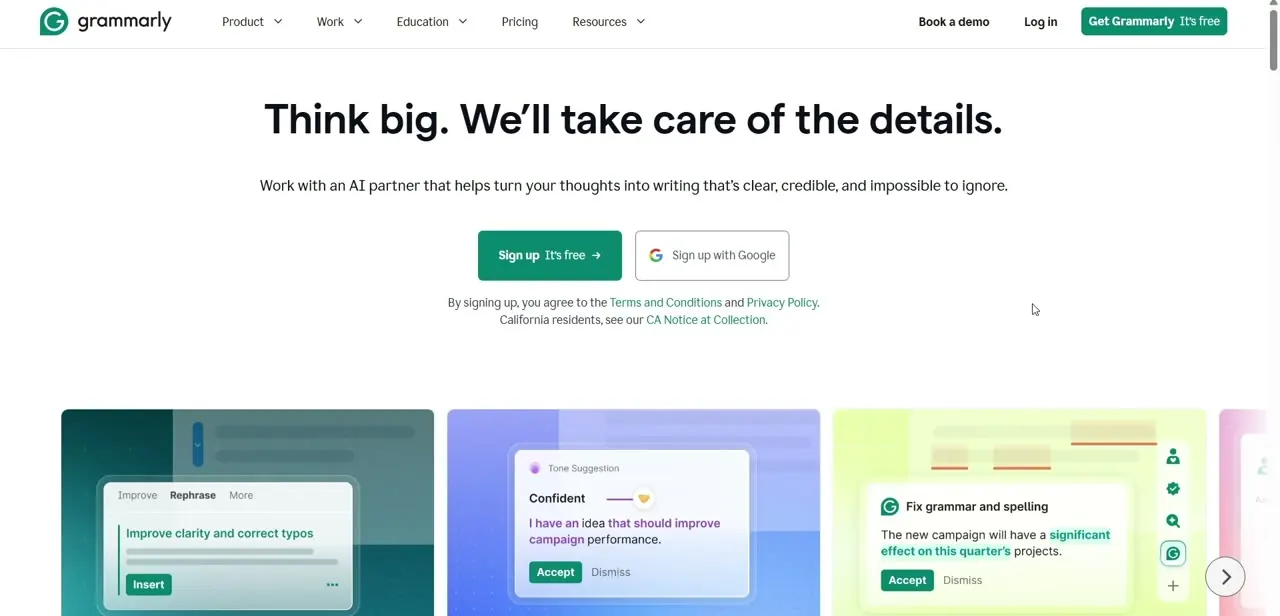
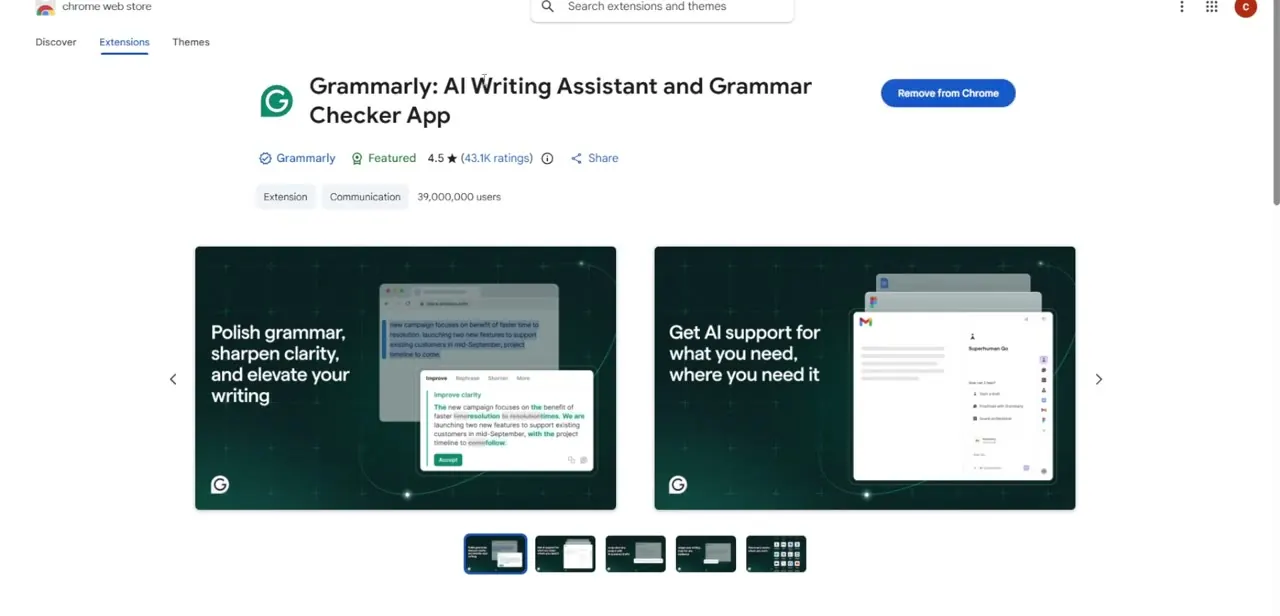
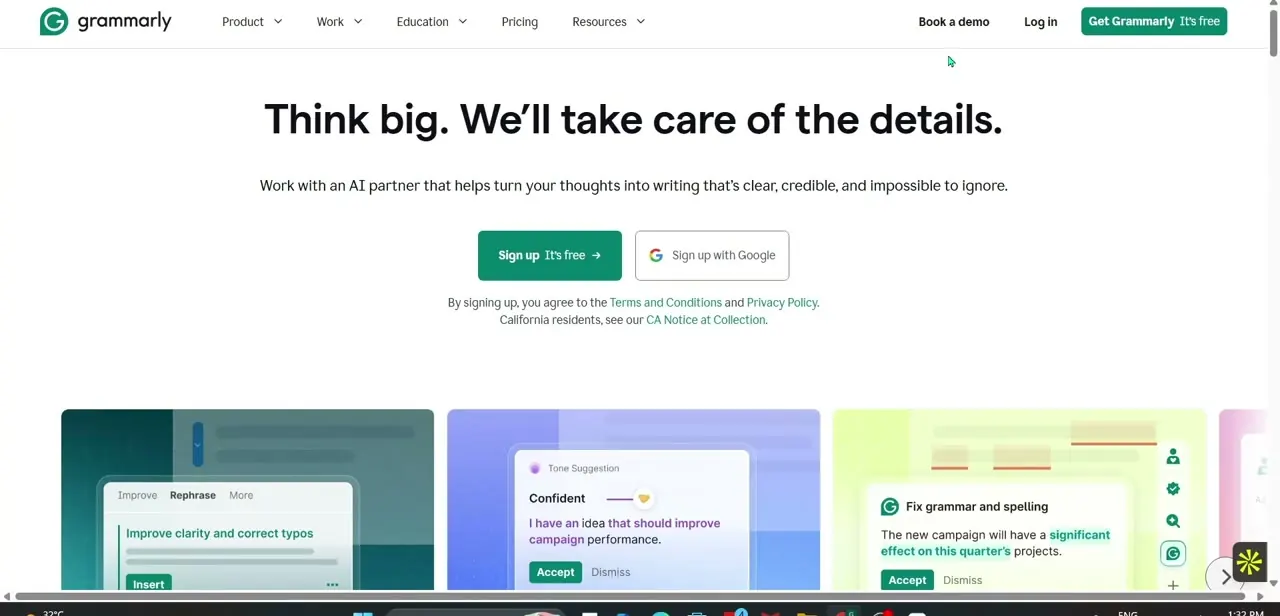
Start at grammarly.com and create a free account, either with an email address or by signing up with Google, which is the faster route if you're already working inside Google Docs. The signup page is also where you'll find the link to add the browser extension, which is the piece that actually talks to Google Docs. You don't need a paid plan to get real-time grammar and spelling checks; tone and clarity scoring are the parts reserved for Pro.
02Open the extension's settings panel
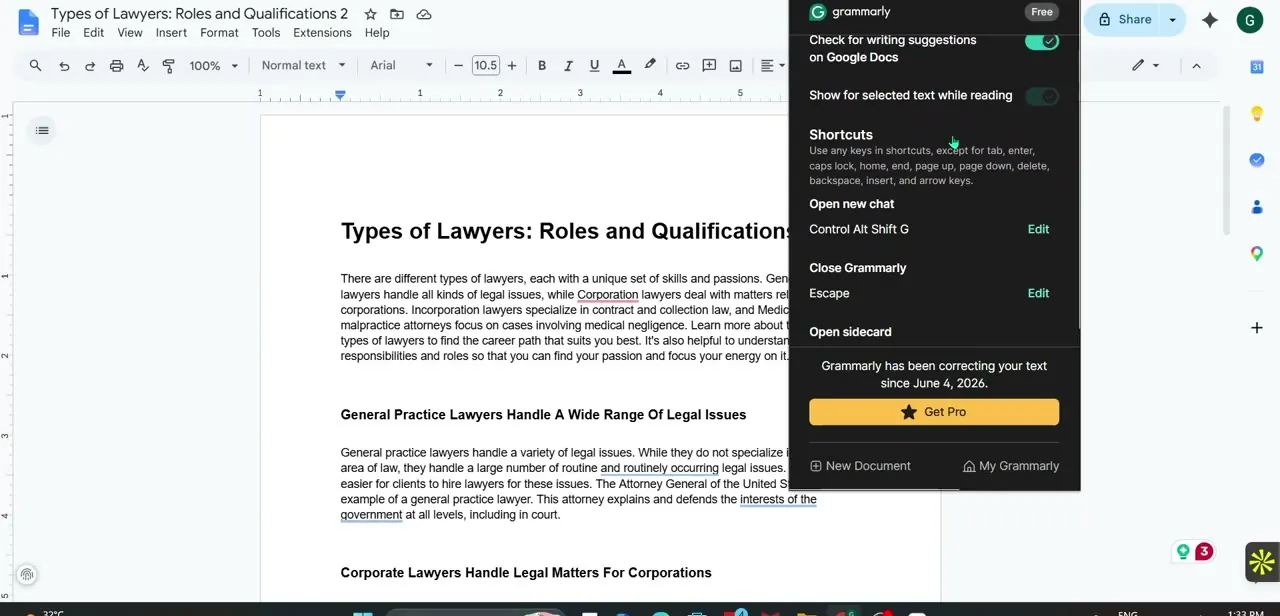
Once installed, click the Grammarly icon in your browser toolbar to open its popup panel. This is where two toggles matter most: "Check for writing suggestions on Google Docs" and "Show for selected text while reading" — both need to be on for Grammarly to actually engage with your documents.
The panel also lists keyboard shortcuts, including one to open a new chat and one to close Grammarly entirely, plus a line confirming since when it's been active on your account. If suggestions aren't showing up in a document, this popup is the first place to check.
03Find the floating widget inside your document
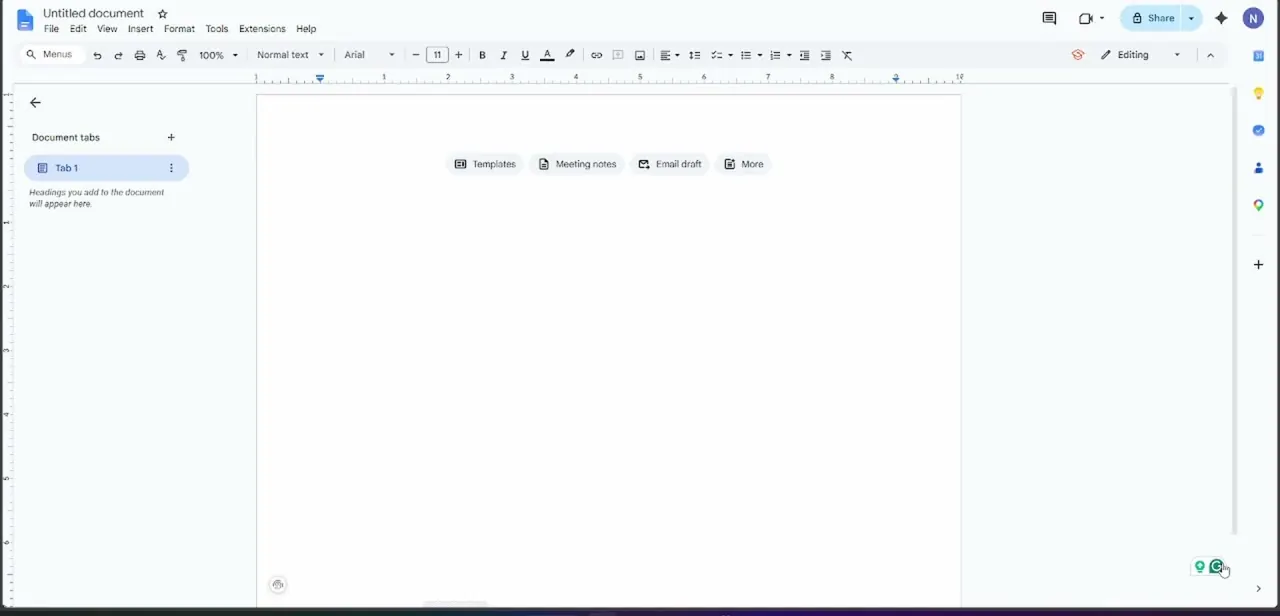
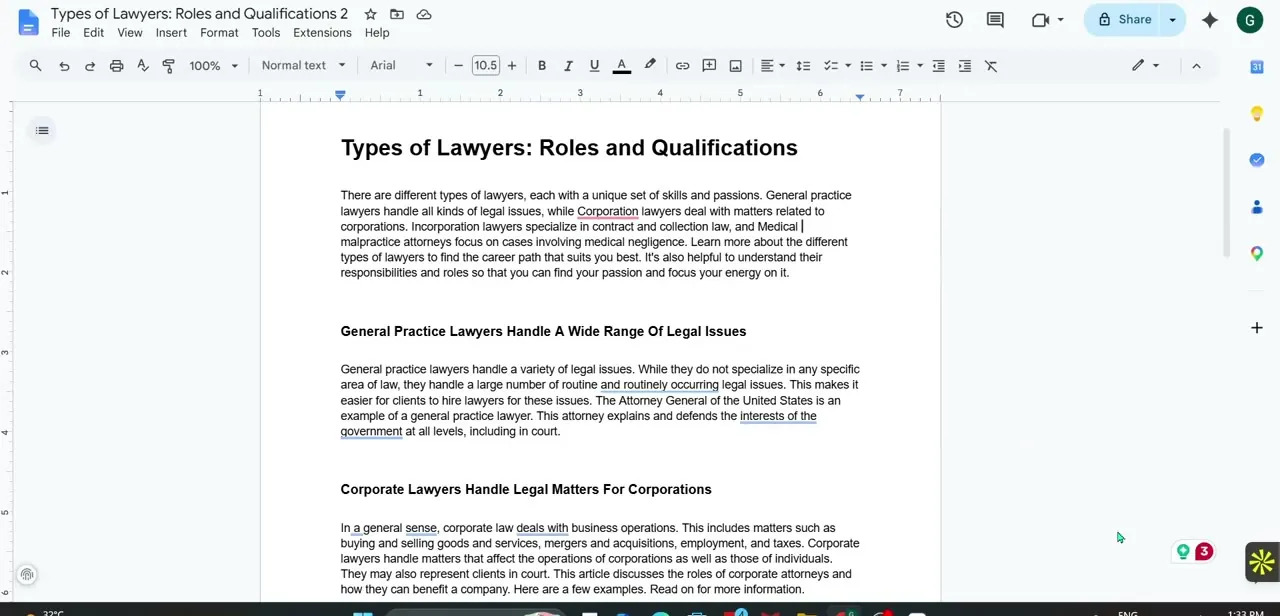
Open any Google Doc and look at the bottom-right corner of the page. A small circular Grammarly icon sits there, often showing a number badge for how many suggestions it's currently found in the text.
This is the floating widget referenced throughout Grammarly's own documentation, and it's your entry point to everything else — click it to open the full suggestions sidebar, or hover to see a quick count. It stays anchored to that corner as you scroll, so it's always reachable without interrupting your writing.
04Review and accept real-time suggestions
As you type, Grammarly underlines issues directly in your text — typically red for spelling, and other colors for grammar or clarity depending on your plan. Click an underlined word or phrase to see the suggested fix and accept it with a single click, or dismiss it if the flagged text is intentional (a proper noun, a quote, industry jargon). For anything more involved than a one-word fix, opening the full sidebar from the widget gives you rewrite suggestions with more context than the inline popup shows.
05Set your writing goals
Inside the sidebar, look for your writing goals or audience settings. This is where you tell Grammarly whether the document is formal or casual, who the intended reader is, and what tone you're going for, so its suggestions actually match the document instead of defaulting to generic corrections.
A legal memo and a casual blog post shouldn't get the same tone feedback, and this is the setting that keeps that distinction intact. It's worth revisiting per document rather than setting once and forgetting it.
06Toggle the widget off when you need a clean view
If the floating icon or inline underlines ever get in the way — during a brainstorming pass, or when pasting in a large block of text you'll edit later — use the extension popup's toggle to pause checking on that document without uninstalling anything. Turn it back on before you consider the draft finished, since a final Grammarly pass right before sharing or submitting is usually where it catches the most.
Frequently asked questions
Does Grammarly work with the free version of Google Docs?
Yes, the Grammarly browser extension integrates with the free, standard Google Docs interface once it's installed, signed in, and enabled for Google Docs in the extension's settings.
Can I turn off Grammarly suggestions temporarily?
Yes, the extension's popup panel has a toggle for checking on Google Docs specifically, so you can pause it for one document without disabling the extension everywhere.
Will Grammarly change my writing tone automatically?
No, it only suggests changes based on the tone and audience goals you set. Every suggestion requires a click to accept, so nothing changes without your input.
Does the free version of Grammarly cover everything I need?
The free tier covers core spelling, grammar, and punctuation fixes, while advanced clarity, tone, and engagement scoring are part of the paid Pro plan.
About the author

Impran M N
I've been hooked on technology for as long as I can remember — especially the new tools and AI apps that seem to land every other week. Easy Tech Tuts is where I write up whatever I've just worked out: I do the task in the real product, record the screen, and turn it into the guide I wish I'd found first.