Easy Tech Tuts
How to Connect Figma to Claude AI | Design-to-Code Workflow | Easily 2026
By Impran M N
Handing a Figma file to a developer usually means someone manually re-reading every spacing value and color token, then translating it into CSS by eye. Connecting Figma to Claude AI shortens that gap by letting Claude pull real design context directly from your files through a connector, so it can generate code that actually matches what's on the canvas instead of guessing from a screenshot. This guide follows the connection from an open Figma project through to a live, working link inside Claude, covers what to do with it once it's set up, and flags where a human review is still worth the extra few minutes.
01Start from an actual Figma project, not a blank file
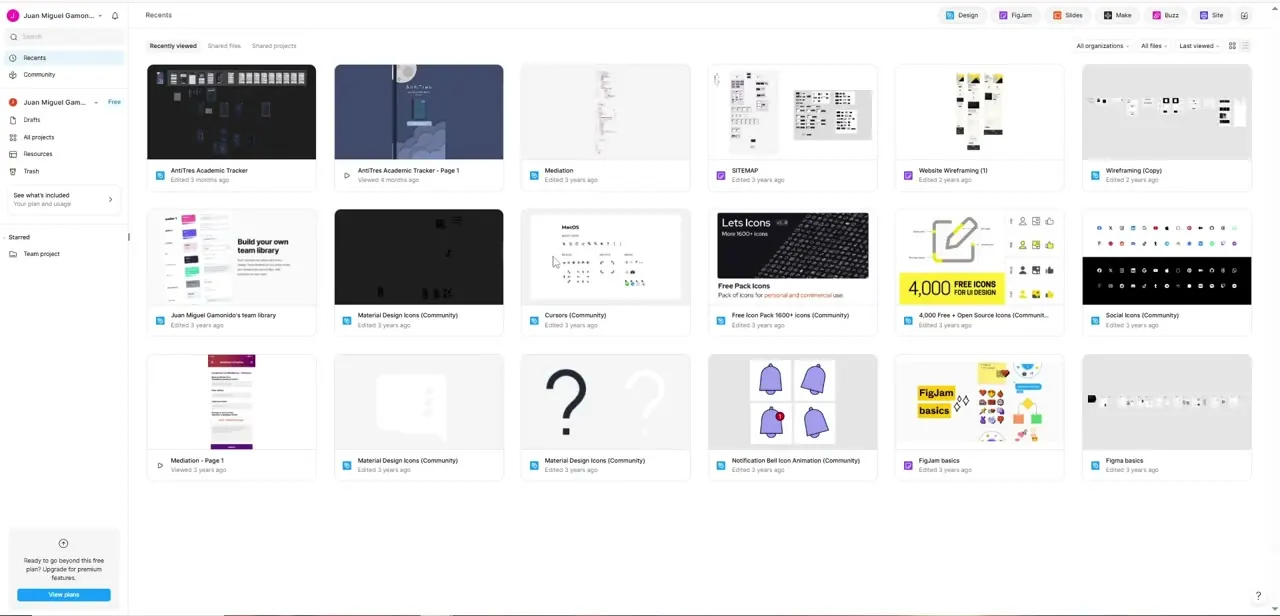
Before connecting anything, open Figma and land on your Recents view so you can see the projects you'd actually want Claude to reference — dashboards, mobile app screens, a shared team library, whatever you're currently building. Having a real, populated project open matters here, because the whole benefit of this integration is Claude reading your existing design system rather than starting from nothing. Note which file you want to work from before switching over to Claude, and if your team has a shared component library file separate from the working project, keep its name handy too, since referencing it later gives Claude a better sense of your established patterns.
02Open your account menu in Claude
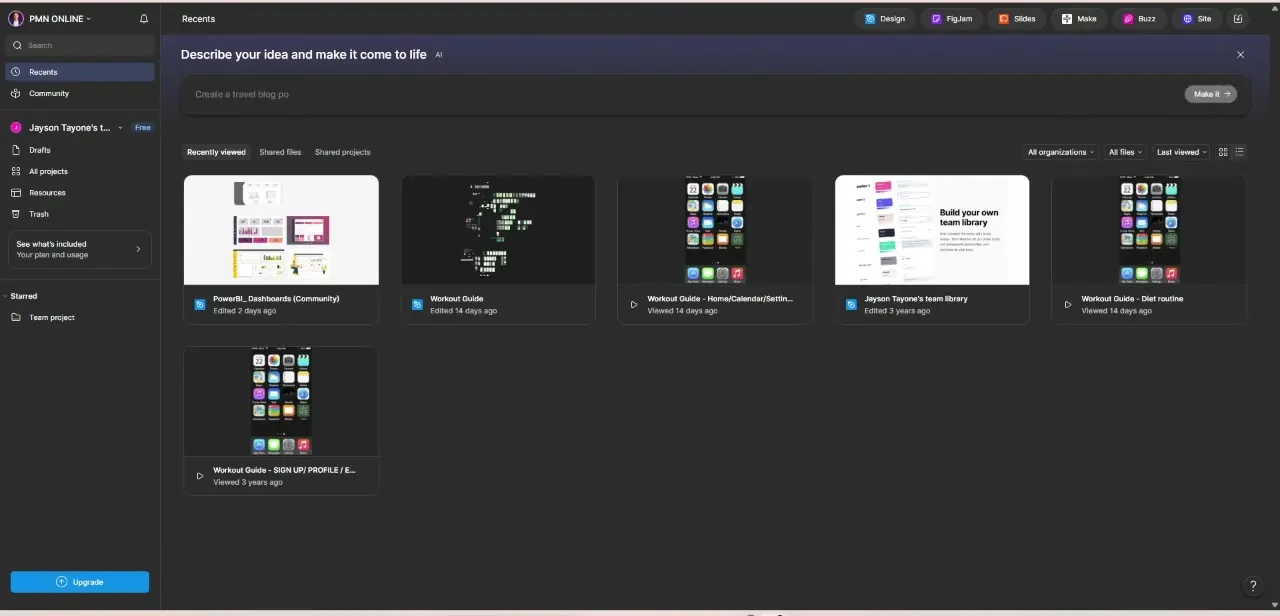
Switch to Claude.ai and click your profile icon in the bottom-left corner to open the account menu. This is where connectors live, alongside Settings, Language, and Get help.
The option you want is "Get apps and extensions," which is easy to miss the first time since it reads more like a marketplace link than a settings panel — but it's the door into every third-party connection Claude supports, Figma included. If you're on a team or enterprise Claude plan, an admin may need to enable connectors workspace-wide before individual members can add them, so check with whoever manages your Claude account if the option appears greyed out.
03Find Figma in the connectors directory
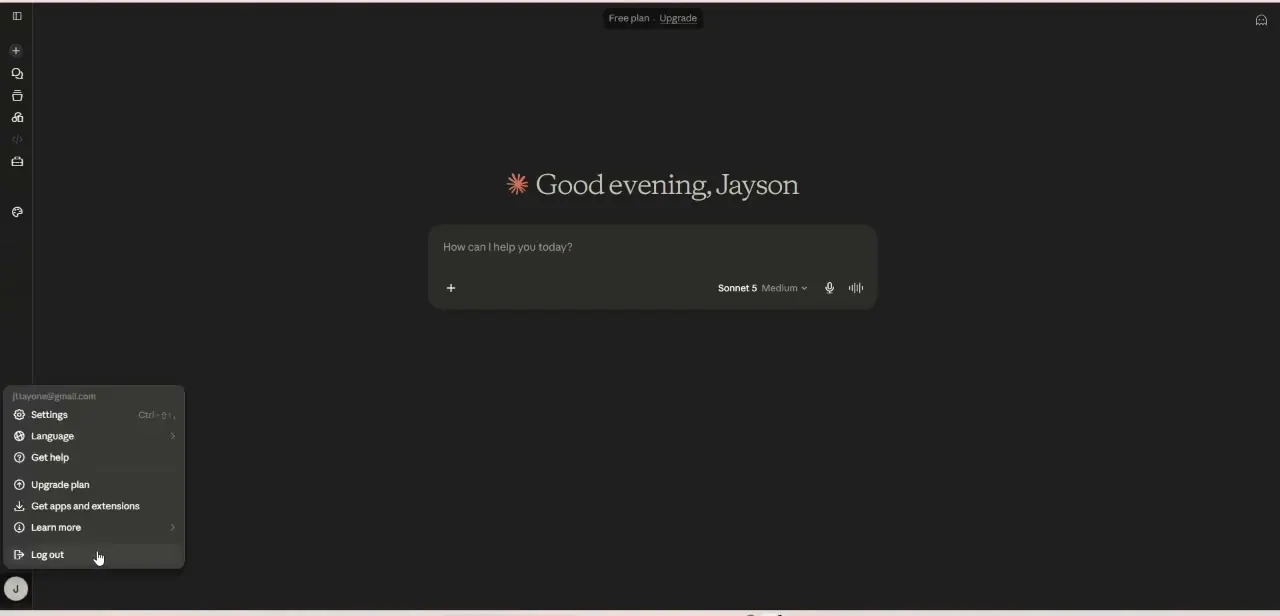
Clicking through opens Claude's Directory, with tabs for Skills, Connectors, and Plugins. Select Connectors and search "Figma" — you'll see it listed under Anthropic & Partners, tagged as one of the more popular options, alongside a second entry described as an MCP server that pulls in Figma context to generate code aligned with your codebase.
Click the plus icon next to the listing you want to add it to your workspace. The directory also surfaces other connectors nearby, like Sigma and Send, which is a useful moment to notice what else is available if your workflow touches other design or data tools.
04Authorize the connection and confirm it's live
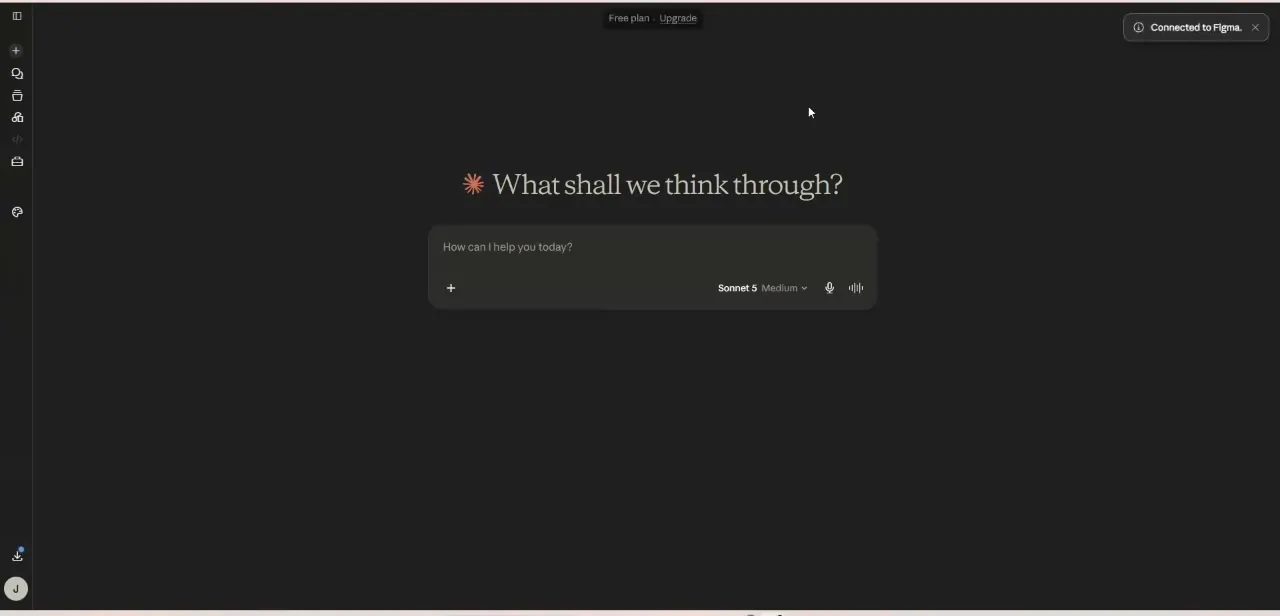
Adding the connector triggers a standard OAuth-style authorization where you sign in to Figma and grant Claude permission to read your files. Once that completes, you're dropped back into a fresh Claude chat with a small confirmation banner in the top-right corner reading "Connected to Figma," which is your signal that the link is active and ready to use — no separate save step or workspace restart required. If the banner doesn't appear, double-check that you approved the permission prompt in the Figma authorization window rather than closing it, since a cancelled prompt leaves the connector listed but inactive.
05Reference a specific file in your first prompt
With the connector active, the most reliable way to use it is to point Claude at a specific Figma file or frame rather than asking a vague question about "the design." Paste the file link or name the exact screen you want translated, and ask for what you actually need — a React component, a set of CSS variables matching your color tokens, or a breakdown of spacing and typography. Being specific here is what separates genuinely usable code from a rough approximation. If your file has multiple pages, naming the exact frame also saves Claude from guessing which of several similar-looking screens you actually meant.
06Ask for design tokens before you ask for full components
If your goal is a consistent codebase rather than a one-off page, start by asking Claude to extract your color palette, spacing scale, and type styles into a tokens file before generating any components. This gives you a shared source of truth to check future output against, and it surfaces inconsistencies in the Figma file itself — slightly different shades of the same blue, for instance — that are worth fixing at the design level before more code gets built on top of them.
07Review generated code against the original design
Treat Claude's first pass as a strong starting point rather than a final deliverable. Check spacing, responsive behavior, and component naming against your actual file, since even with direct design context, some judgment calls — how a hover state should behave, which breakpoints matter — are still yours to make.
This review step is also where the time savings show up most clearly, because you're editing working code instead of writing it from a static export. Keep the Figma file open side by side with the generated code during this pass; catching a mismatch early is far faster than debugging it after the component is already wired into your app.
Frequently asked questions
How does connecting Figma to Claude AI help developers?
It lets Claude read real design context — layers, spacing, color tokens — straight from your Figma files through a connector, so generated code matches the design instead of approximating it from a screenshot.
Where do I find the Figma connector in Claude?
Open your account menu from the profile icon in the bottom-left corner, choose "Get apps and extensions," then search "Figma" under the Connectors tab in the Directory.
Is this integration only useful for developers?
No — it's just as useful for designers and project managers who want a faster way to hand off specs or check what a design will actually produce in code.
Do I need advanced technical knowledge to set this up?
No. Adding the connector is a search-and-authorize flow inside Claude's Directory, similar to installing any other app integration.
What's the main benefit of this design-to-code workflow?
It cuts down the manual translation step between a finished design and working code, letting you focus on reviewing and refining rather than writing everything from scratch.
About the author

Impran M N
I've been hooked on technology for as long as I can remember — especially the new tools and AI apps that seem to land every other week. Easy Tech Tuts is where I write up whatever I've just worked out: I do the task in the real product, record the screen, and turn it into the guide I wish I'd found first.